
![]()

TUTORIALS
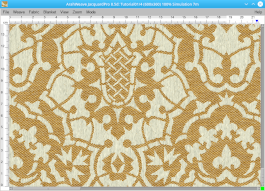
Embellish your fabric – simulating various effects
We all know the market went crazy. Making a nice quality fabric is not enough. You need to distinguish yourself from the competition. You must make a fabric that is difficult to copy. That looks special. A weaver must call for help from other professions. In this tutorial, we will use several techniques of finishing on fabric simulation.
Overprint
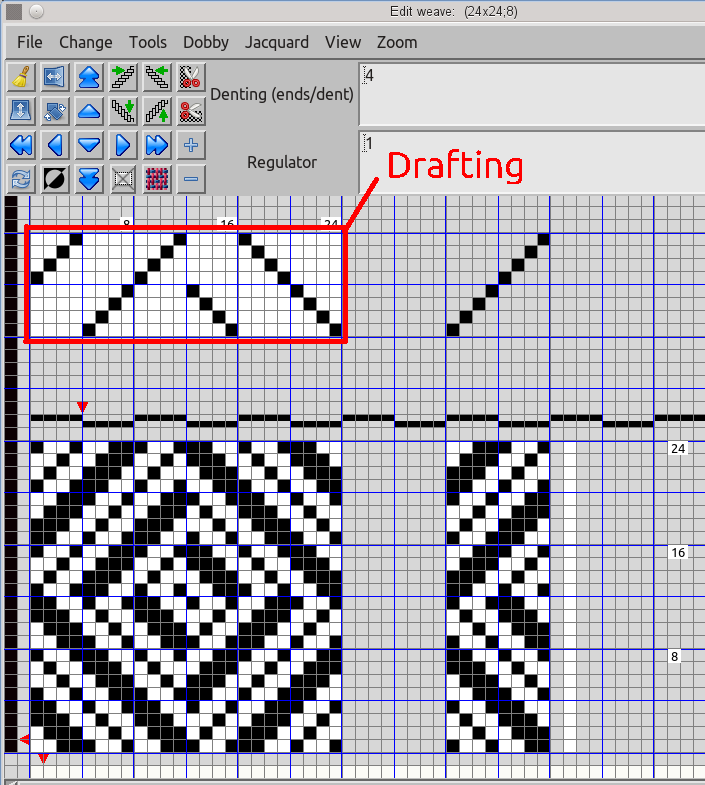
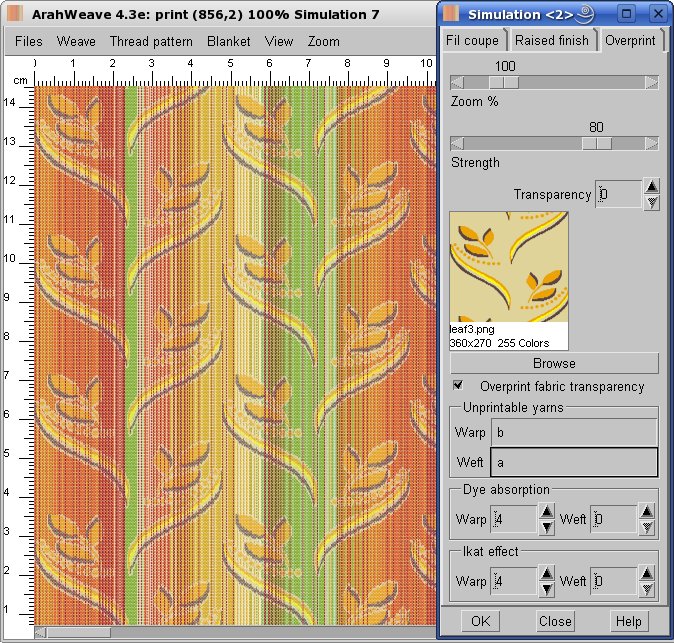
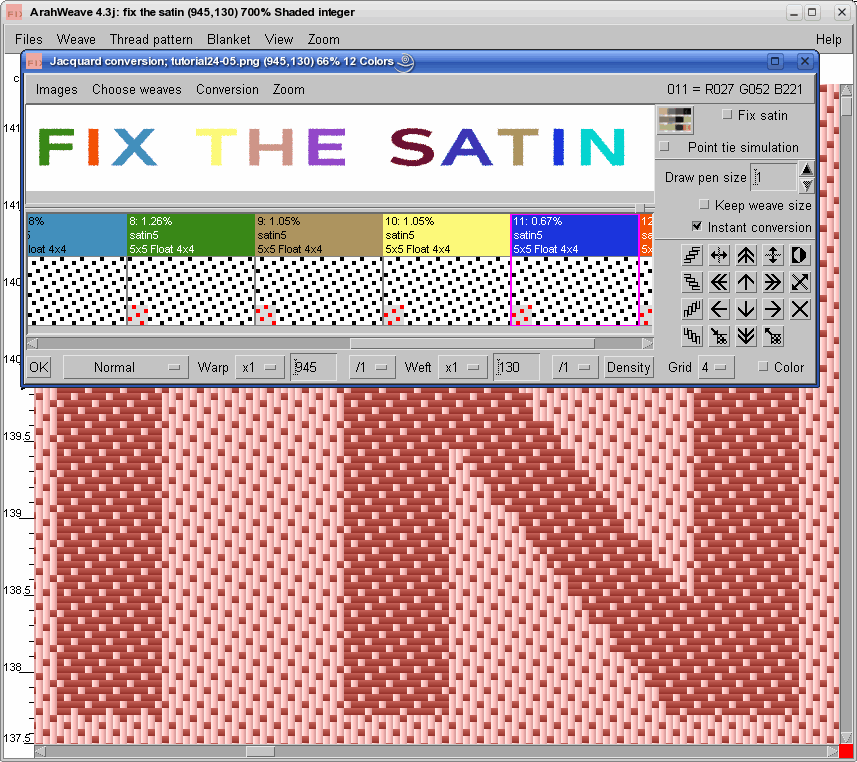
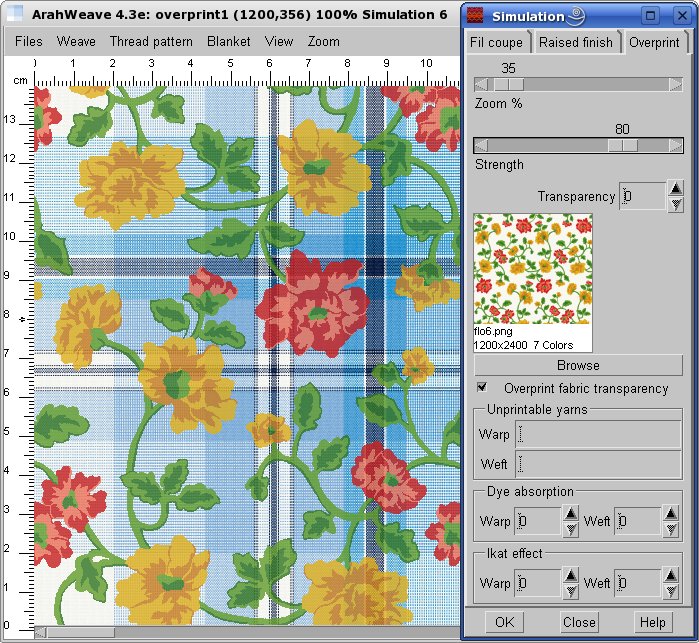
You can simulate printing over a woven fabric in ArahWeave. Open ArahWeave and load (or create) a fabric, in which you want to use the overprint function. Choose Fabric > Simulation. In the Simulation window click the Overprint tab.
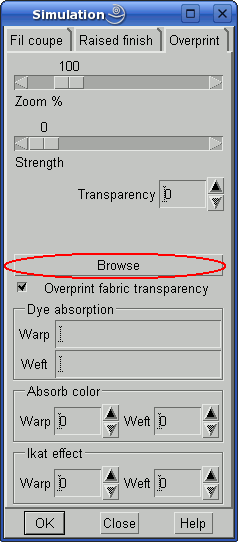
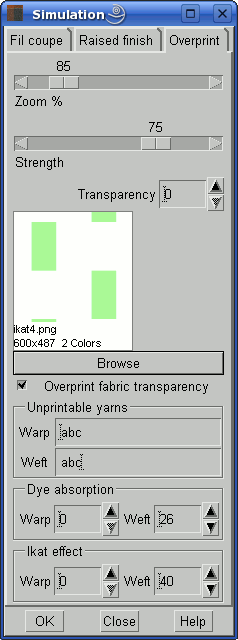
To load the image (usually the image, that is used for screen printing), click the Browse button, and load the image into Simulation window. The image should be in the indexed (8 bits per pixel) mode.
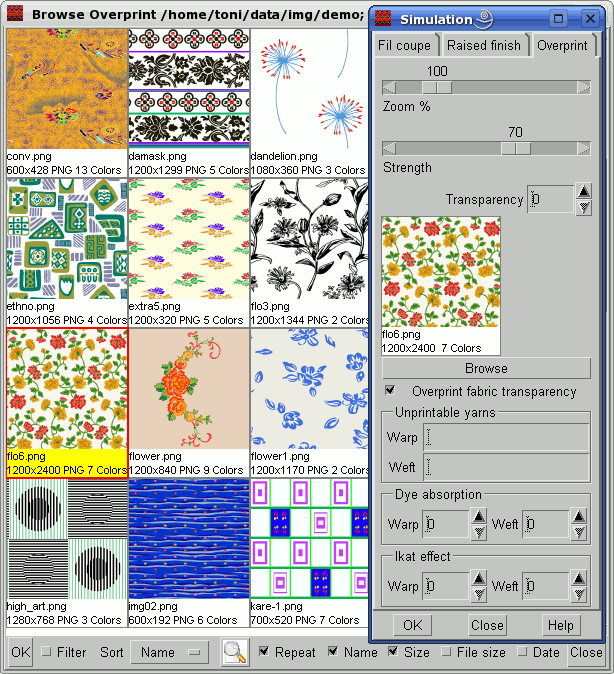
The software draws the image over fabric, as if it was printed. With Zoom you can control the size of the overprint image. Strength controls the color strength (transparency) of the overprint (at 100% it covers the fabric completely). With transparency you specify the color in the image, which is not printed. On the sample it is white; please note that the counting starts with 0 and not 1 – so the first color in the image is marked as 0 and it is also the most popular color in the image.
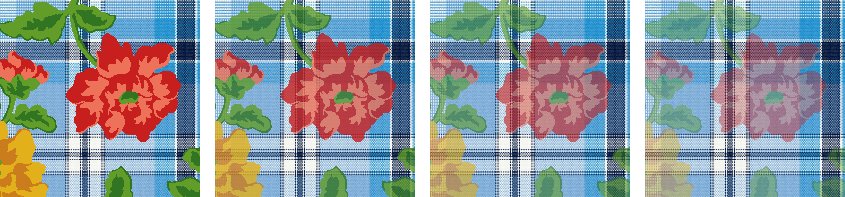
The pictures below demonstrates the same image printed at different Strength levels: 100%, 80%, 60%, and 40%.
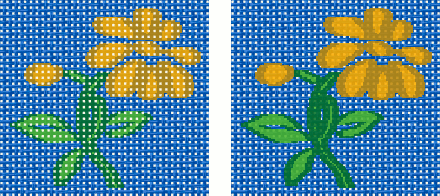
The option Overprint fabric transparency is useful for simulation of printing over transparent fabrics, like for example curtains. The holes between threads are covered or not depending on the type of dyes. If the option is switched on, the software draws the overprint image on the space between yarns. The image on the left shows overprint without Overprint fabric transparency, while on the right it is switched on.
Printed warp, Ikat, Chiné simulation
The overprint simulation window in the software has some other options, which allow you to simulate even more exotic stuff. First of the three advanced functions in the overprint window gives you the possibility to specify which yarns in the fabric are not printable. This allows simulation of fabrics with printed warp, ikat fabrics (warp, weft, or both), and even fabrics, which are made from yarns with different fiber composition and thus different dye affinity.
The image below illustrates a fabric with unprintable weft color a (actually the whole weft, since there is only one yarn color in the weft), and warp yarn b.

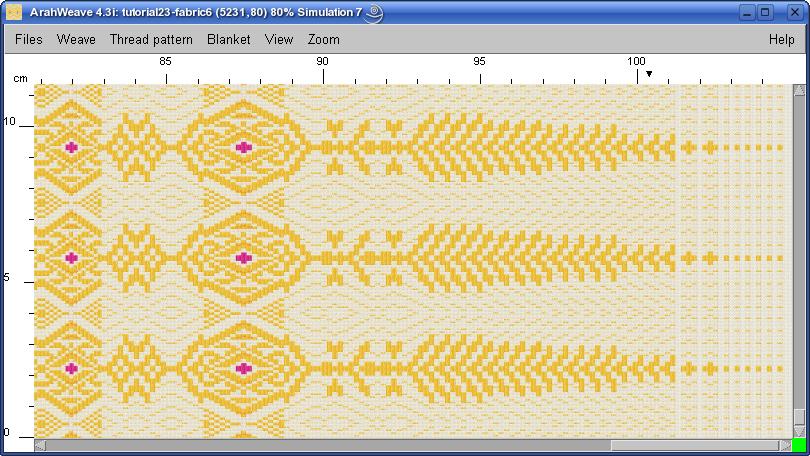
The Ikat option for warp and weft allows you to simulate the overprint image distortion (feathered edges of the pattern), which is characteristic of techniques, where the warp, weft or both are tie-dyed or printed with a pattern before weaving, to create a design on the finished fabric. Ikat is also called kasuri in Japanese.
In ArahWeave‘s simulation, the value of ikat effect is specified as the number of pixels of the printed image. The higher the value, the bigger the distortion.
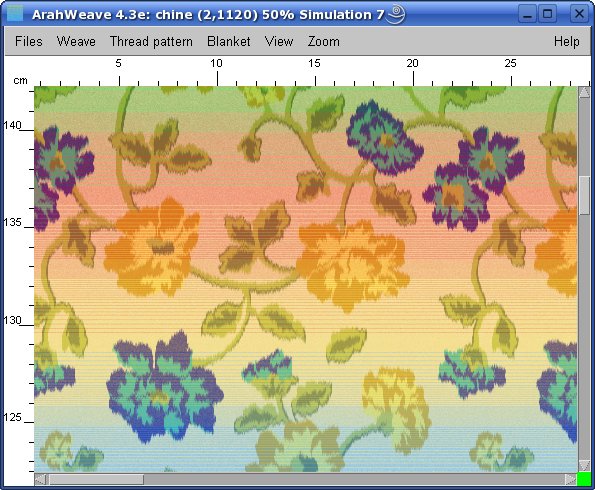
A closer look at the previous simulation shows you how does ArahWeave make the chiné simulation. On the sample the ikat value is set to 12 in the warp direction – it means that the borders of print will vary randomly from 0 to 12 pixels.
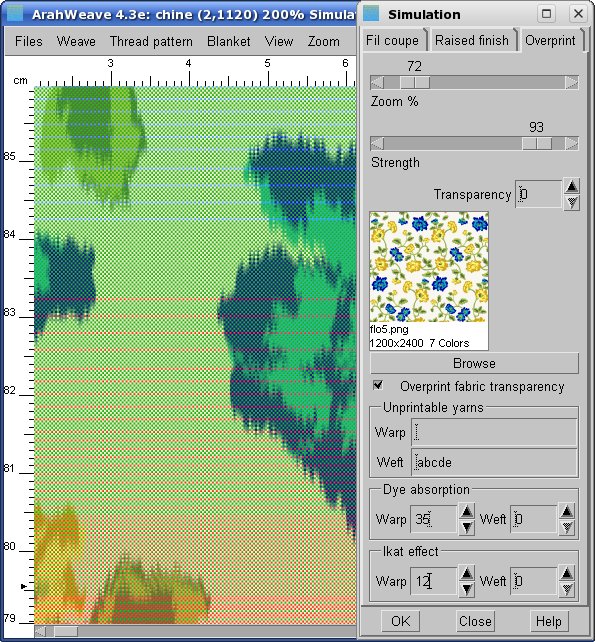
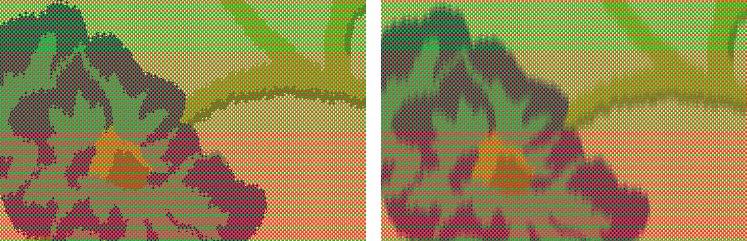
The Ikat simulation works best in the combination with the Dye absorption function. It determines the absorption of dye over the edges of the printed motifs. This depends on the yarn material (fiber), type of dyes and printing technique. It can be set independently for warp or weft, and it is expressed in tenth of a millimeter.
The left image below shows a simulation with Dye absorption set to 0, while the simulation on the right was generated with Dye absorption set to 35.
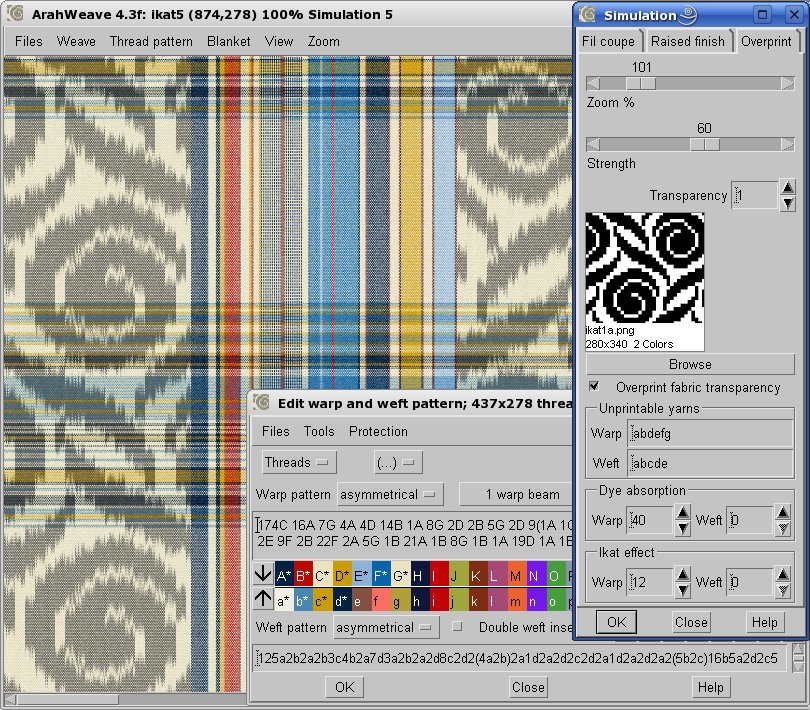
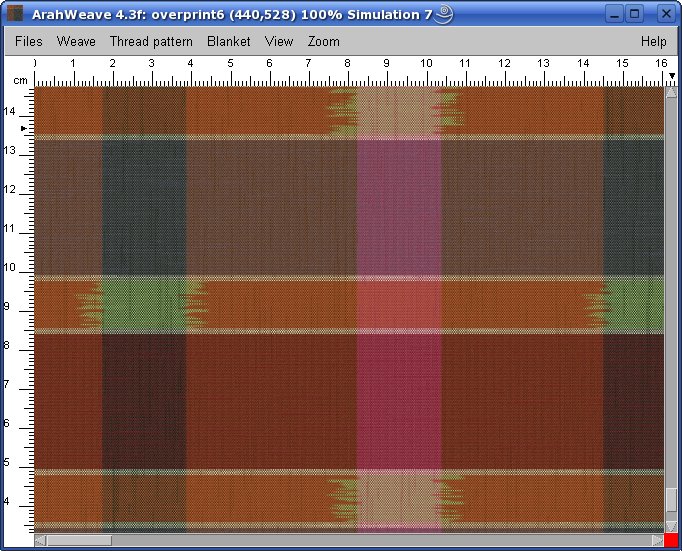
Simple warp ikat plaid
The following images shows you the setup for warp ikat, where only the warp yarn with letter c was printed (or dyed / painted) prior to weaving. So all the other yarns are set to be unprintable. As you can see, the appropriate parameters for warp ikat offset and dye absorption were set. These are fully interactive and visual, so you can change them until you get the desired effect.
Simple weft ikat plaid
Weft ikat is more difficult to make, since the start of each pick (weft yarn) must be aligned to the edge of the fabric. Usually, this is impossible in industrial weaving, due to the nature of weft insertion. But a skilled hand-weaver can do it.
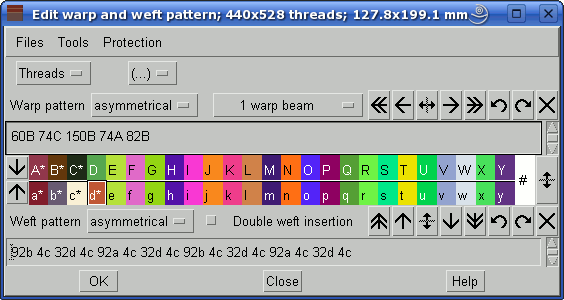
This is the warp and weft pattern for the above fabric simulation.
And these are the settings for the above weft ikat. Only the weft letter d is left unprintable. The other parameters are similar as for the warp ikat, just that they are applied to the weft.
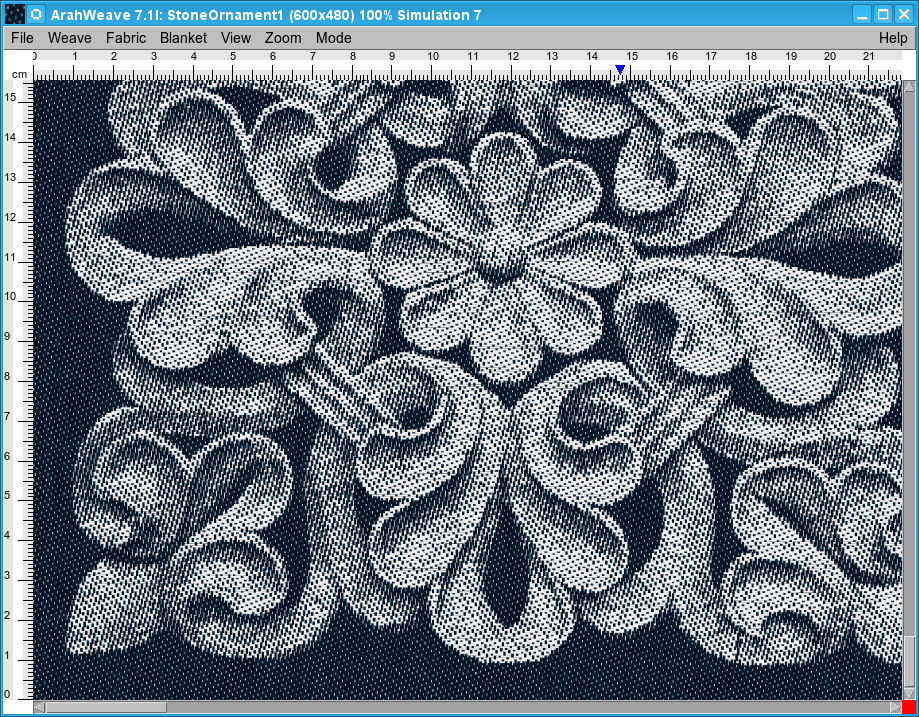
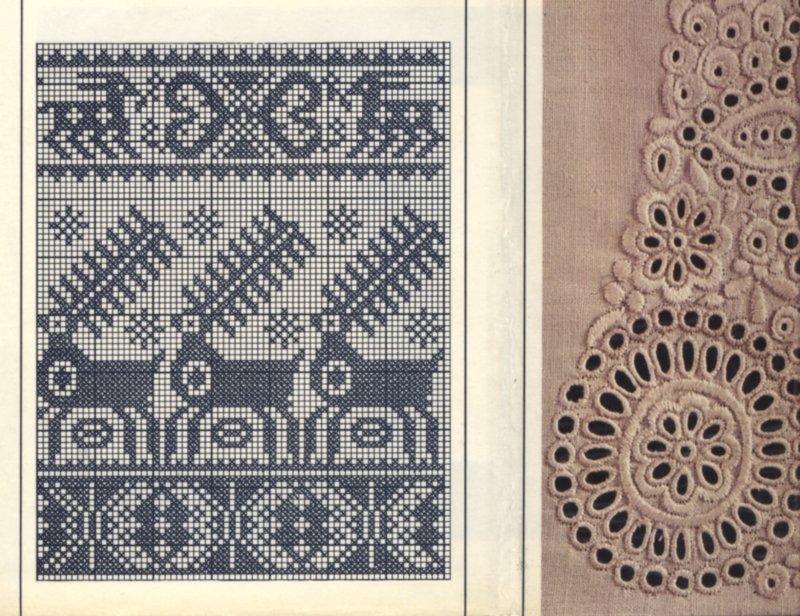
Simulation of embroidery
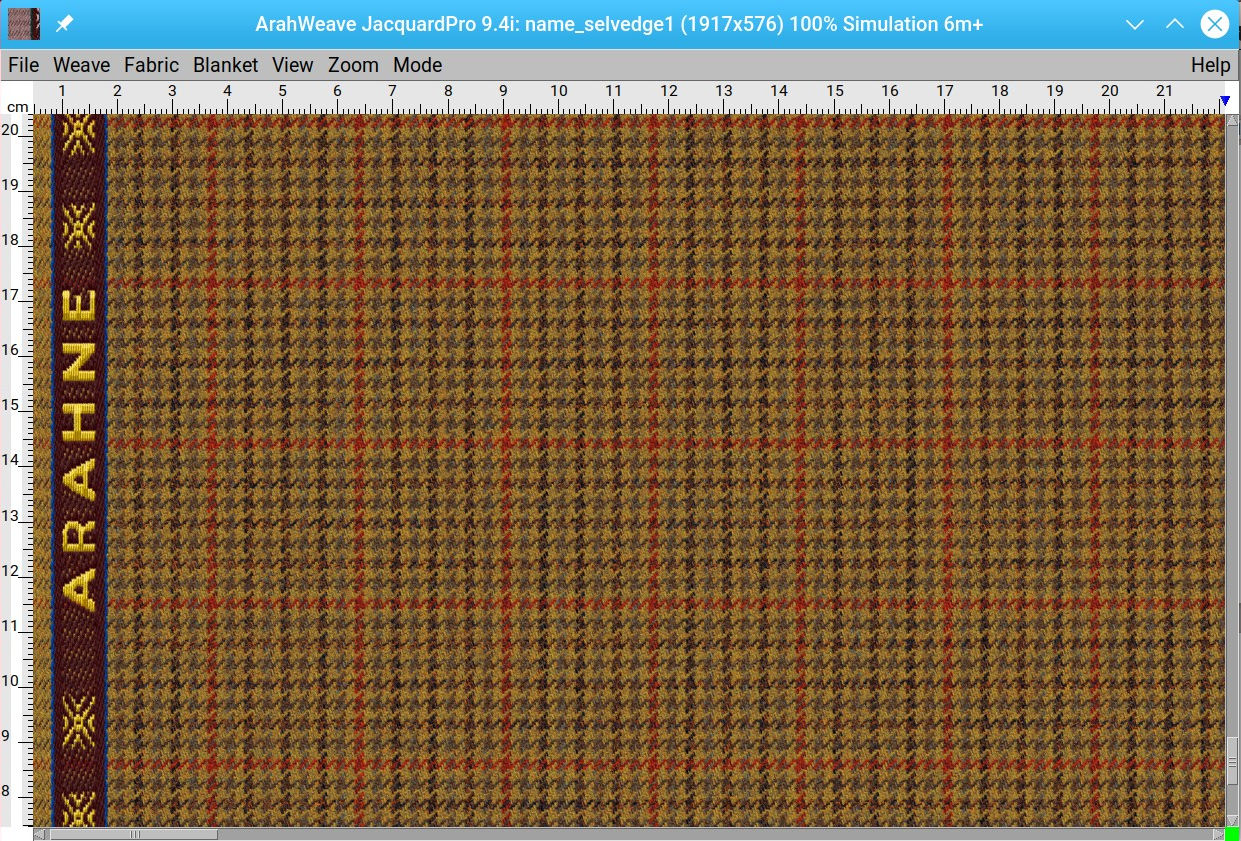
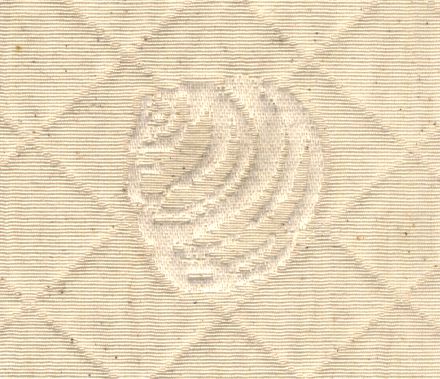
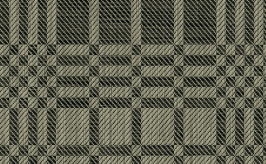
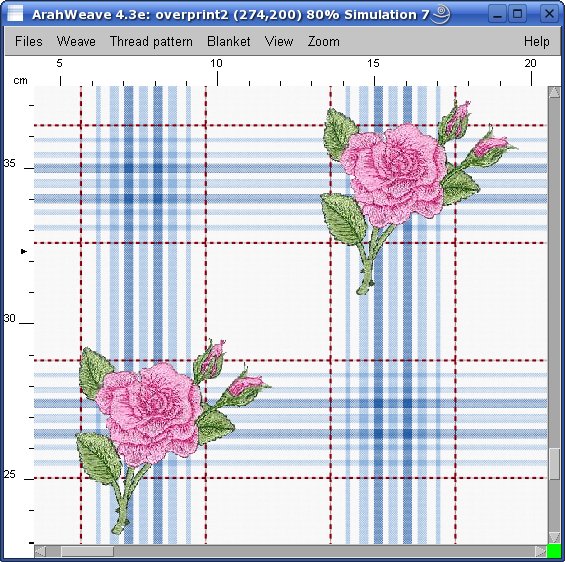
The Overprint function is also useful for simulation of embroidery. Obviously, ArahWeave is not a CAD intended for the embroidery, so you need to scan your embroidered design (or import the simulation from another CAD). You just need to set the Strength to 100% and Overprint fabric transparency should be on. The picture below shows a simulation of an embroidery over a plaid fabric.
We have made some steps beyond weaving, so the weaver can show to her customers the final look. Actually, several of Arahne’s customers are both weavers and printers. So they use their actual print screens to make the simulation, and get the customer’s approval prior to “destroying” the fabric.