
![]()

TUTORIALS
How to convert cross stitch pattern into jacquard image
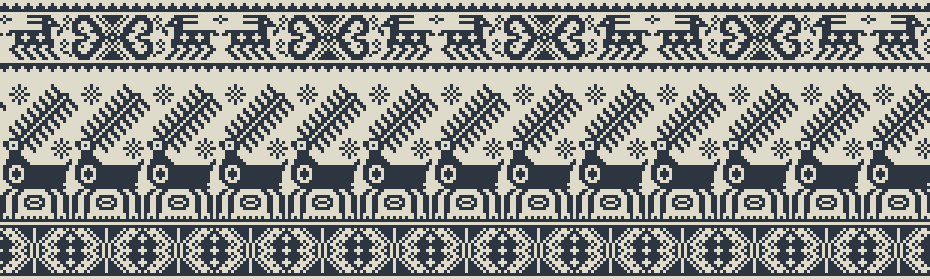
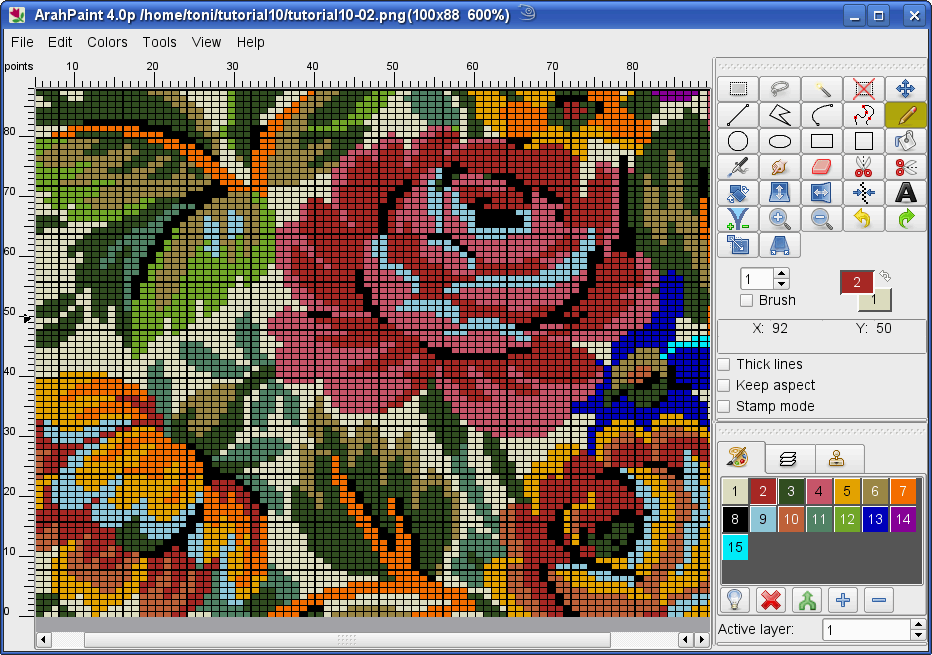
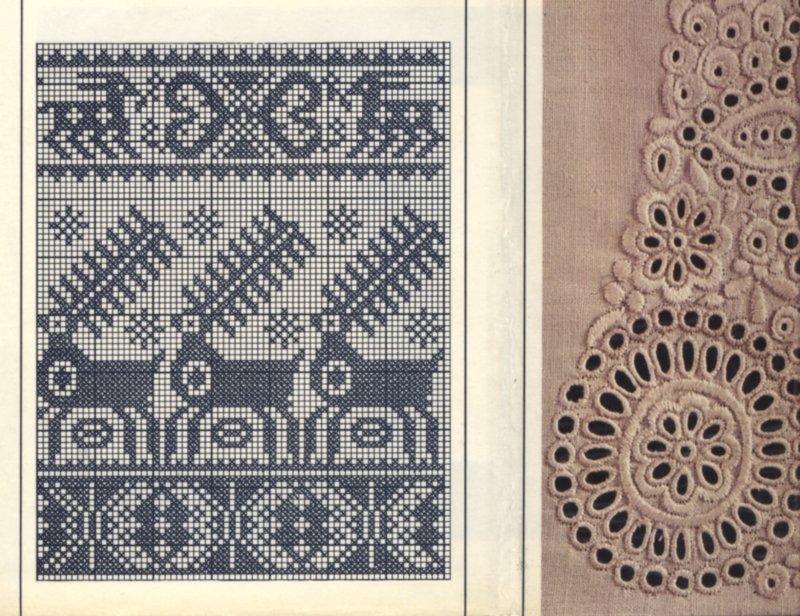
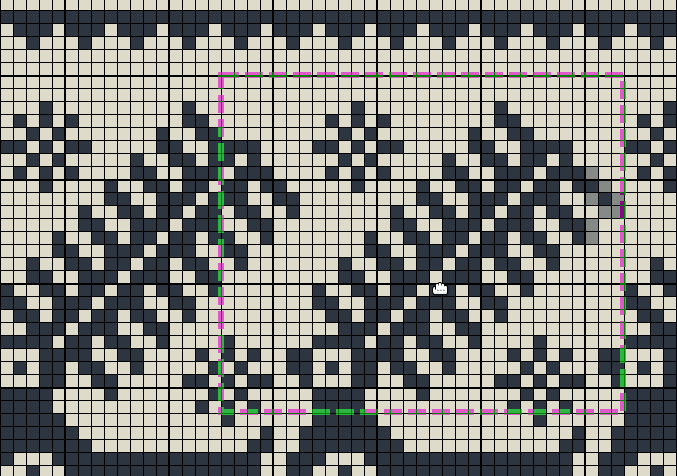
The problem with the cross stitch patterns is that the pixels are in fact little crosses, and the pictures include a grid. In this tutorial we will show you how to solve this, therefore how to transfer the patterns, used for cross stitching, into clean jacquard images. Pick a cross stitch pattern which you like. The following pattern is from the book “The Slovak National Embroidery”, written by Anna Chlupová in 1985.
Scan the cross stitch pattern. Make sure that the scanned image is aligned horizontally and vertically.

Crop the borders of the scanned image, leaving only the cross stitch pattern. To crop the image, make a rectangular selection and choose Image > Crop to selection.
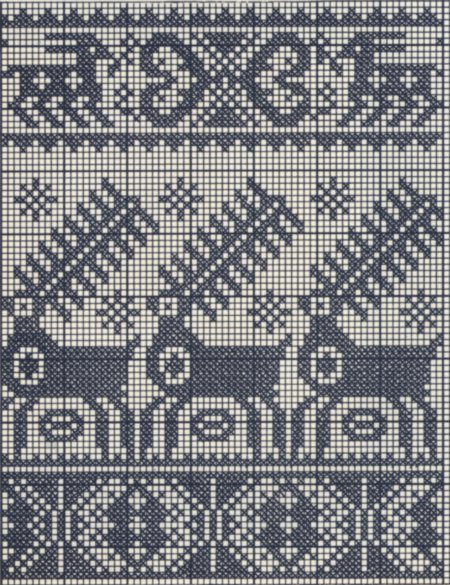
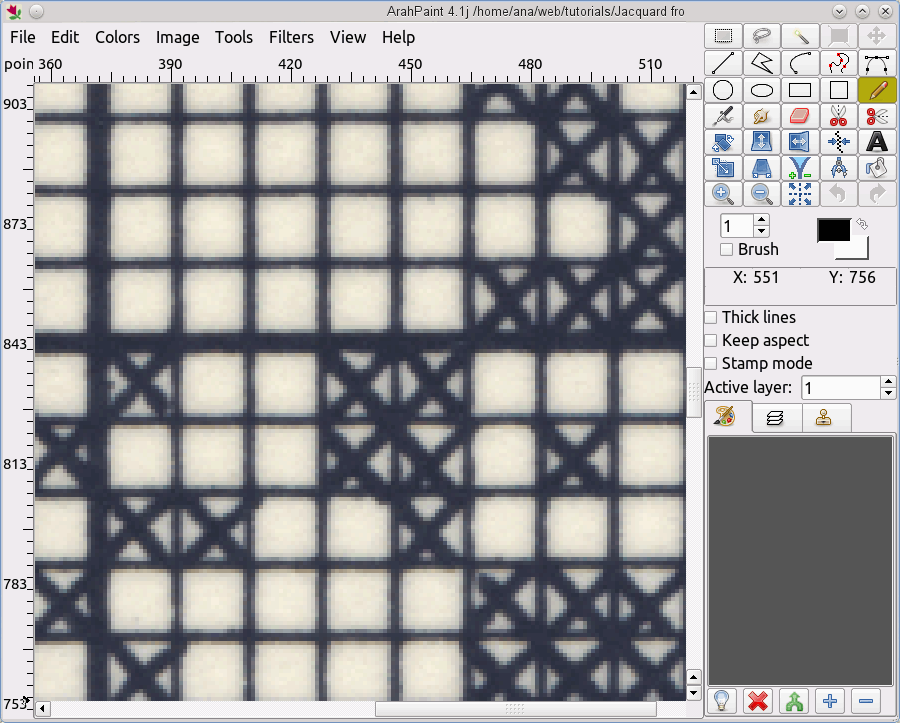
If you take a close look at the picture, you will see little crosses and a grid.
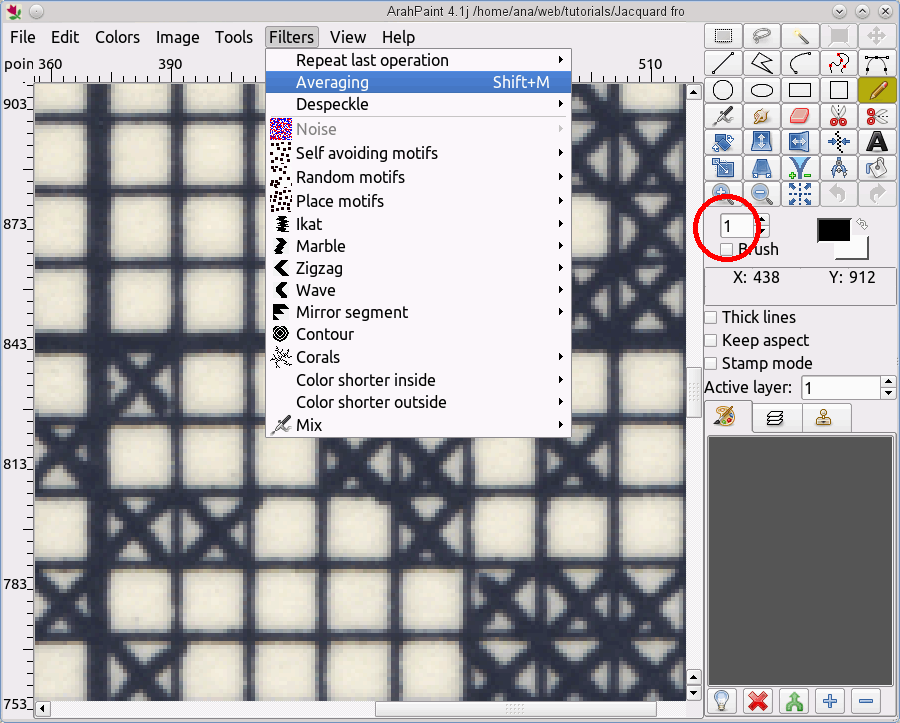
Blur the picture by choosing Filters > Averaging. Make sure the picture is in true color mode.
In the example picture we used brush dimension “1” and repeated averaging for 10 times.
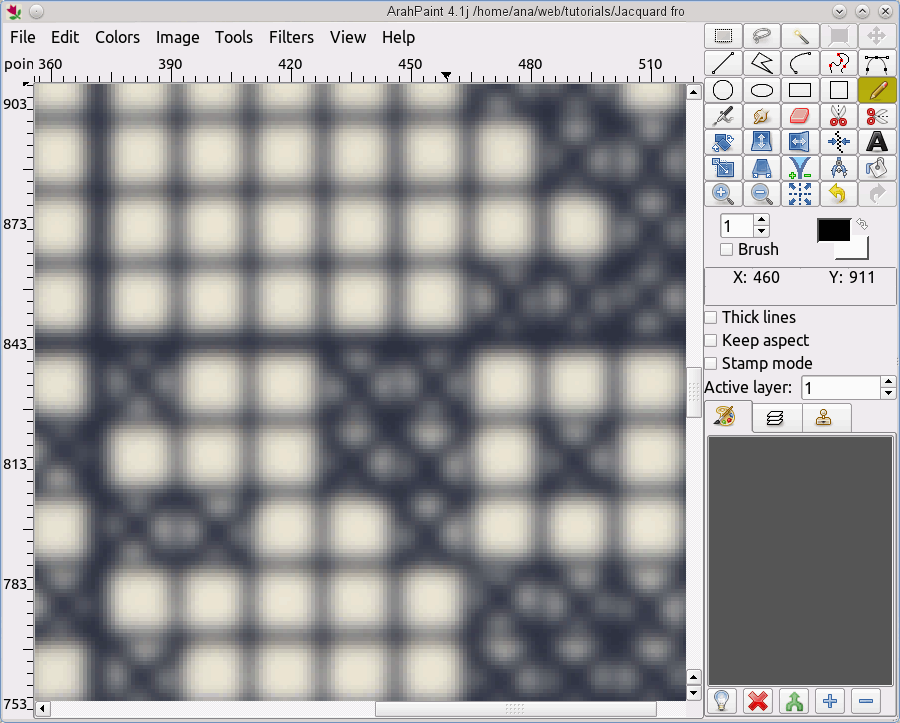
After averaging the picture should look like this:
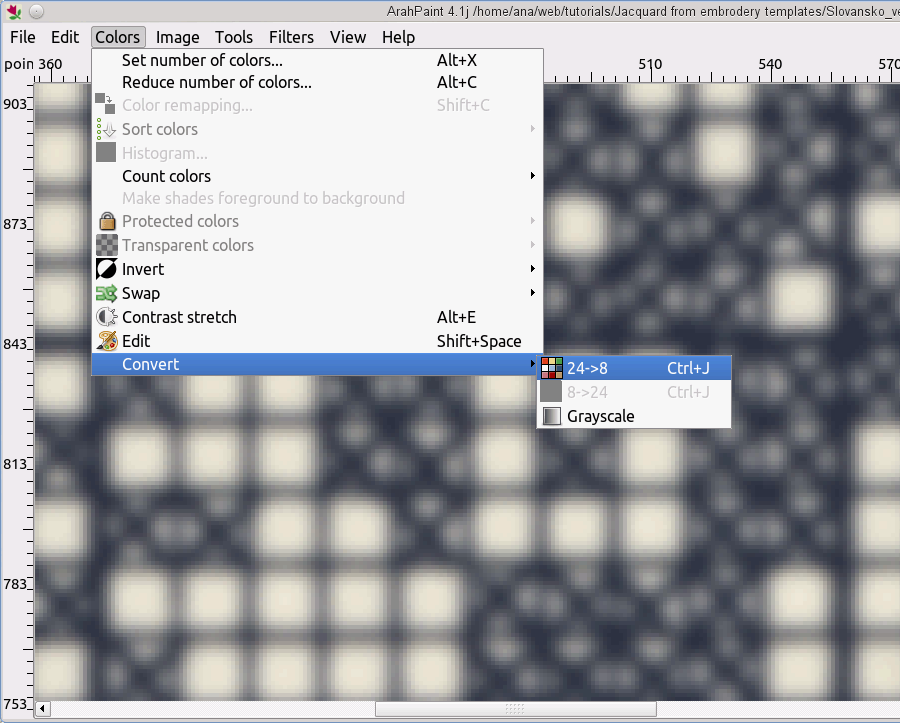
Convert the picture into indexed color mode by choosing Colors > 24→8.
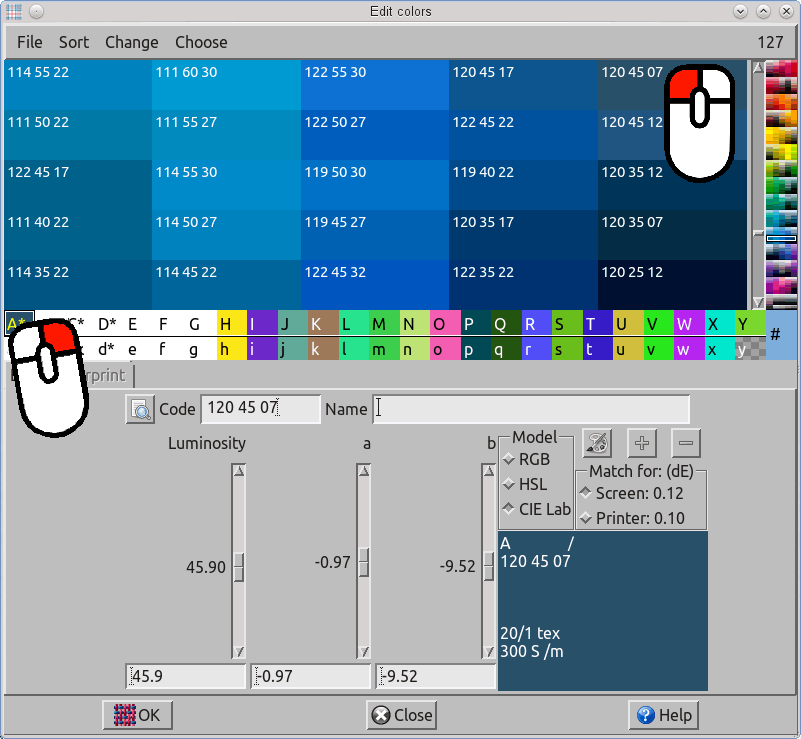
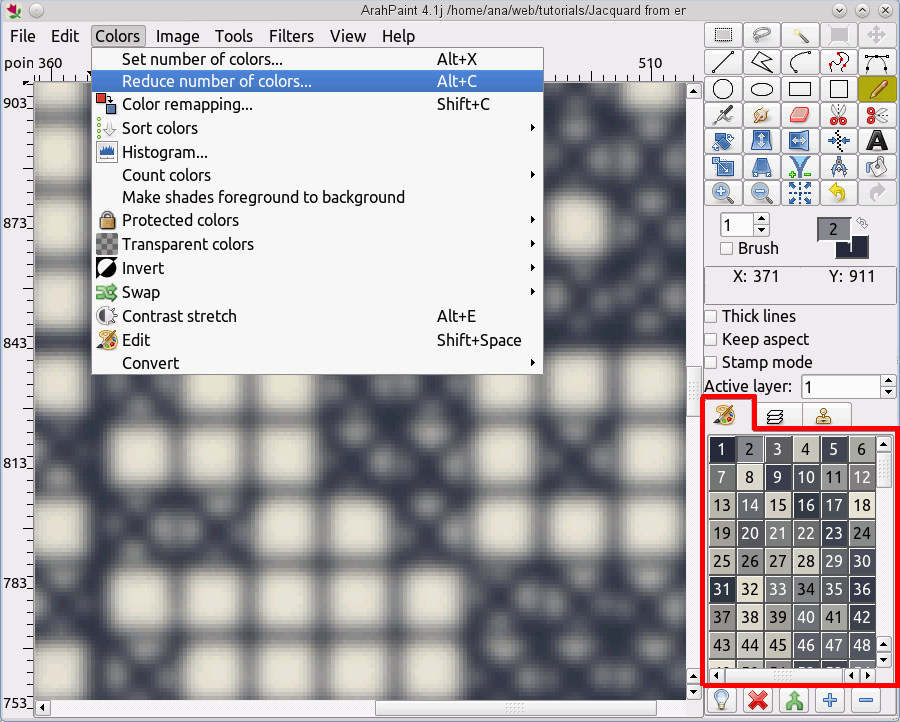
You should see the colors in the color palette at the bottom right corner. We will reduce the colors to dark blue and white. Choose Colors > Reduce number of colors.
Press the Shift button and click inside the picture to manually select the colors. We clicked inside the red circles to select the white and dark blue color.
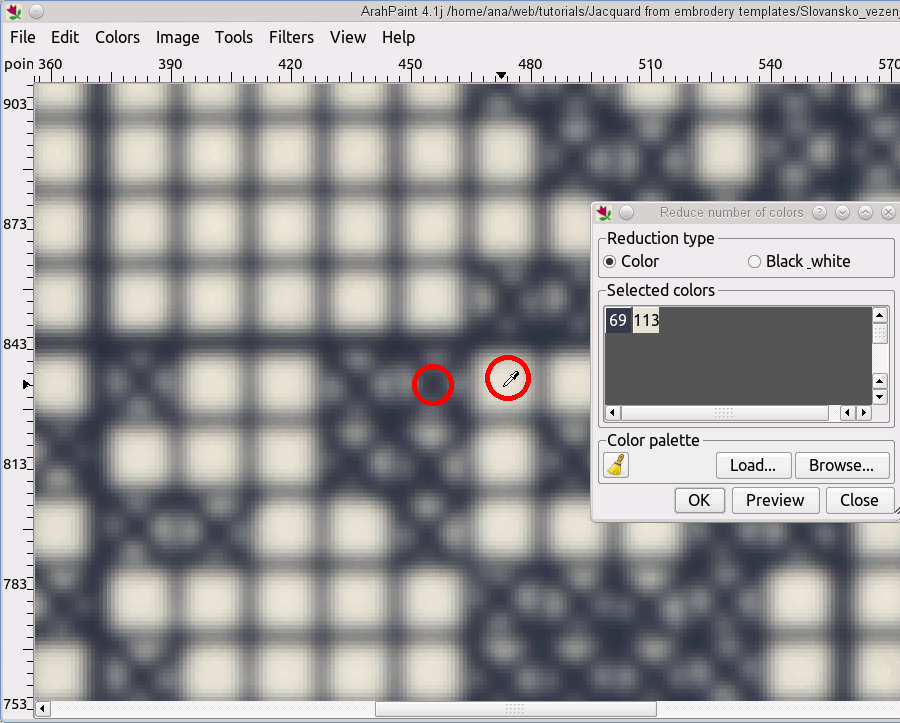
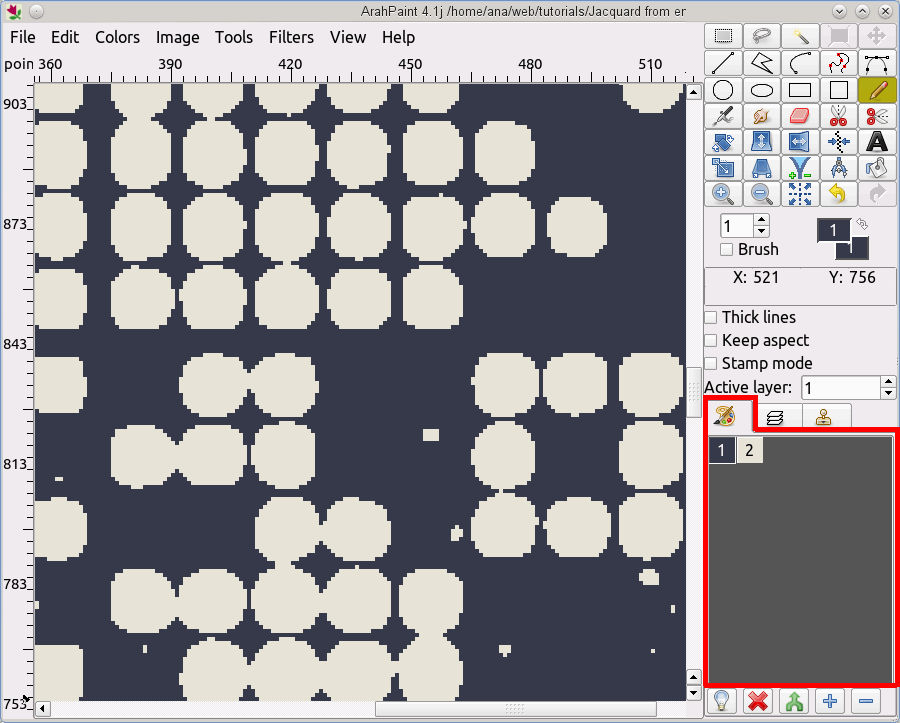
The picture should look like this. You can see there are only two colors in the color palette, framed in red.
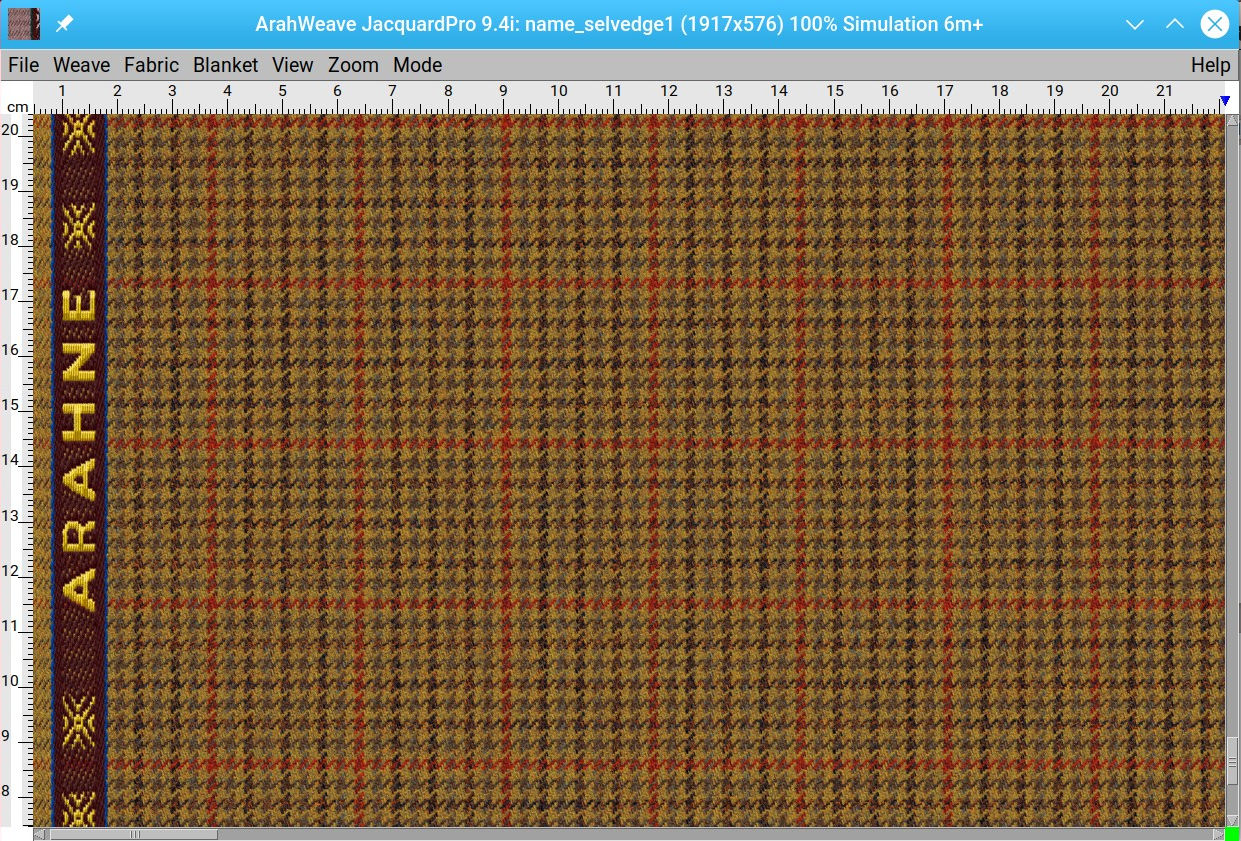
The picture is now ready to use the special ArahPaint tool.
Select the whole area of the picture.
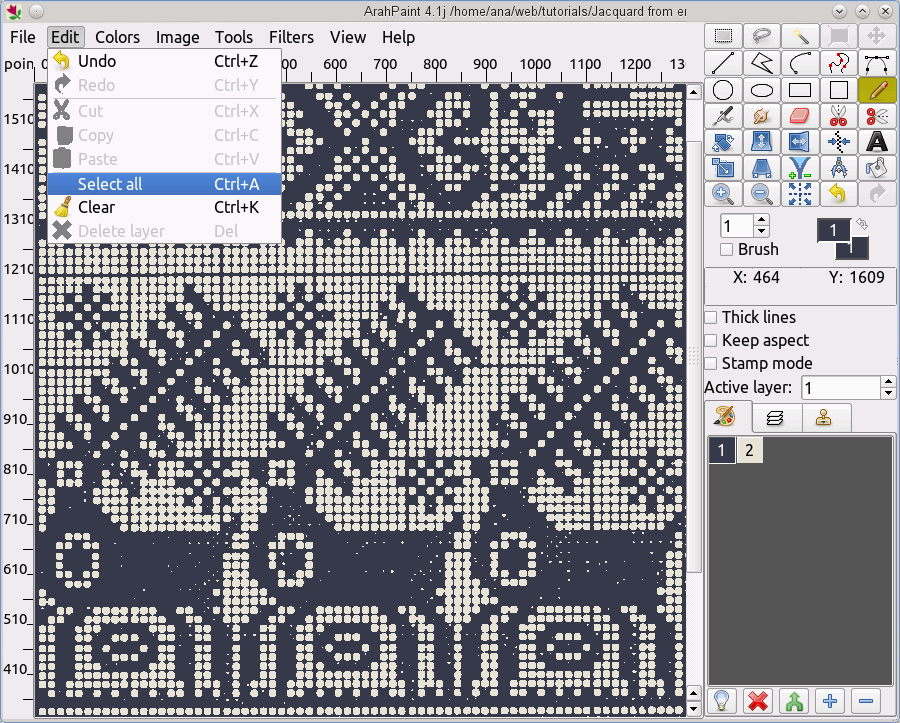
Select Tools > Guess weave from grid.
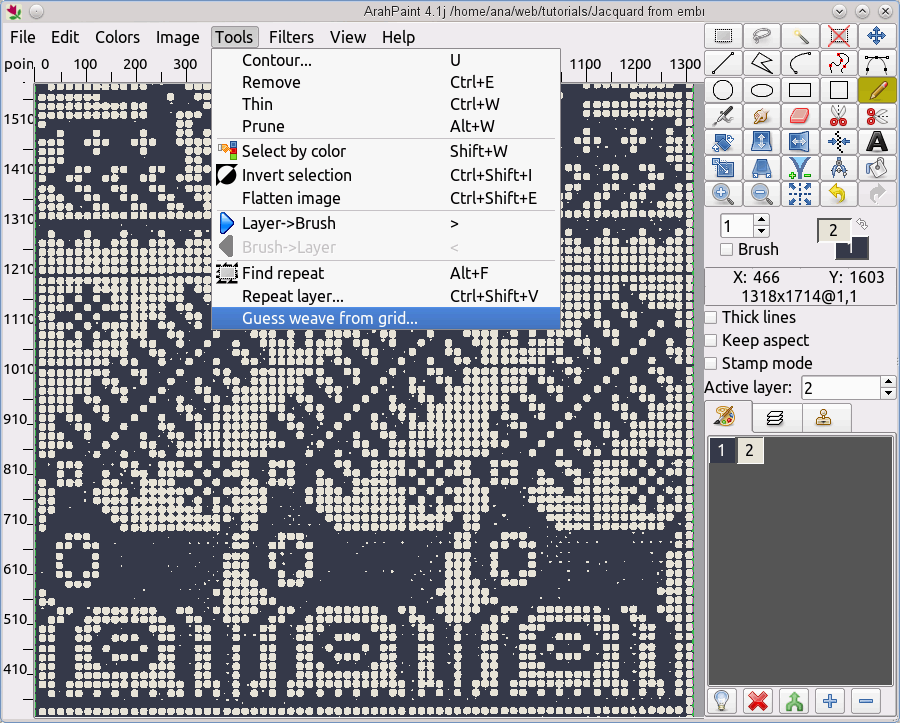
This will open a pop up window. The values in the pop up window are the width and height of the scanned image, in pixels.
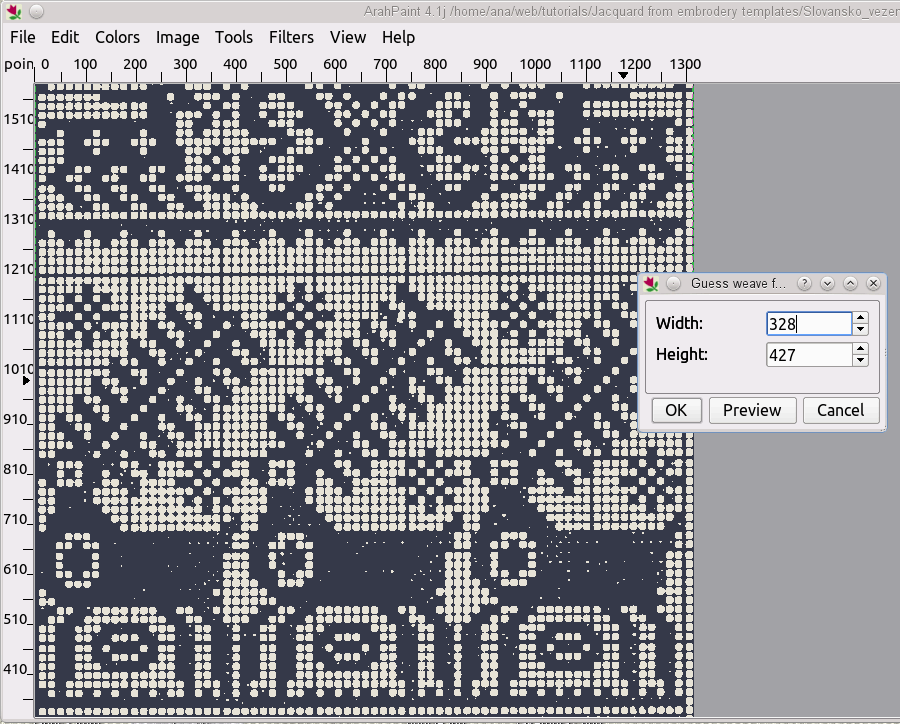
Count the squares in the original cross stitch pattern and enter them as width and height values. Click OK.
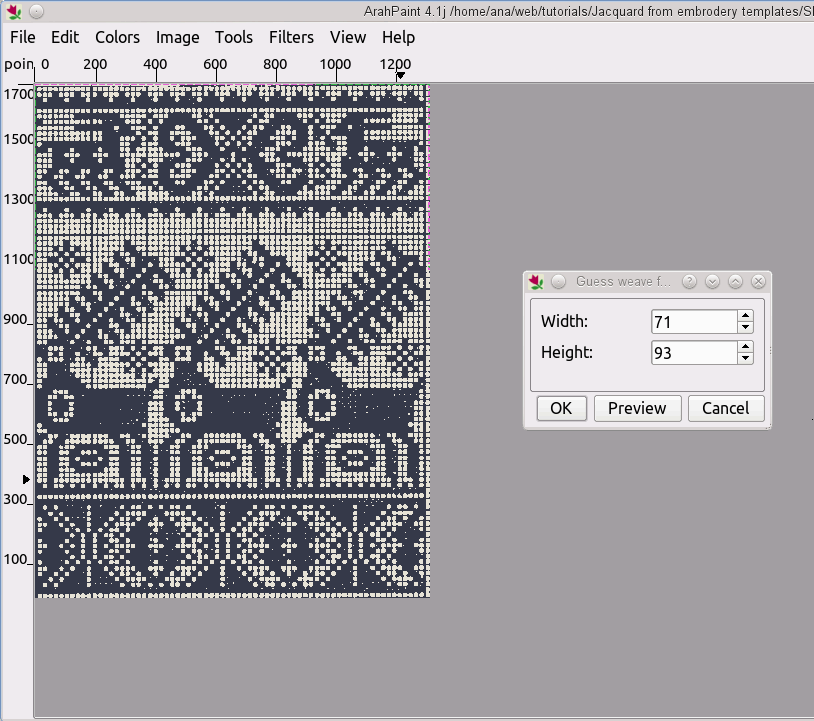
This will make a new layer. The function eliminates the grid, and creates a layer of same size as the initial cross stitch pattern.
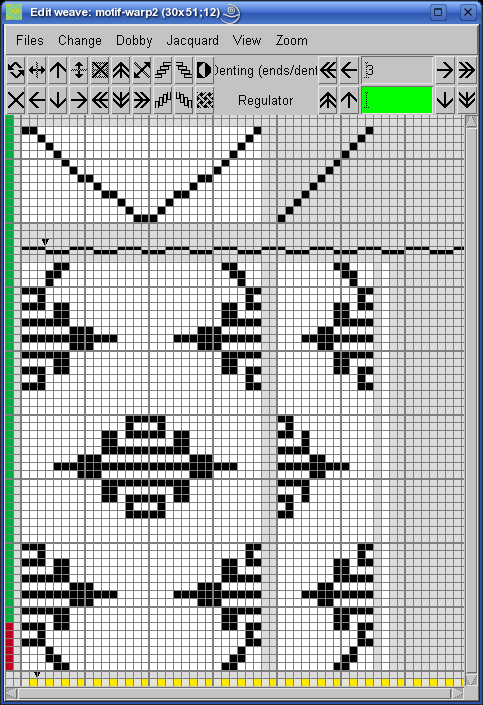
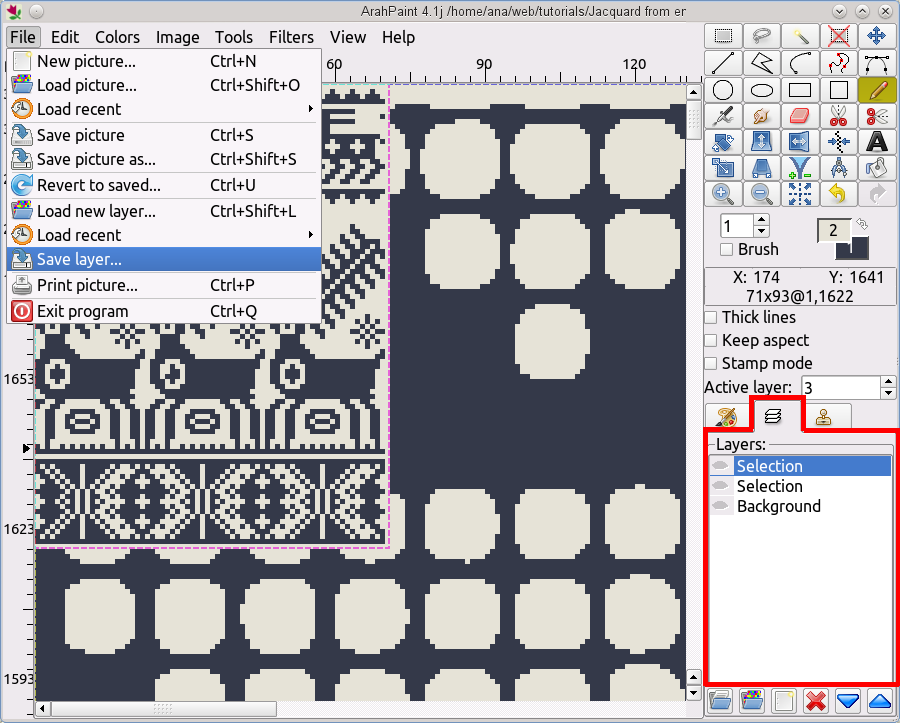
All you need to do is Save the layer.
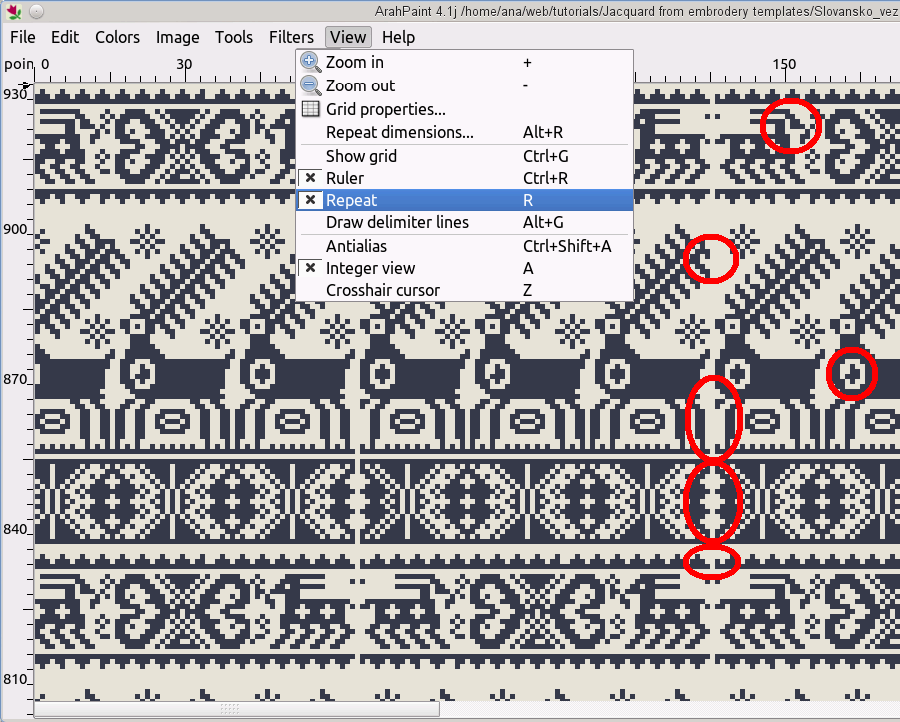
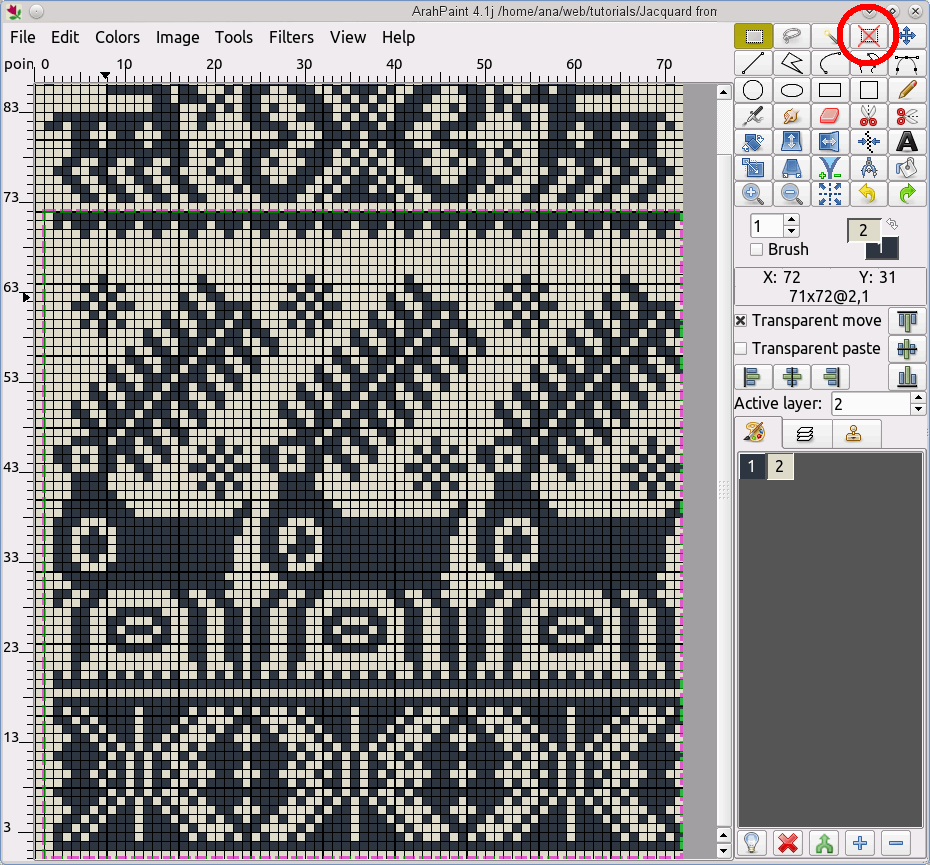
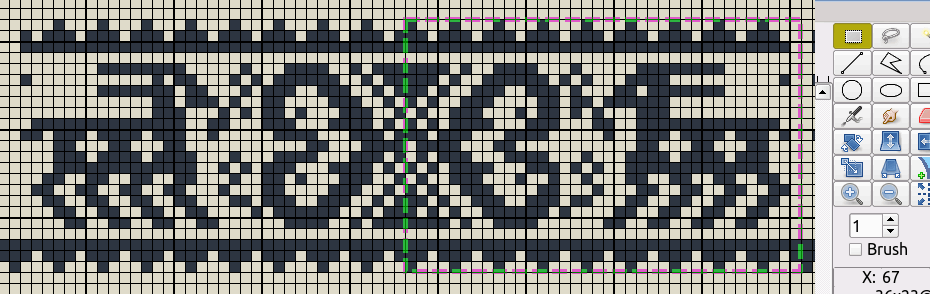
Open the saved layer. Select View > Repeat to view the image in repeat. You can see that the picture has some mistakes.
They are encircled in red. You can correct them manually or use special ArahPaint features.
Correcting pattern repeat
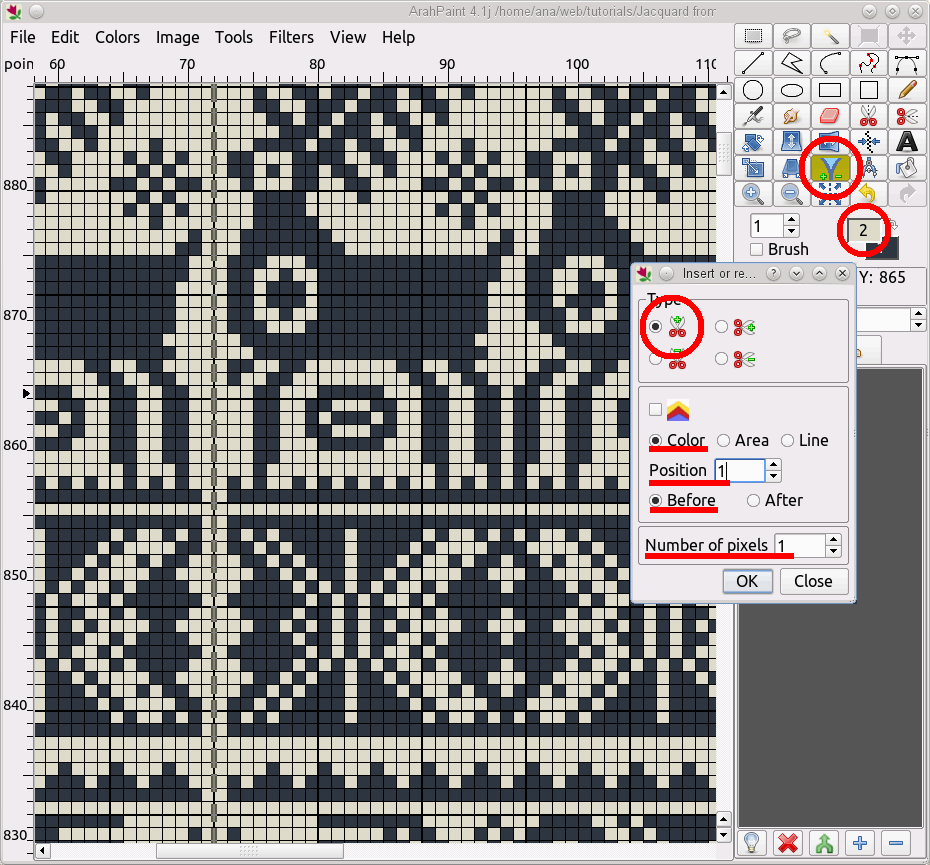
Under detailed view, we can see that one pixel is missing in width.
We will add one pixel by clicking on the “Insert or remove area” in the toolbox. This will open a pop up window. The settings in the example add one pixel in foreground color, before the first pixel in the image.
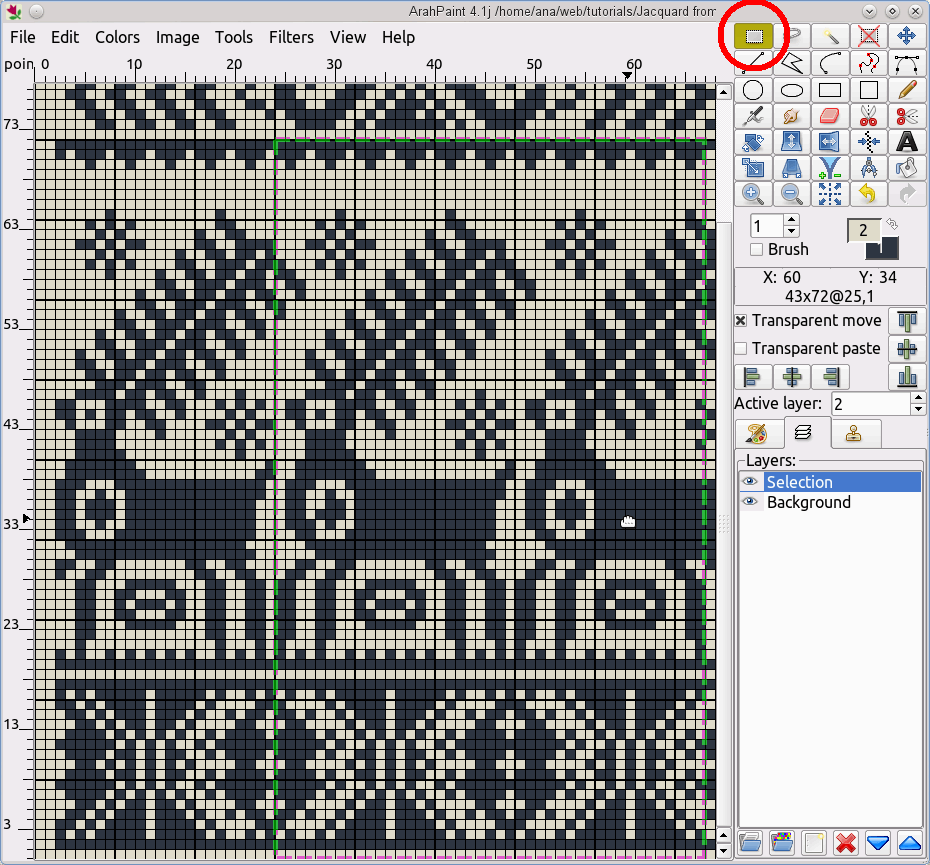
Use the “Rectangular selection” tool from the toolbox and make a selection around the deers and the lower border.
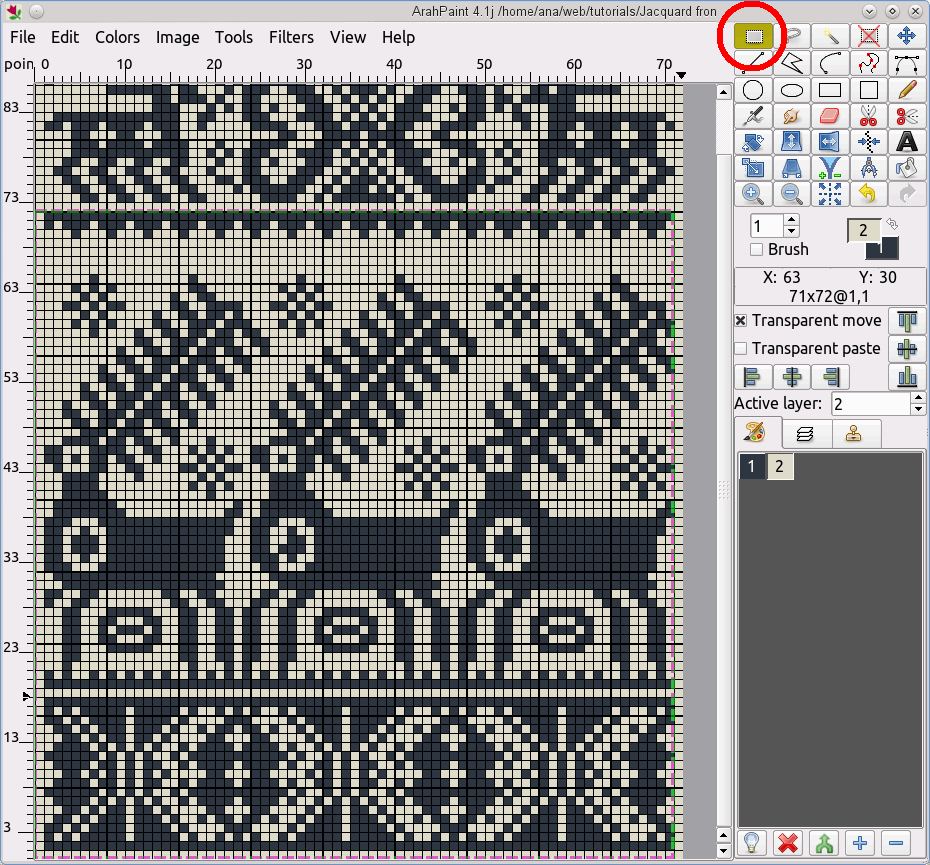
Align the selection to the lower right corner by clicking on the align buttons in the toolbox.![]()
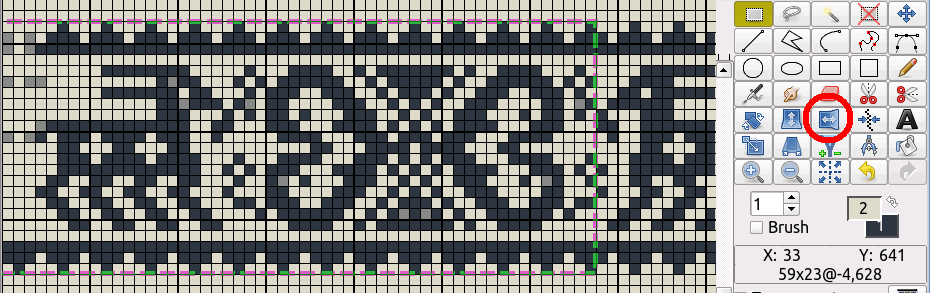
Drop the selection.
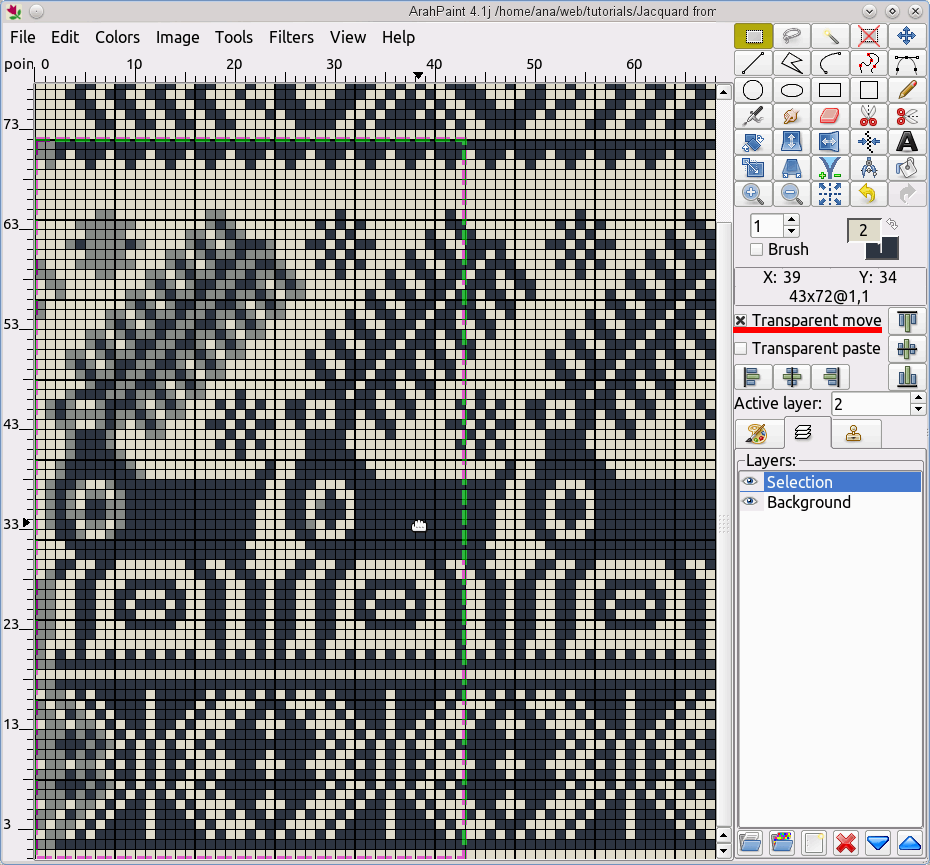
Select an area which has as little mistakes as possible. This area will be copied and used for correction of missing parts in the picture.
Hover your mouse over the selected ares. When the cursor changes into a hand, you can start moving the selection by dragging it. Enable the “transparent move” if you want to see the background while moving the selection.
When you are satisfied with the result, drop the selection.
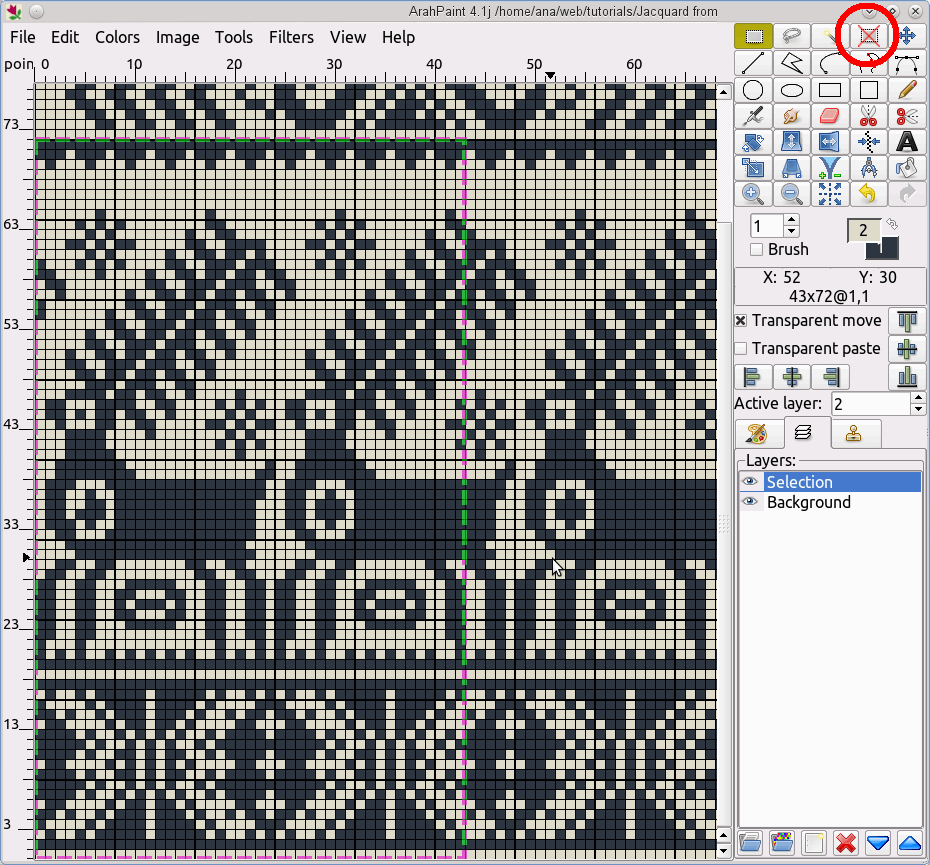
Use this procedure for correcting similar mistakes.
The upper border is mirrored, so the procedure is a bit different.
Select the area which you would like to copy.
Use the “Mirror vertical” tool to mirror the selection. Cover background errors and drop the selection.
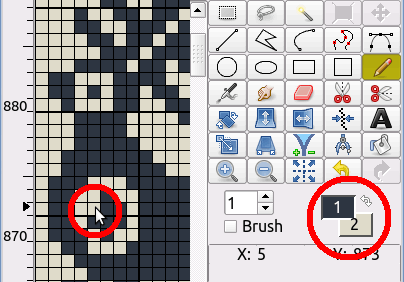
Use the pencil tool to correct single points. Left mouse button draws with foreground color, right mouse button draws with background color.
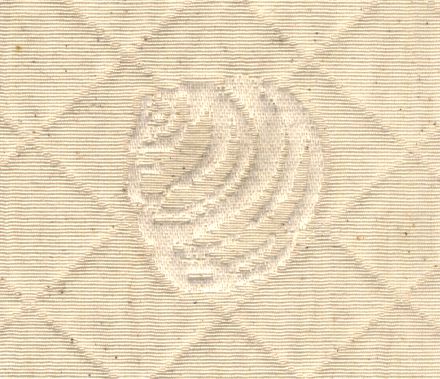
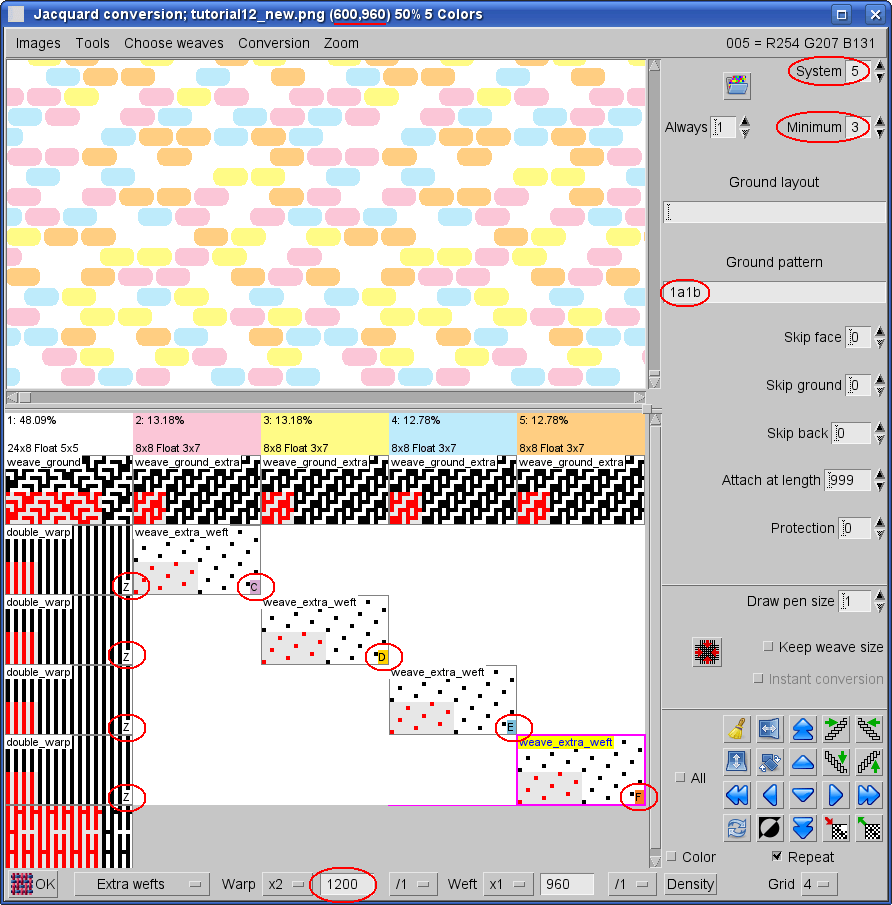
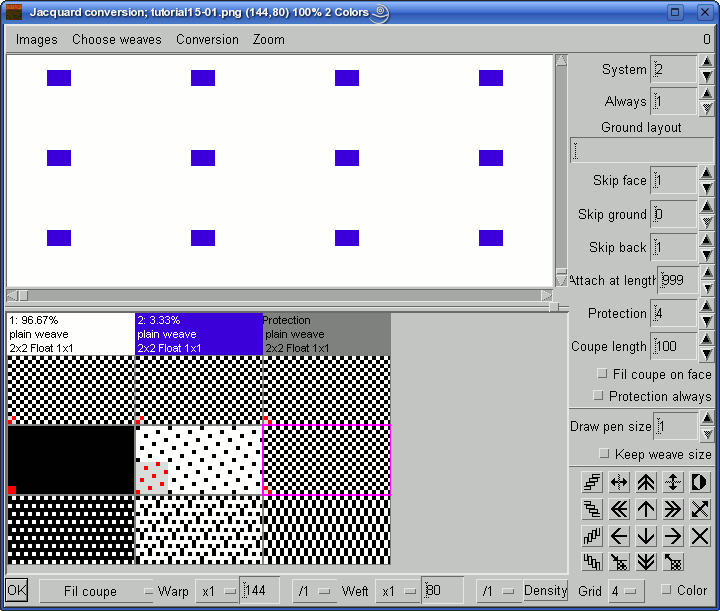
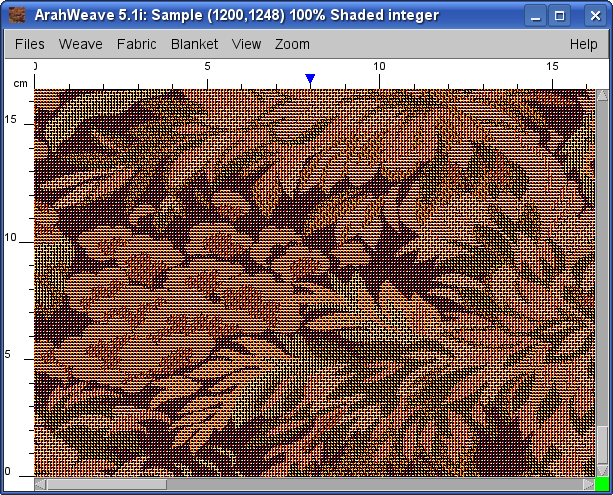
The picture is now ready for conversion into jacquard weave.