
![]()

TUTORIALS
Sfumature di colore con ArahWeave
Color shading is an advanced feature of ArahWeave software for weaving, which enables you to weave any color image into a fabric with roughly the same colors, without any color reduction. So you can go directly from scanning to weaving, without any image editing. You may adjust image contrast, hue, or any other operations, which you do on a photo in order to make it look good.
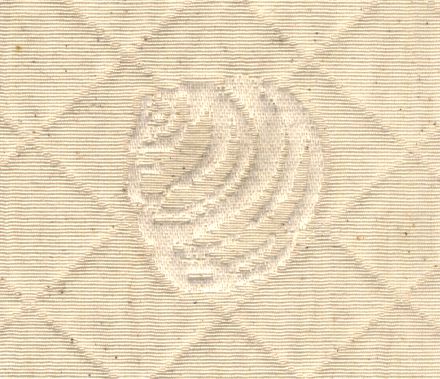
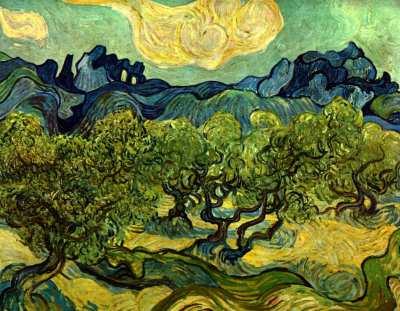
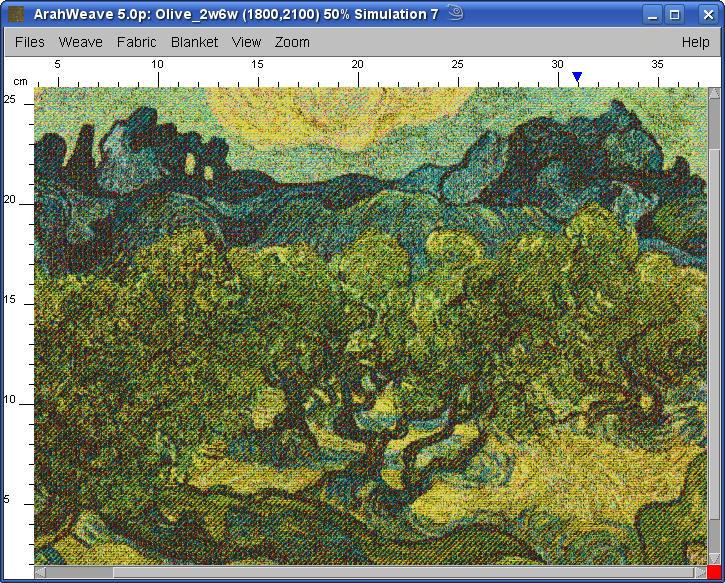
For this example we have scanned the famous Van Gogh’s painting Landscape with olive trees.
Open ArahWeave, choose Files > Browse…
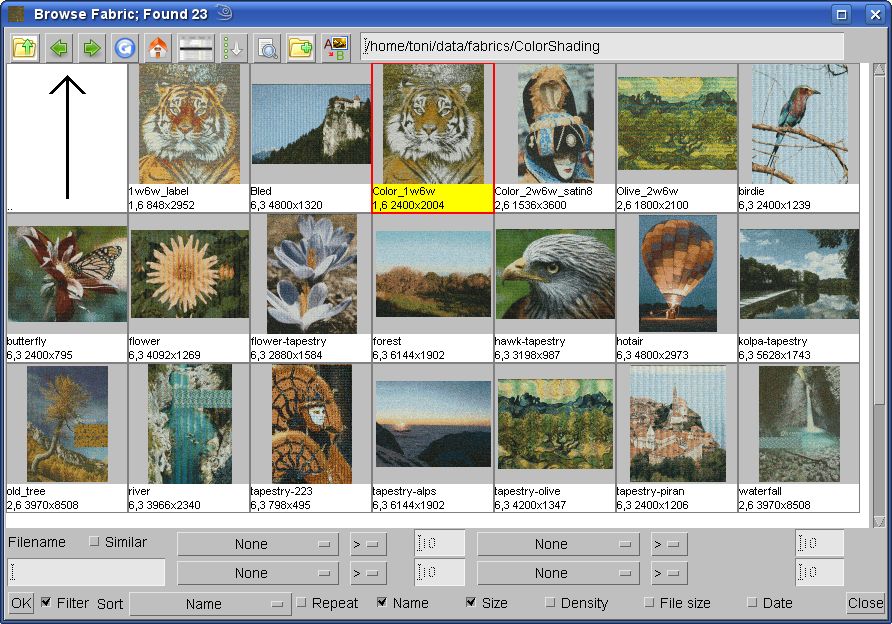
… and load the color shading fabric template file. This file is not present in the demo version of the program. You get it with a paid version of ArahWeave software, or we can e-mail it to you on request, if you have a valid support contract.
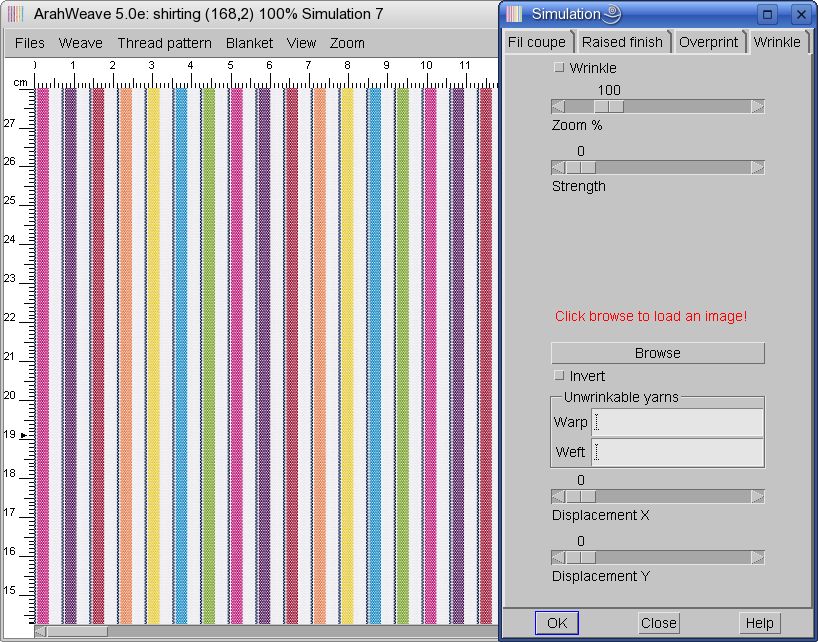
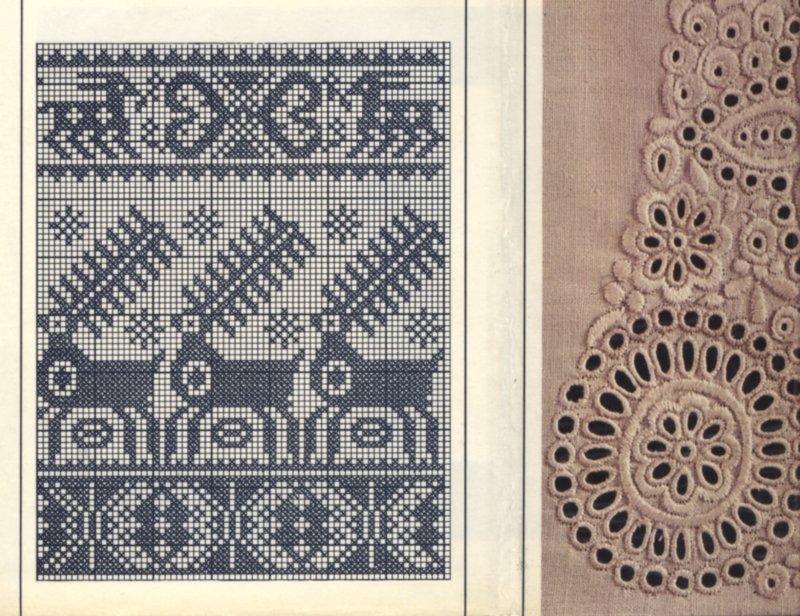
In this color shading template fabric file, we use black and white yarn in the warp, and six colors in the weft.
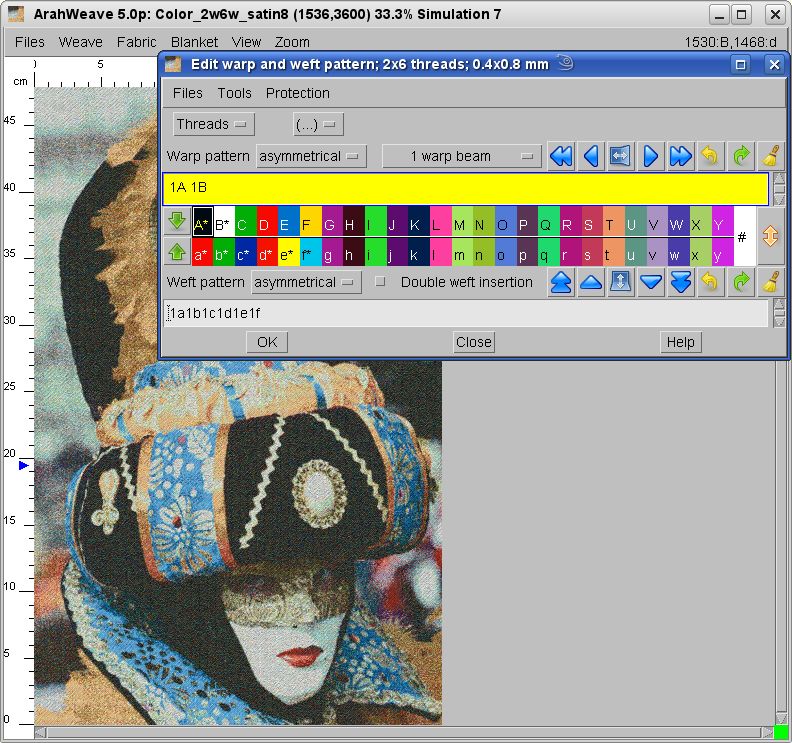
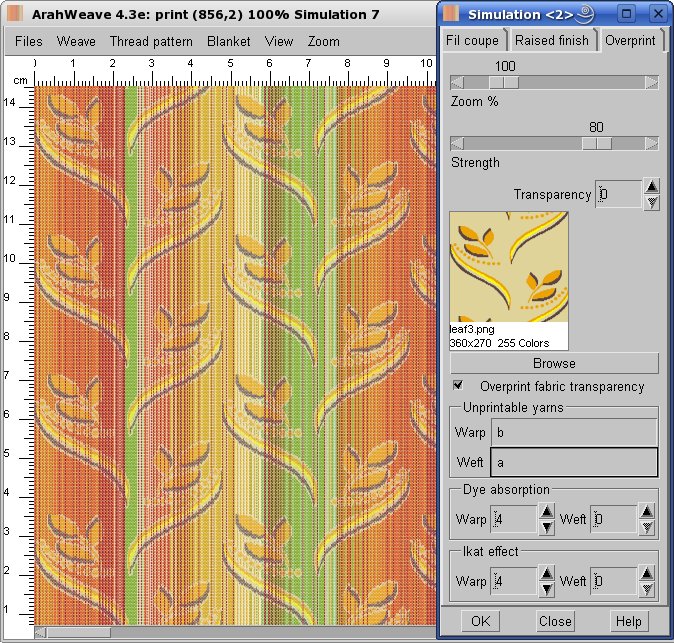
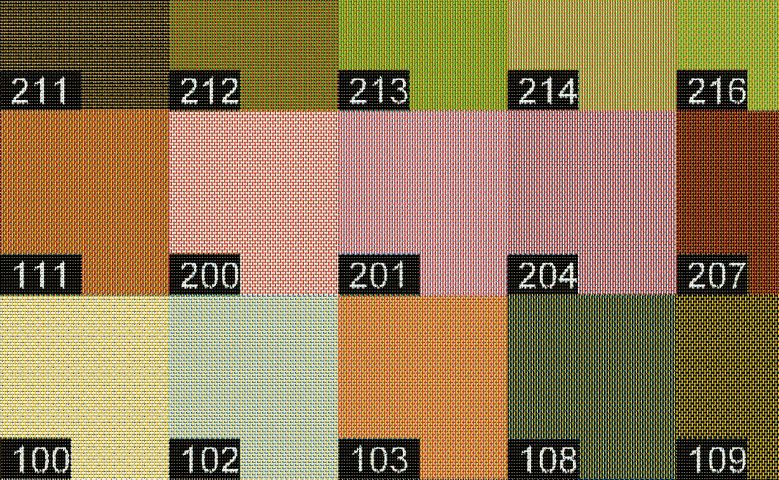
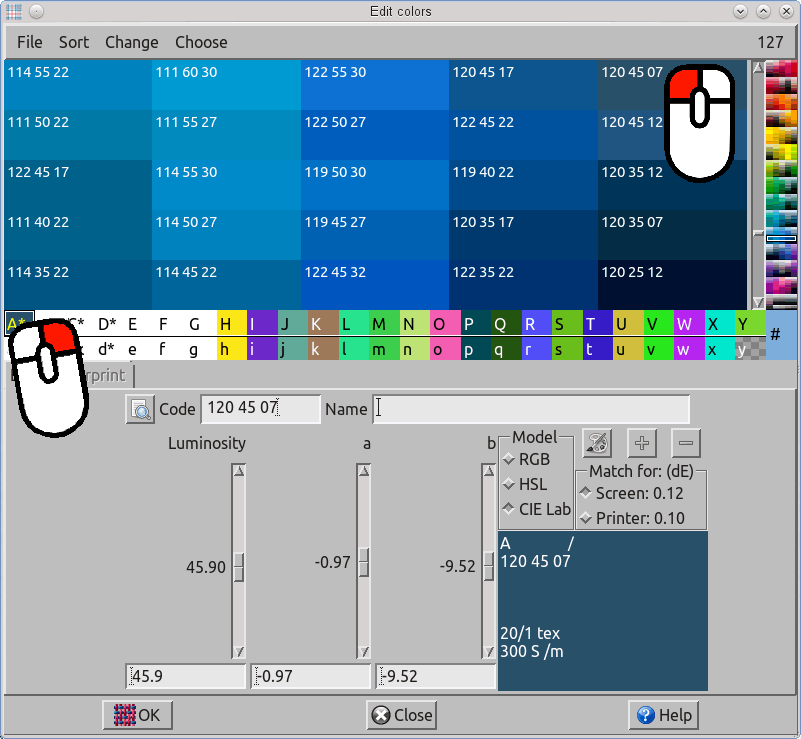
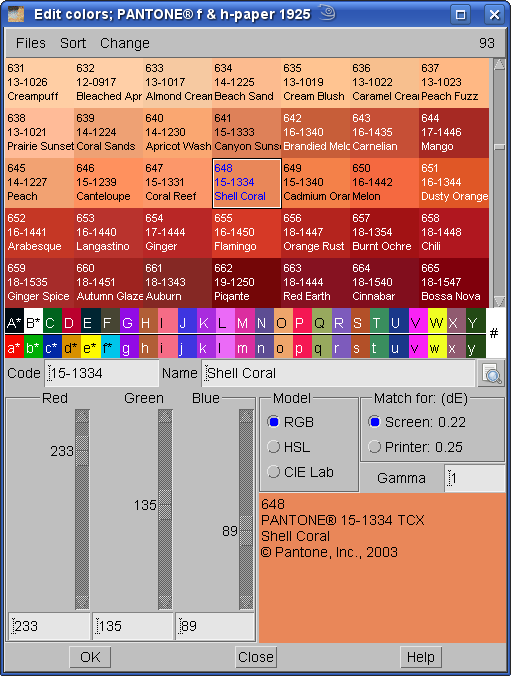
During color shading jacquard conversion, the program chooses (or makes) the most appropriate weave, with respects to yarn colors in the fabric. For more accurate color rendering you can change warp and weft colors into colors, which are actually present in the image. The algorithm for automatic weave generation is flexible, and is not limited to 2 warp 3 weft systems, or to one particular weave type (satin, twill), neither to these particular warp and weft colors. For changing colors choose Fabric > Colors…. From Edit colors window load PANTONE for fashion and home-paper®, and copy colors, which you want to use to warp and weft.
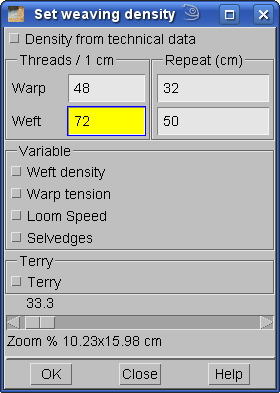
In the following step, we will set the weaving density of the finished fabric, by selecting Fabric > Density. You only need to enter warp and weft density, other fields are not important in this case. If you are not sure what density will you use, just enter the closest approximation. In our case, we are using 48 threads per cm in warp, and 72 threads per cm in weft. Your density will probably be different.
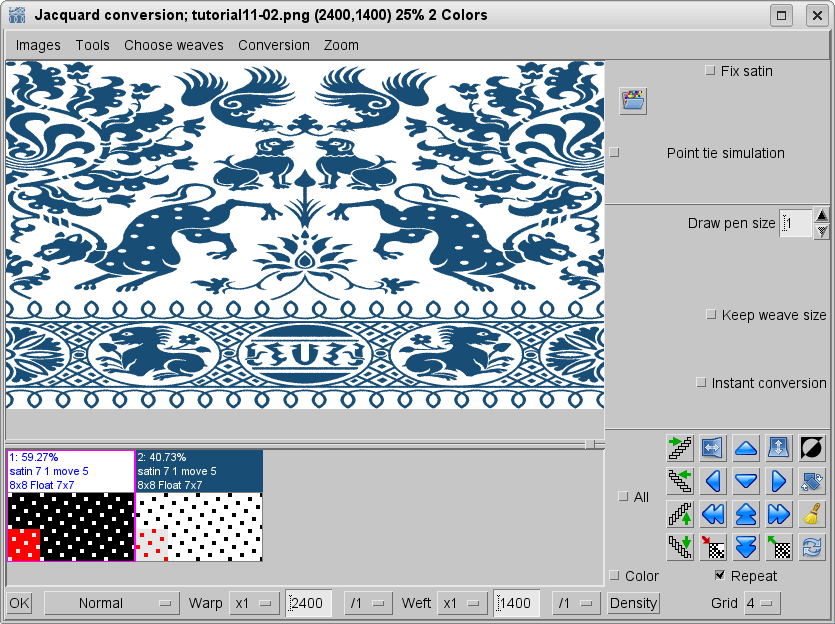
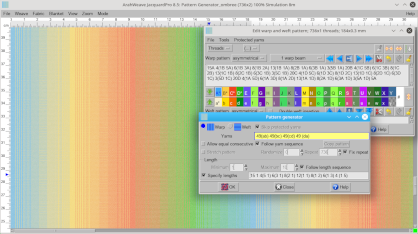
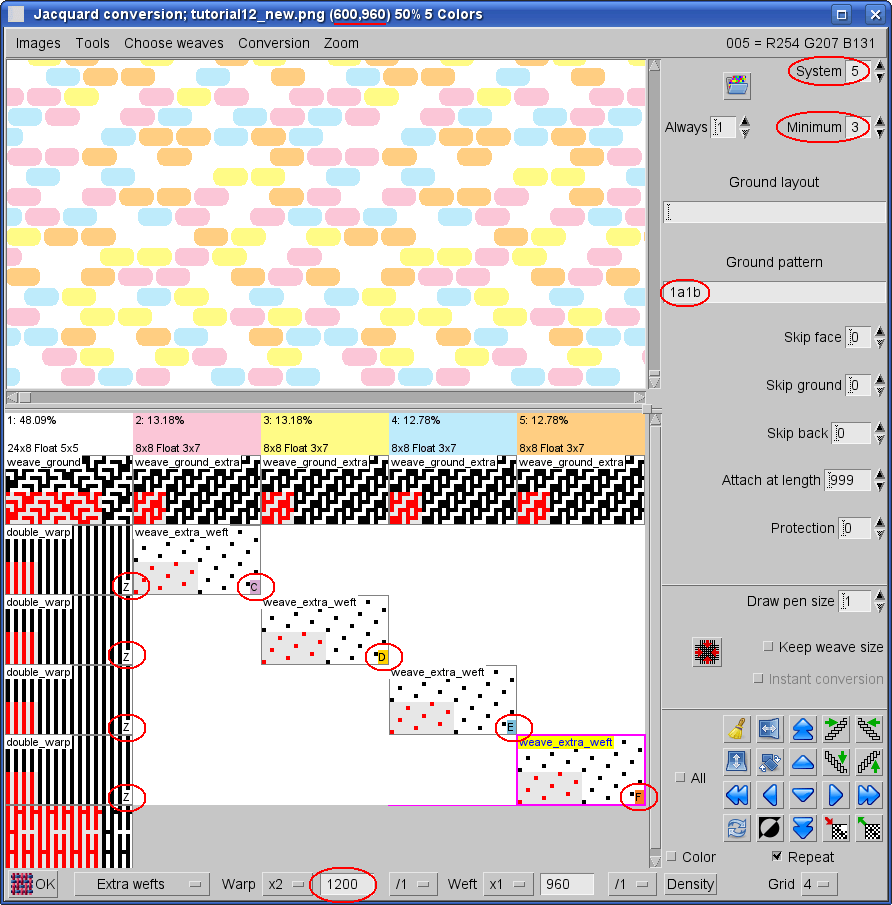
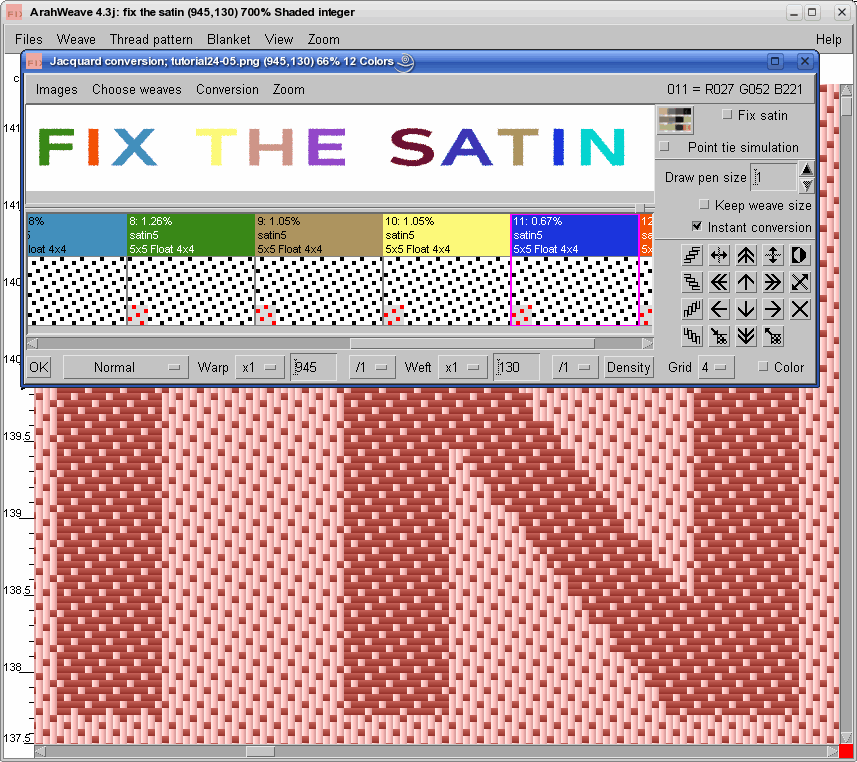
Now we need to open the jacquard conversion window, do it by selecting Weave > Jacquard conversion….
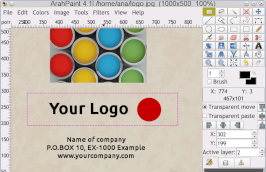
Load the color image, which you want to weave by selecting Images > Browse. The picture must be in full color 24 bits per pixel, for example in JPEG image format.
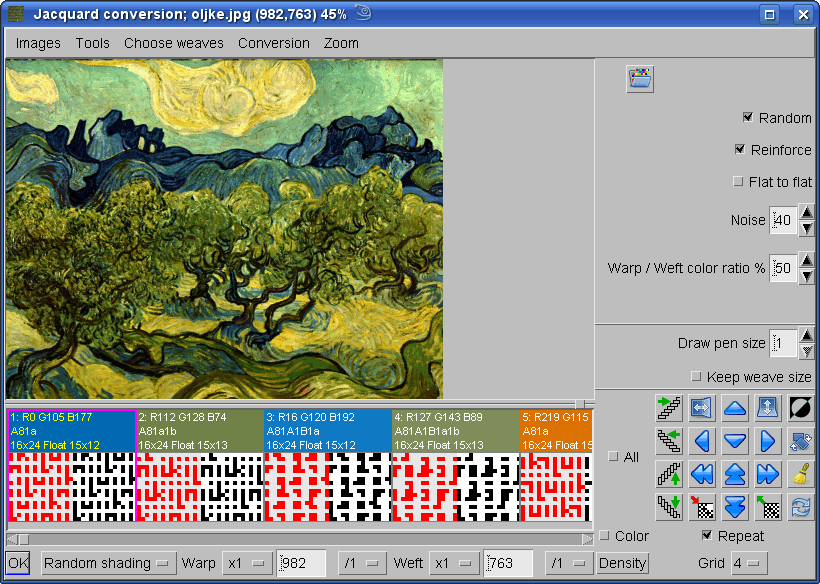
Below the image, you see the basic weaves used for color shading. Program displays 256 spaces for weaves, but only the first weaves, which are filled in, are actually used. Most users do not have the knowledge needed to make new color shading weaves, so you should leave the weaves as they are.
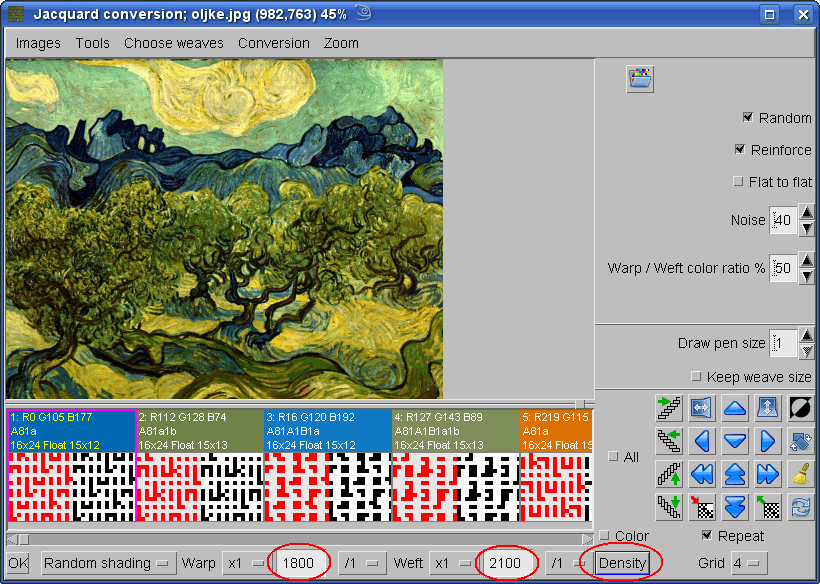
You need to enter the number of your pattern hooks in warp, for example 1800. Click the Density button and the computer will automatically calculate number of wefts (picks), which will keep the proportion of the image, based on fabric density. Program will fill in the value of 2100 in the weft field, as you click on the Density button.
You have five options for fine tuning of the final result:
- Random: this toggle button gives you choice of two different dithering algorithms, which give the impression of increased number of color levels. You can try both to see which works best for you.
- Reinforce: with reinforce turned on, the program changes the length of floats of warp and weft in the “original” weaves to achieve color accuracy. This only works for certain types of color shading weaves. You should leave the setting which was present in the template.
- Flat to flat: sometimes you want the text labels or borders in color shading to remain unaffected by the noise, which is usually added to the picture to achieve a smooth shading. If the Flat to flat button is turned on, the program will search for areas of flat color in the true color image and will not apply any dithering noise in that area.
- Noise: with this option you can make smoother color transition between shades. The value goes from 0 to 99, experiment with it until you find a good compromise between smooth rendering and loss of detail.
- Warp / weft color ratio: you can specify the relative importance of warp and weft effect in the calculation of color shading weaves, expressed as %. Default value is 50, that means that the importance of warp is equivalent to that of the weft. By changing it, you can make the final fabric image more or less saturated, if you have black and white warp and colors in the weft.
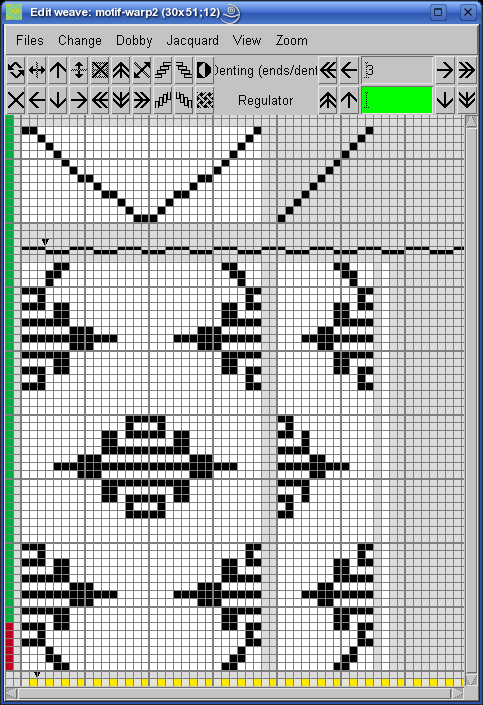
Click the OK button and ArahWeave software will make the transformation. After few seconds, you have the resulting weave.
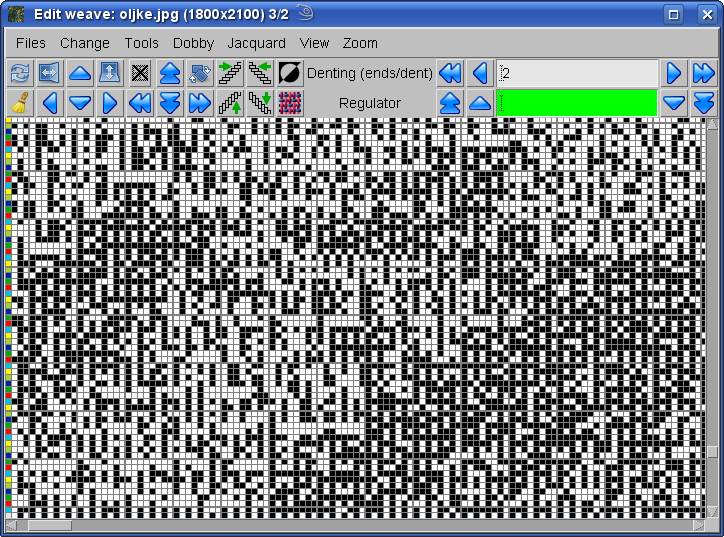
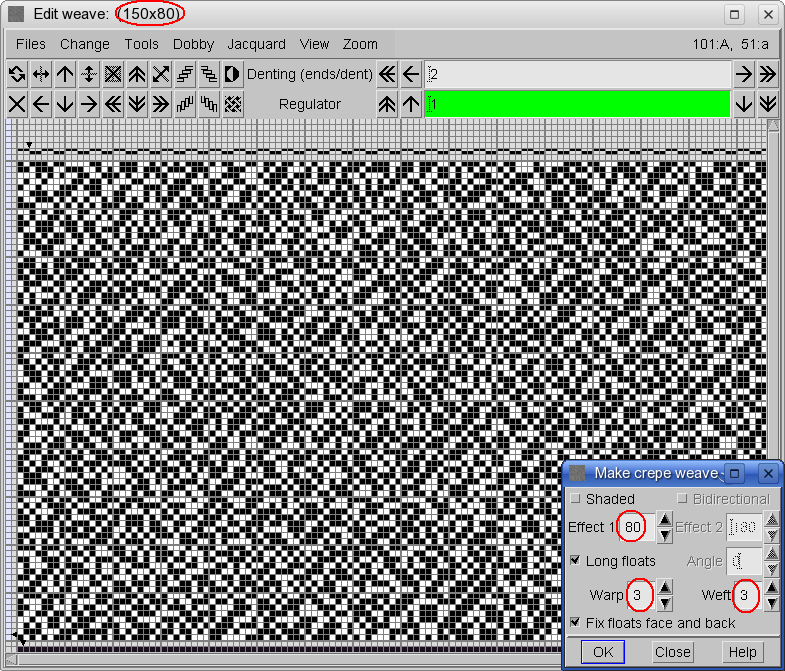
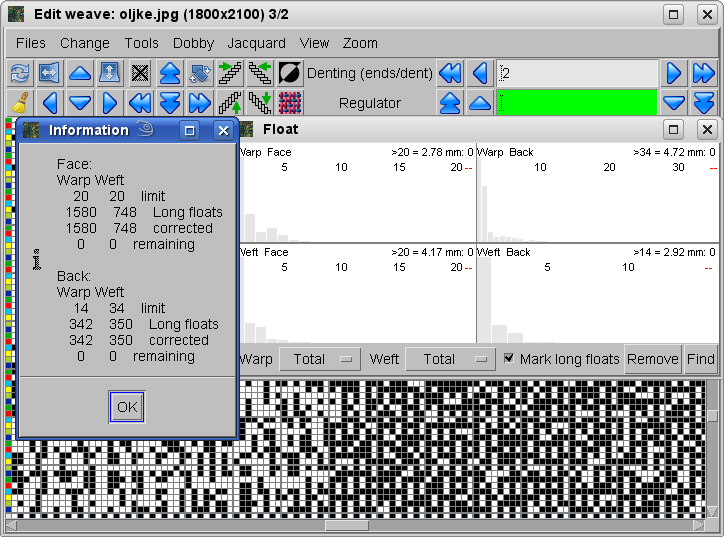
Before preparing the file for weaving, we must correct the float errors. Usually you will have considerable number of long floats after color shading conversion.
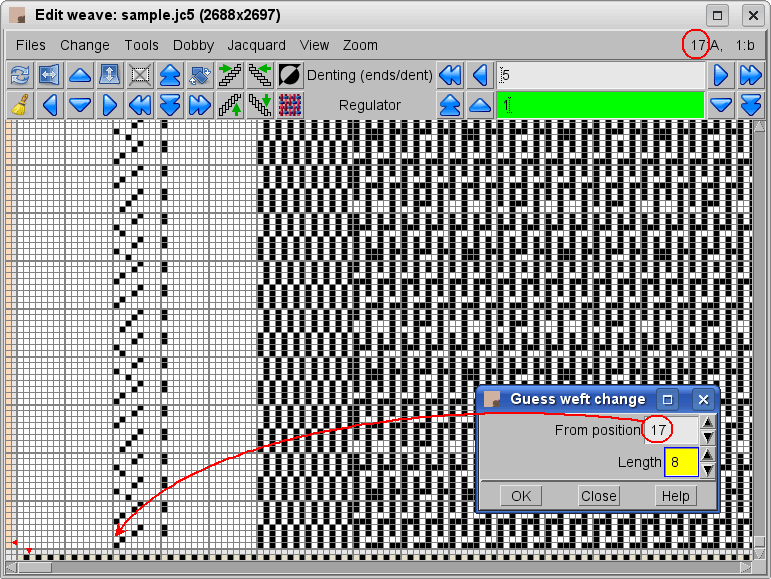
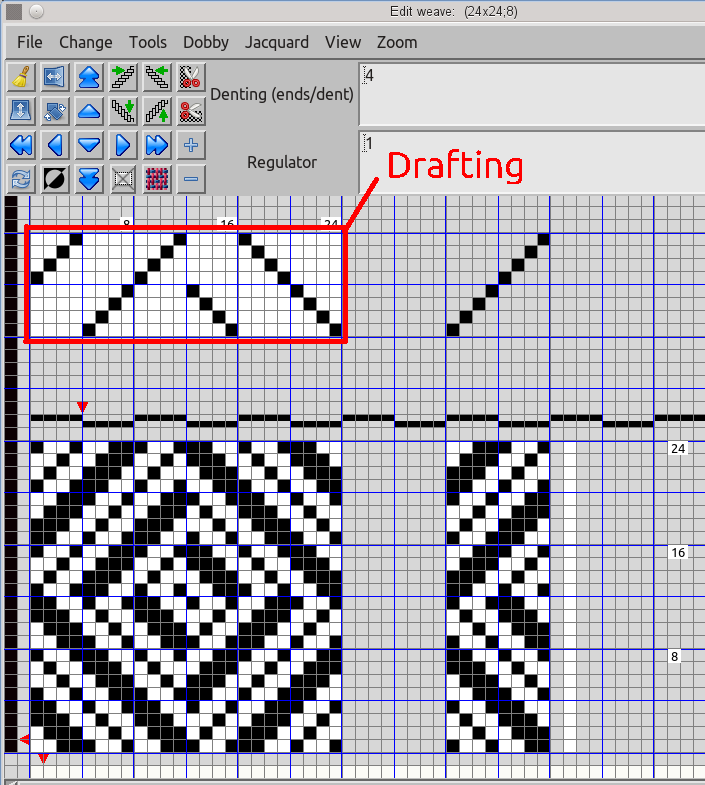
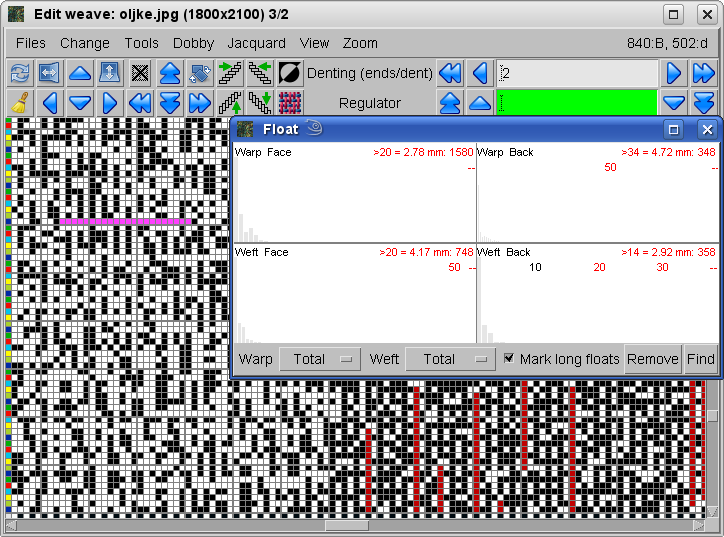
In the Edit weave window choose Change > Float. A window with separate graphical report of float length for warp, weft, face and back of the fabric will pop up. You may need to resize the window to see all the data. If there is enough space, program will display the exact number of floats of length 1, length 2, length 3, etc. To see how many floats are longer than let say 20, just click on 20, and program will sum up the total number of long floats and display them in red in the relative top right corner. Besides, it will also display what the length of float over 20 threads in mm, according to current density setting. By clicking on the float report, you set the length of acceptable float. To see the location of errors, click on toggle button Mark, and weft long floats will be marked in red, while warp float errors will be marked in cyan. Only the errors on face of the fabric will be shown. To see the long floats on the back side, negate the weave, or Reverse the fabric. Long float errors will be shown both in weave window and in main fabric display window, if you use Weave or Integer view mode..
Then in the Edit weave window choose Change > Fix float face and back and program will remove all floats longer then selected ones. Correction of long floats has very little influence on the fabric appearance in the case of color shading. You will get the report about correction of long floats. If you will set meaningful long float limits, all the long floats will be removed automatically.
If you will use this function many times, you do not need to use the float control window at all. The long float limits are already set in the fabric template file, so all you need is press h on the keyboard to fix the floats, and you are done.
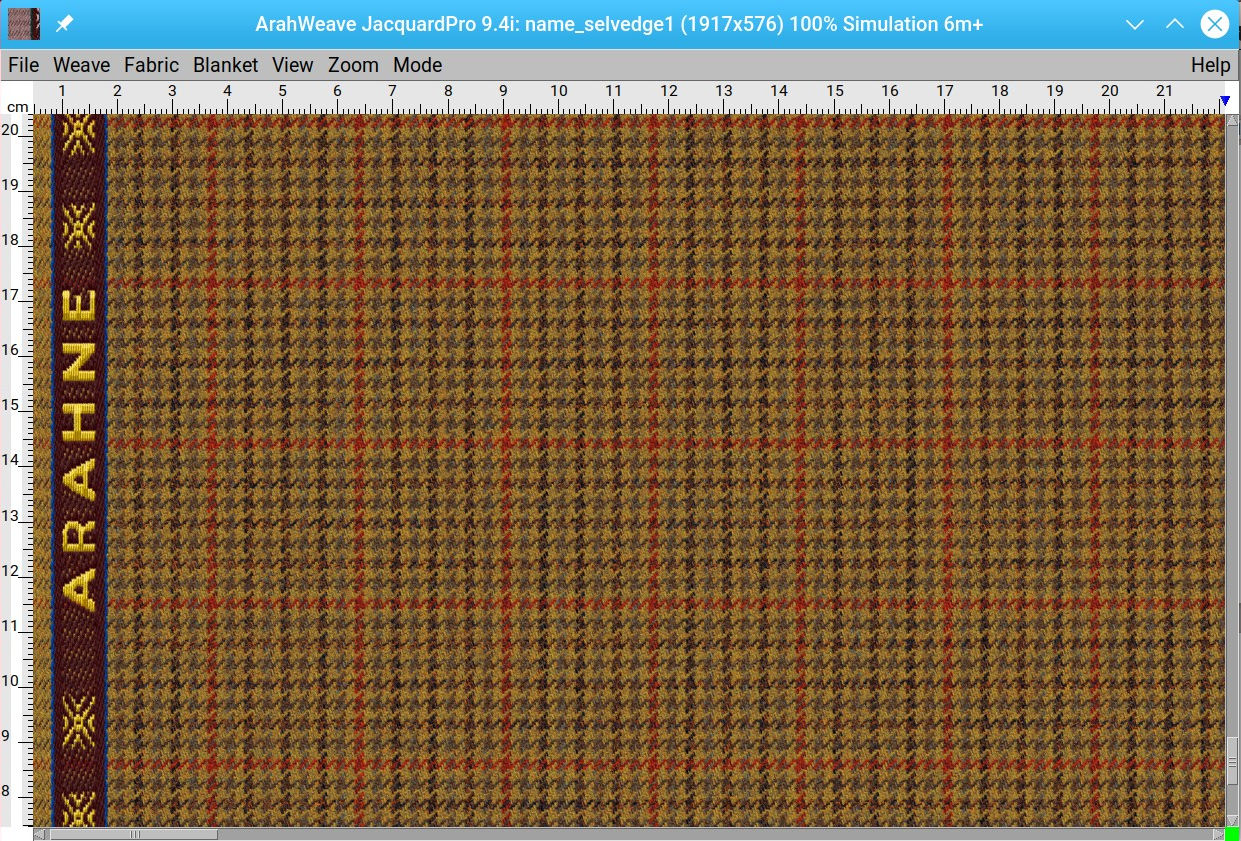
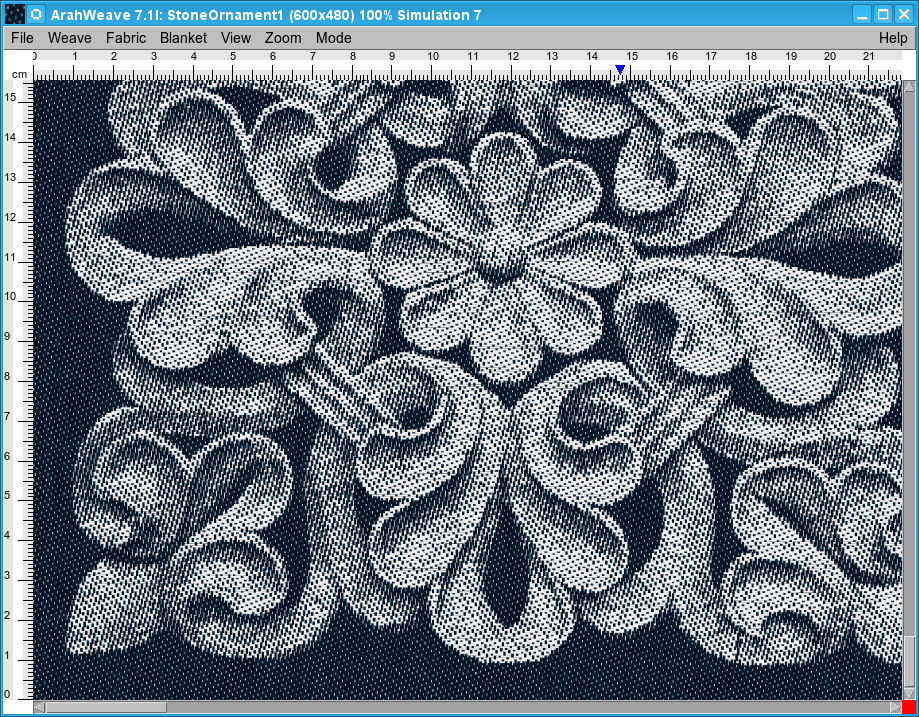
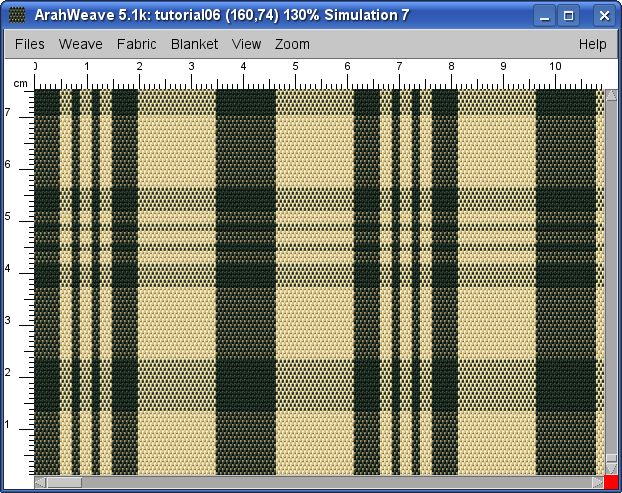
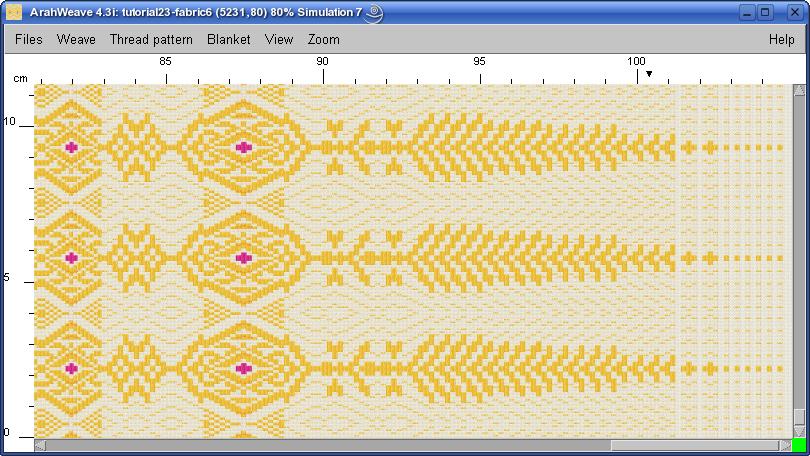
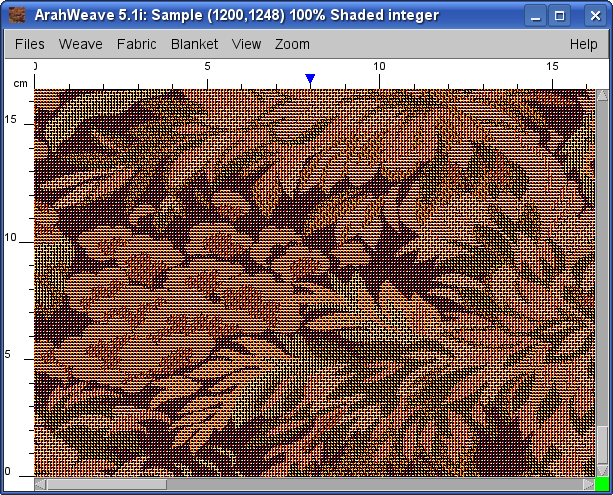
To view the simulation of fabric on the screen, select View > Simulation 4; higher value of simulation number means better quality of the simulation, but also slower simulation calculation time. By clicking on the desired number in the Zoom menu, you will enter desired zoom mode. Value 1:1 means 100%, 2:1 stands for 200% etc. You can also set zoom in Fabric > Density to any value between 5 and 1600%. The current zoom factor is also displayed in the main window’s title.
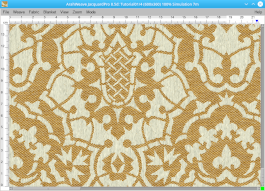
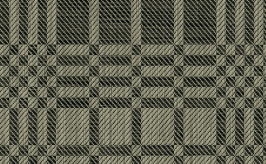
Here is fabric simulation at 100% zoom.
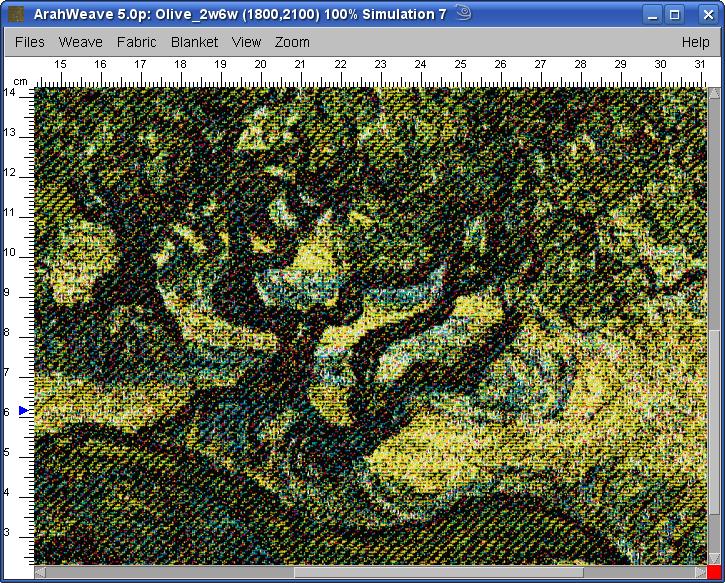
Ideally, you will want to weave color shading pictures at maximum number of hooks available on your jacquard. The fabric in this tutorial uses just 1800 hooks, but if you have a jumbo jacquard with 9600 or 12000 hooks, you will be able to render the image with much more detail.
We have developed several different fabric constructions for color shading. In this tutorial, we have presented a 2 warp 6 weft construction, but we also have normal tapestry with 6 warps and 3 wefts, rotated tapestry with 3 warps and 6 wefts, 1 warp and 6 wefts, 5 warps and 3 wefts, etc. You can also make your own color shading constructions, if you understand weaves really well. The construction of custom color shading template files will be explained in a separate tutorial.