
![]()

TUTORIALS
ArahDrape - Software di texture mapping
What is the biggest curse of a weaver? Opinions will vary on this issue, but poor contact with the final customers is definitely one of them. There are just too many middlemen in this business. We can not address the surprisingly low percentage of the fabric cost in the final product. But we can help the weaver in making a better presentation of her fabric used in a finished product.
Using ArahDrape, you will be able to show the looks of your fabric on a shirt, tie, jacket, sofa, tablecloth, bed-linen or whatever the final use of your fabrics may be. You will be able to present the whole collection of your fabrics, and answer many mix and match “What if?” questions at almost zero cost. What if we rotate this pattern by 45 degrees? Can you make it 20% smaller? You will have the picture to answer the question in the time it takes to ask it.
In this tutorial (the PDF version of this same tutorial can be found here), we will present the whole procedure of making your own drape models from zero; in a real-life presentation you will have the models already prepared, so you will just apply the different fabric textures from your current collection.
In this tutorial, we will present the whole procedure of making your own drape models from zero; in a real-life presentation you will have the models already prepared, so you will just apply the different fabric textures from your current collection.
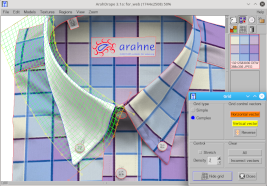
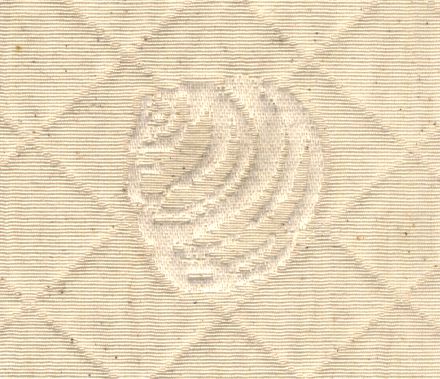
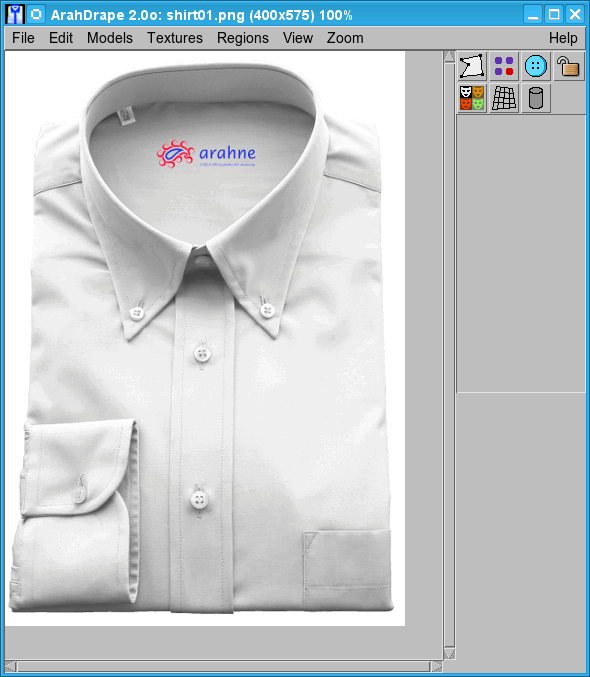
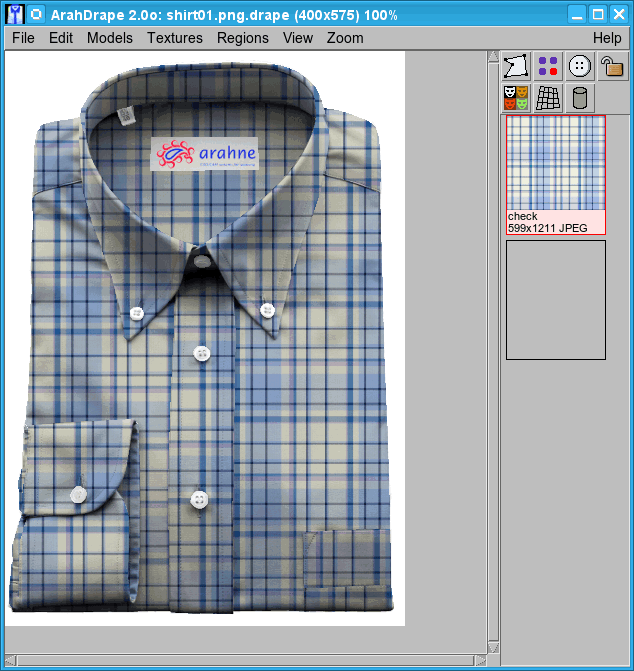
Open ArahDrape by clicking on its icon on the desktop. You will need a picture of the model or the product, with fabric areas in white or in single color. We want to keep the shades and the spirit of the original photo, and just replace the fabric. If the model will already have the fabric with a pattern, we will not be able to remove the pattern and insert a new one, while keeping the shades of the original image. You can scan the picture, or make a photo with a digital camera, and transfer the image into the computer. Then select Models > Browse…, and double click the thumbnail of the image.
The image will appear in the main ArahDrape window.
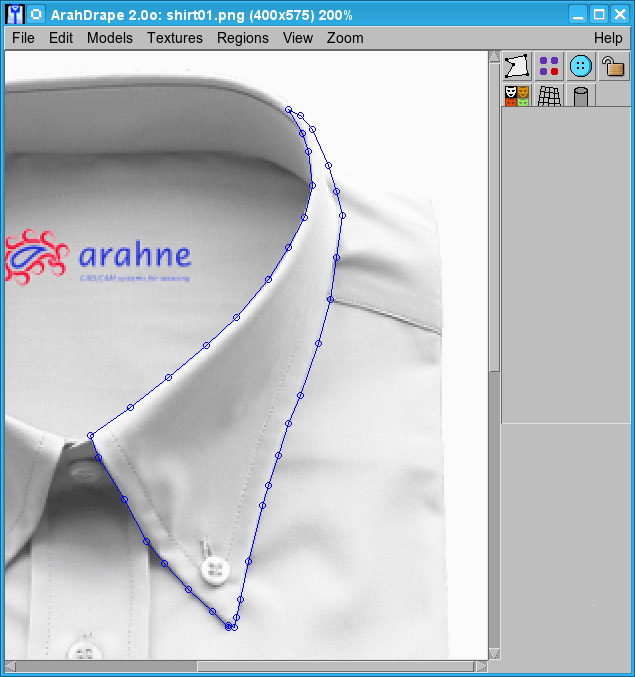
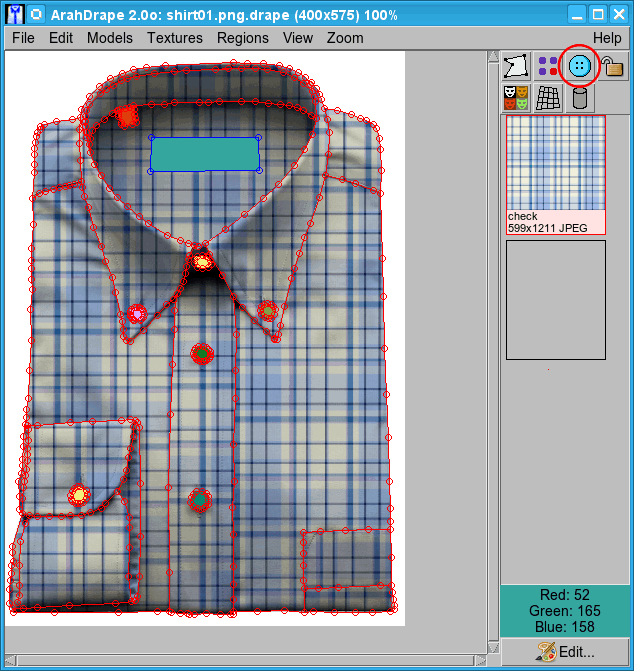
First you have to draw limitation vectors around each region. Region is an area within the image, where you want to overlay a fabric texture, or a hole within a fabric. Choose Regions > New > Vectors, or simply click on the Create new region . ![]() . It changes into
. It changes into ![]() , which indicates that you are in region drawing mode. Click to create a first point of the region. Position the pointer where you want the first straight segment to end, and click. Continue clicking to set endpoints for subsequent segments. To close the region border, position the pointer over the starting point, and click, or right click to close the region from your current position to the starting point.
, which indicates that you are in region drawing mode. Click to create a first point of the region. Position the pointer where you want the first straight segment to end, and click. Continue clicking to set endpoints for subsequent segments. To close the region border, position the pointer over the starting point, and click, or right click to close the region from your current position to the starting point.
There are user friendly functions for editing regions:
● If you want to stop drawing the region, you can press the right mouse button at any time, and the program will close the region from your current position to the starting point.
● If you make a mistake and want to delete just the last point which you have drawn, press [Esc] key on the keyboard. It will work several times.
● If you want to add a point into an already finished region border, point a mouse cursor where you want it, and click with the middle mouse button.
● To delete a point, click on it with the middle mouse button.
● By clicking on the left mouse button you can move a point – keep the mouse button pressed and drag it to a new location.
● To delete the whole region, click on a region and press [Del] key on the keyboard, or use Regions > Delete from the main menu.
The default color of the active region is blue, while the color of unselected regions is red. The colors of lines can be changed in Files > Preferences….
On many occasions, the limits of one region will border another region. You will need to draw the points of your new region on the same point as the border regions, otherwise they will not join correctly and some pixels will “shine” through the borders. This can be quite a dull and time consuming task. We will show you a trick, which will allow the program to automatically draw the area border vectors along the existing area.
To draw another region, click the Create new region icon ![]() again. Start drawing vectors around the shirt pocket: look at the points 1, 2, 3, 4 on the picture below. Instead of clicking on many border points along the pocket from point 4 onwards, we will make a shortcut directly to point 5.
again. Start drawing vectors around the shirt pocket: look at the points 1, 2, 3, 4 on the picture below. Instead of clicking on many border points along the pocket from point 4 onwards, we will make a shortcut directly to point 5.
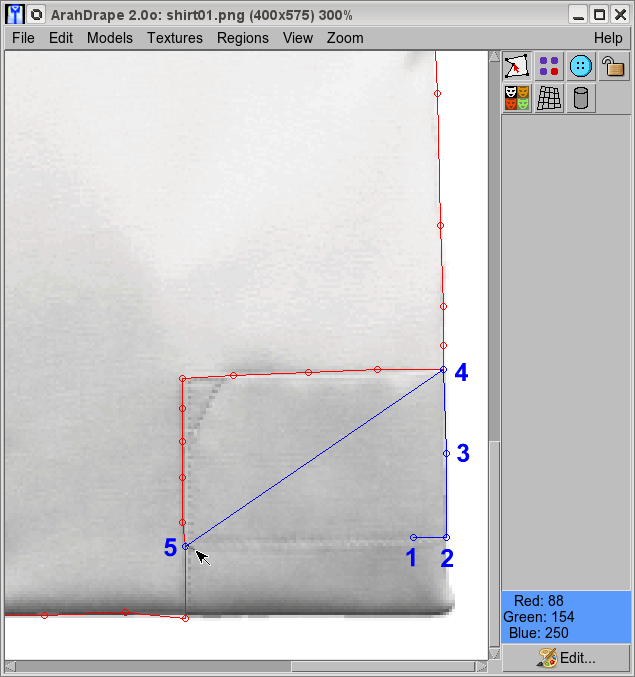
Now press the spacebar, and the program will automatically draw new vectors along the common vectors between the last two points.
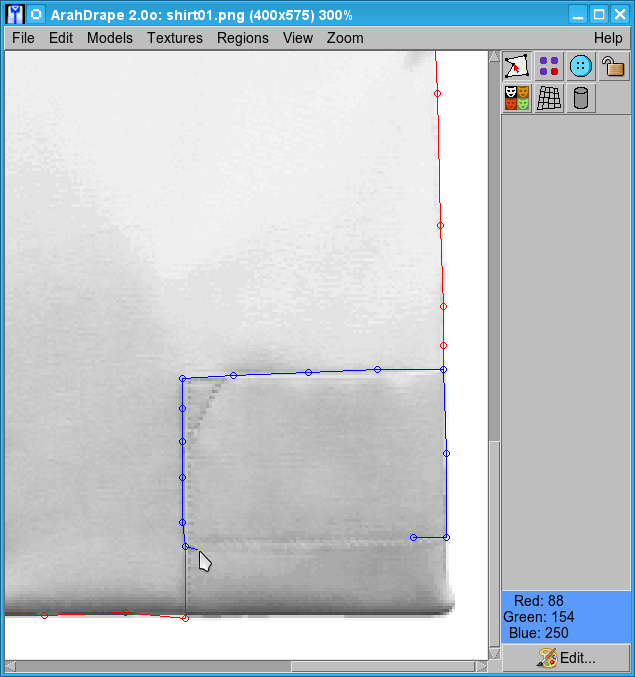
Obviously, there must be a connected path of vectors of other areas from one point to the other, or the program will not know what to do. Program will always choose the shortest connected path – it is a genuine shortcut!
You must draw region borders for all areas – including the holes in regions, like the buttons. Once you have drawn all the borders, you will be ready to load the texture, which you want to drape over the area.
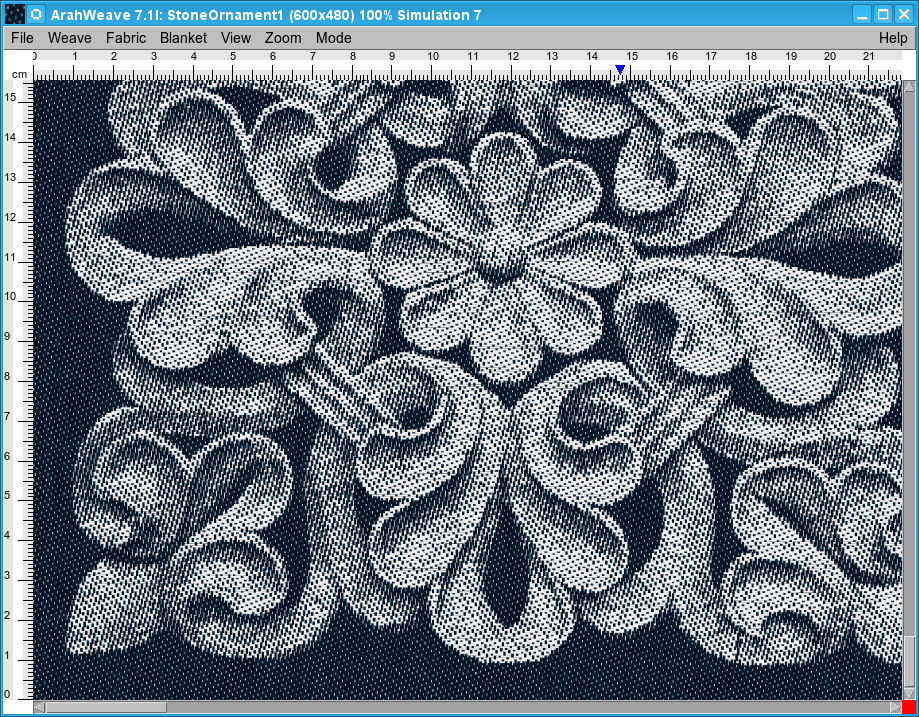
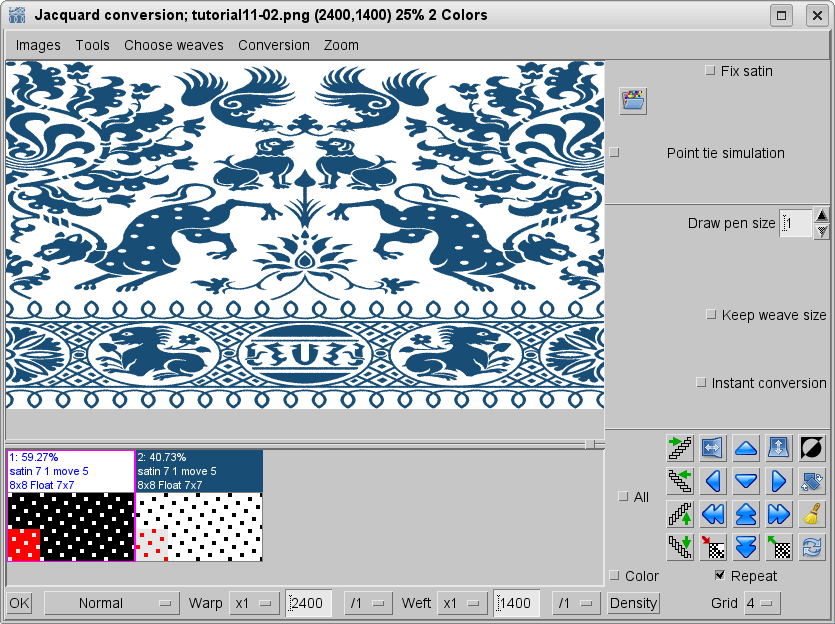
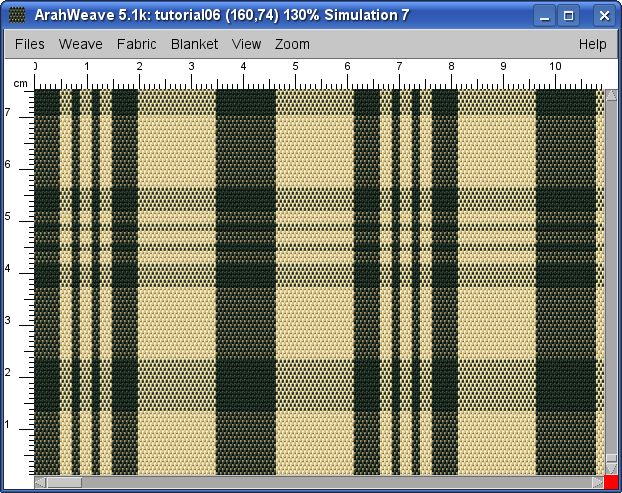
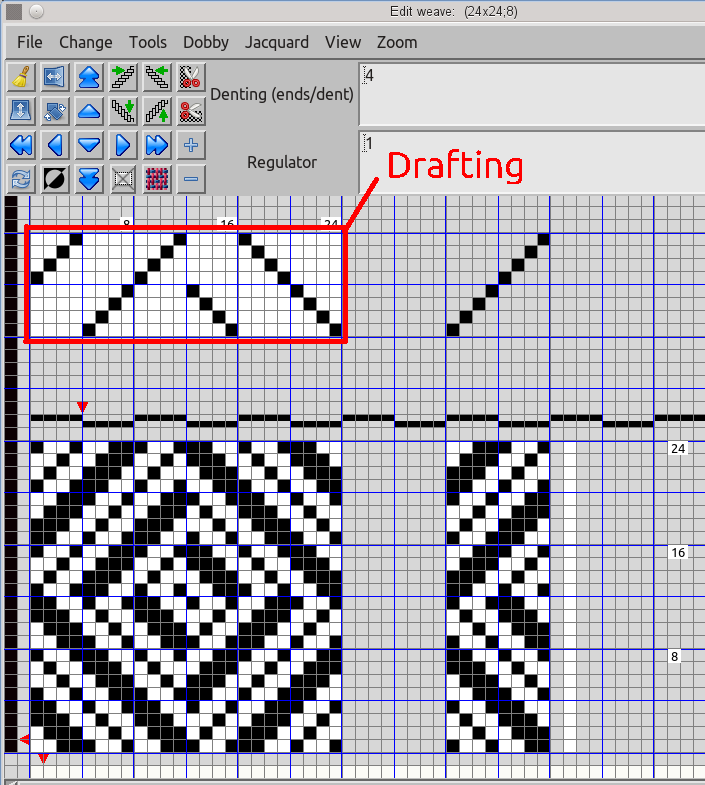
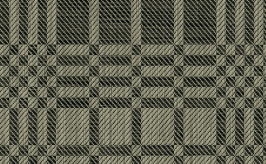
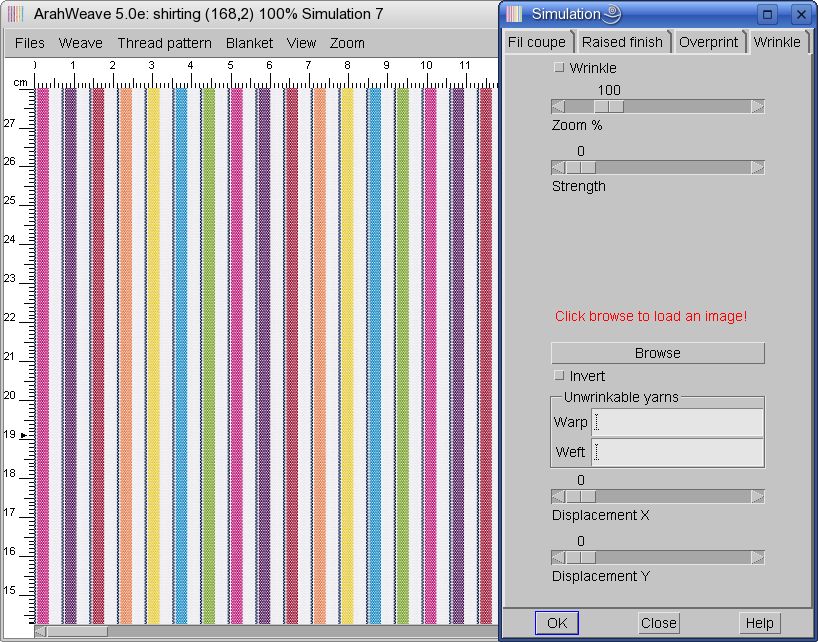
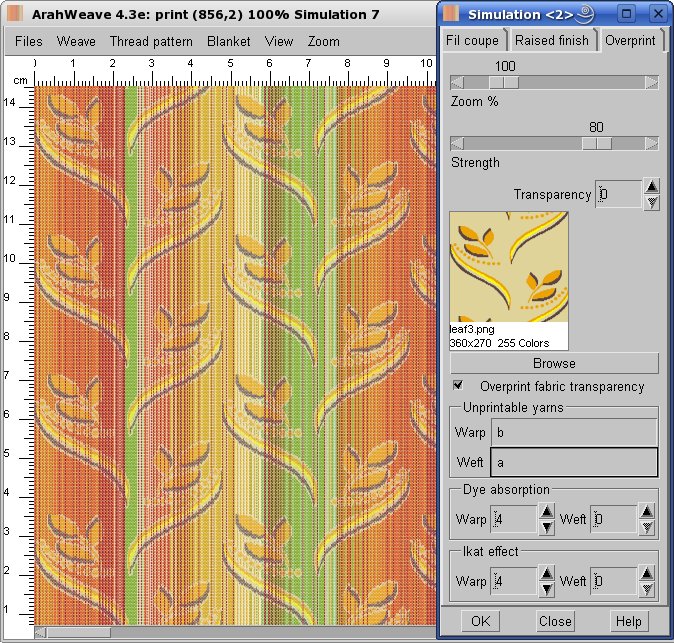
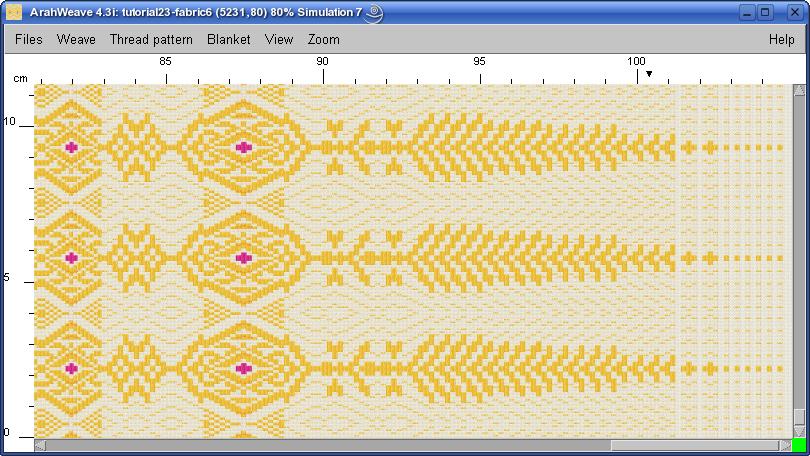
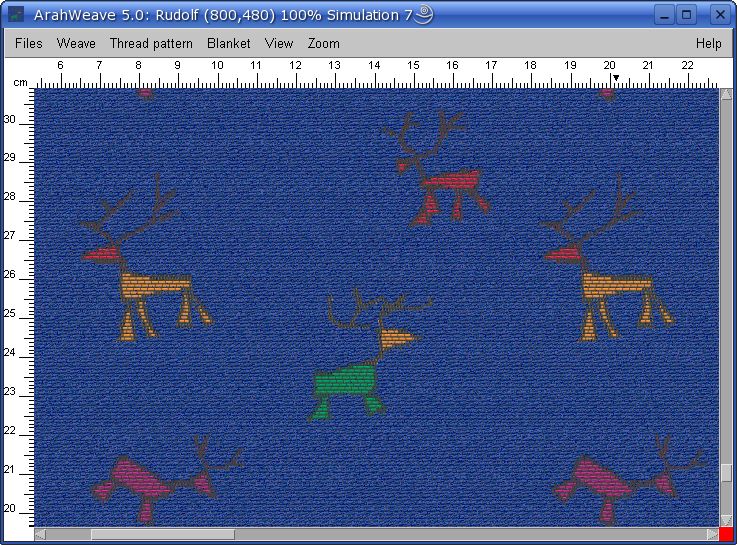
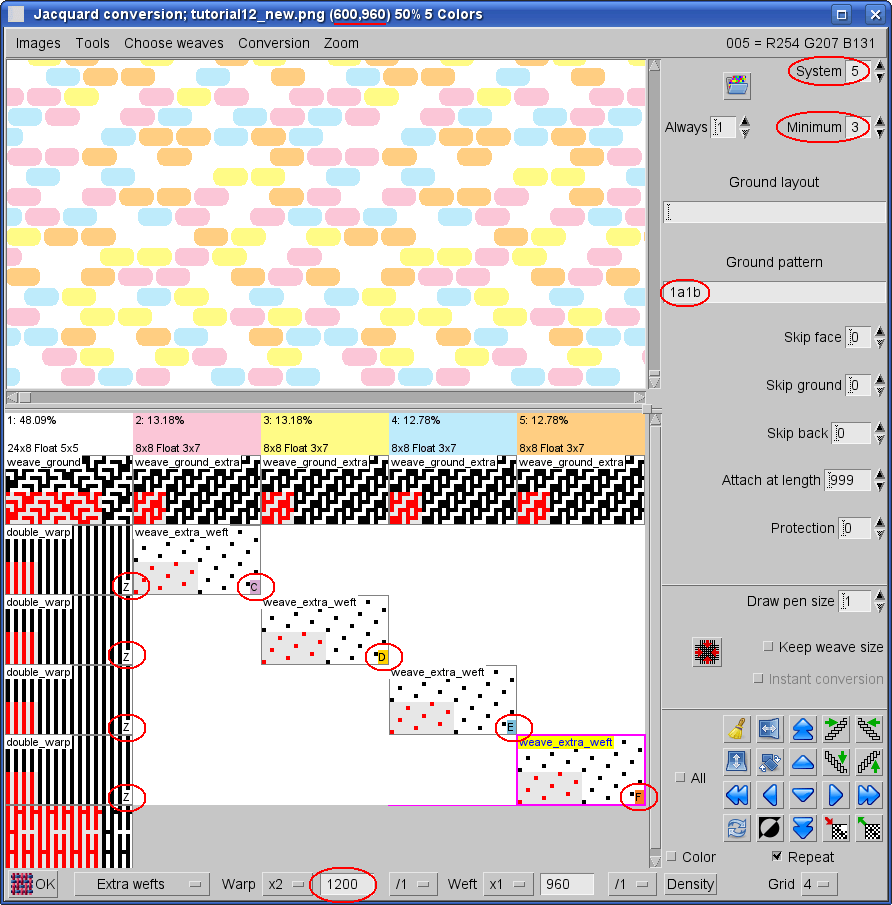
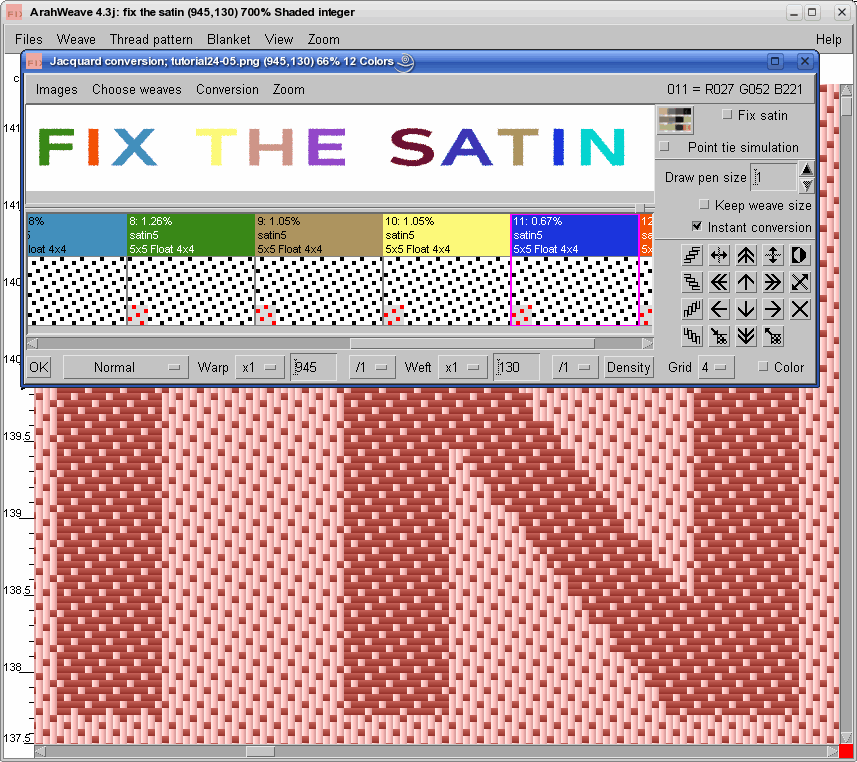
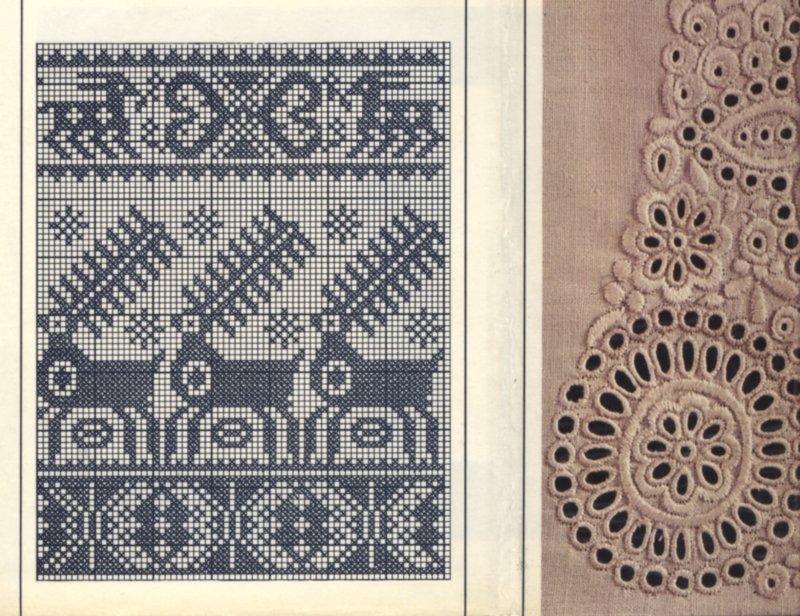
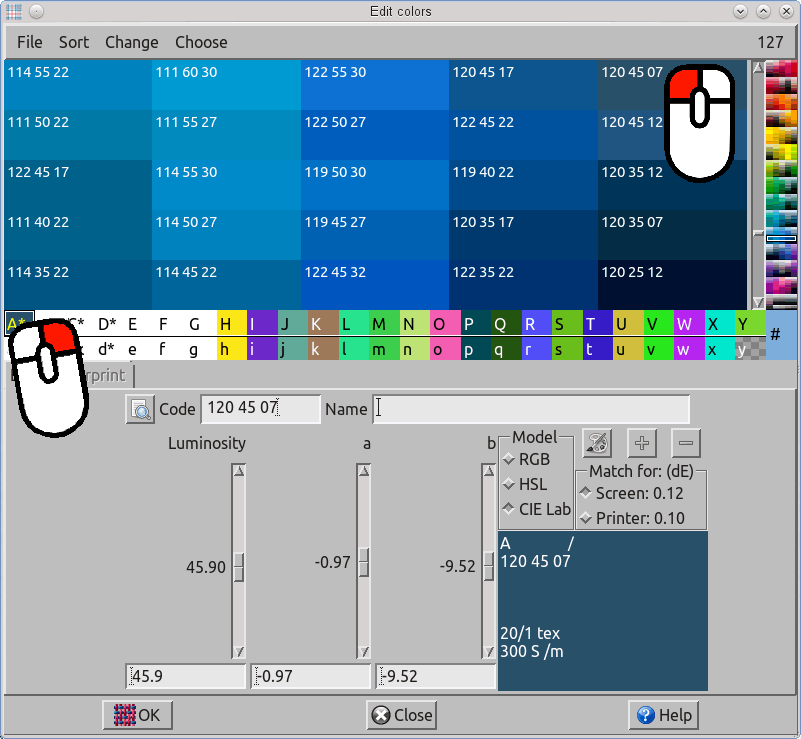
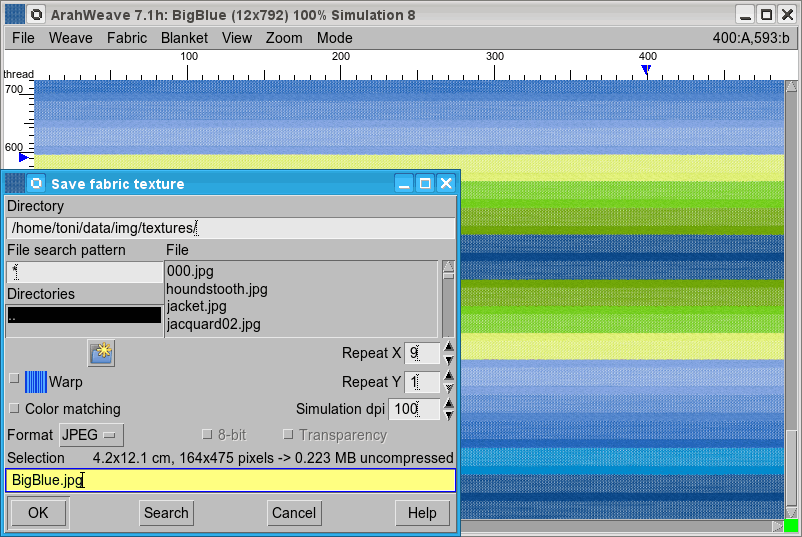
Texture can be any picture in a supported graphical format (PNG, TIFF, GIF, JPEG). It will probably be in repeat, but you may also use texture pictures, which do not repeat themselves. If you scan or photograph a fabric, you will probably spend some time adjusting its repeat. The easiest way to make a fabric texture is to save a fabric simulation from ArahWeave. This way you can be sure that the image will have perfect repetition. The following screen shot shows the window for saving fabric textures in ArahWeave. You call this function in ArahWeave if you click on Files > Save fabric texture... The options are pretty straight forward:
● You can set image formats (JPG, PNG, TIFF).
● dpi – dots per inch; probably 100 to 150 dpi will suffice for most cases.
● Filename is set automatically based on the current fabric name plus the suffix from the chosen image format.
● Program displays the actual texture size in pixels above the filename, so you have the feel for the size of your texture. If your fabric repeat is small, and the pixel size is 3000×3000, then your dpi is probably too high. If your image repeat is very big, you can also lower the dpi to get a reasonably sized fabric texture.
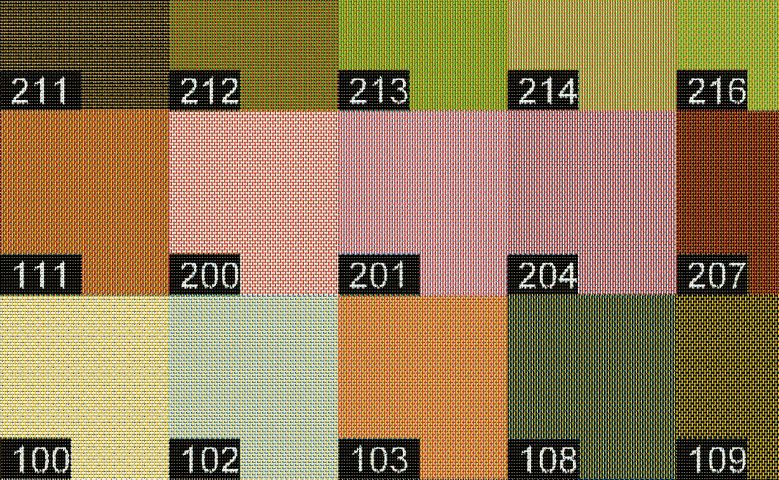
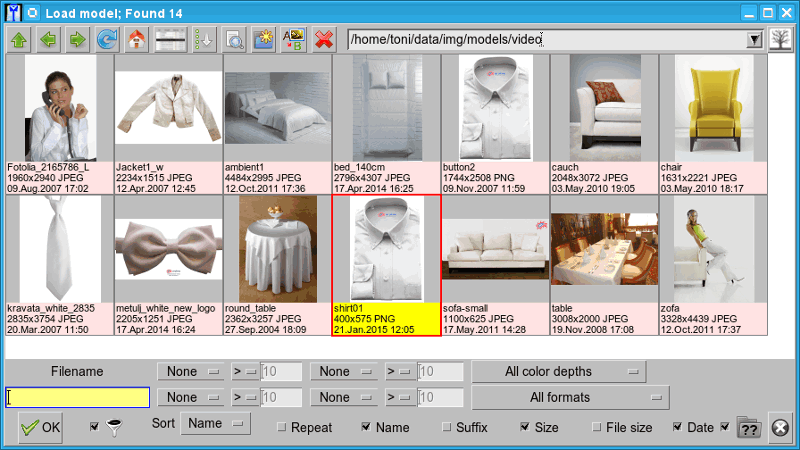
We can now return to ArahDrape. If you wish, you can keep ArahWeave open and create textures on the fly, as you need them. To load textures into ArahDrape, use Textures > Load texture…. The Browse window is shown in the following picture. It has some options like Repeat, Size, Date… their meaning is quite obvious, do not be afraid to try them out. You can also rename the file, if you click on filename, or delete it, if you select it and hit [Del] button. If you want to get a better view of the texture, click on it with the right mouse button, and it will open in full screen mode. You can use + and – on the keyboard to zoom in, or [PgUp] or [PgDown] to load the next or previous image. Click the right mouse button again to close the full screen image preview.

Double click the desired texture to load it into ArahDrape. It will be displayed on the icon bar on the right below the icons. If you want to unload the texture from the program, you can either click on it and load a different texture in its place, or press [Del] on the keyboard to get rid of it. This will not delete the texture file; it will just remove it from ArahDrape.
We are at the point where we need to specify the textures to our areas, so you must change the Vista, mode from Regions to Regions and Drape. Each region can be be any of three types:
● Color ![]()
● Texture ![]()
● Hole ![]()
Initially, all the regions will be of the type color, so the shirt will look like a patchwork.
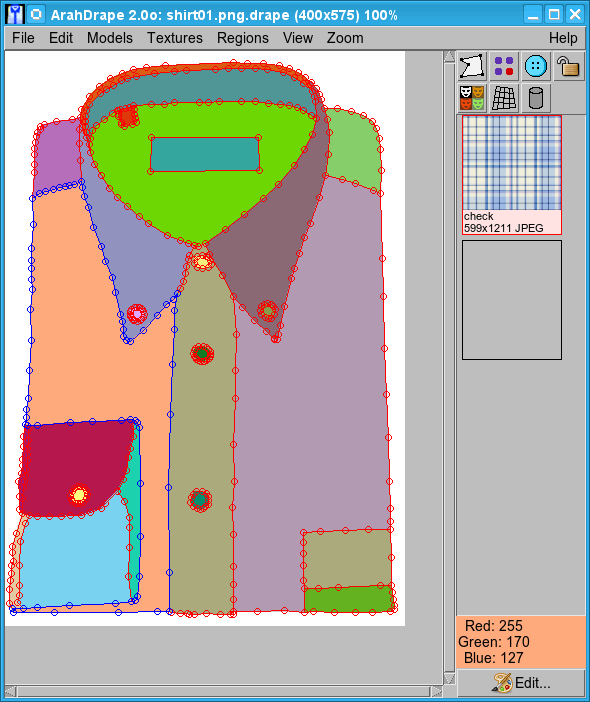
Now we want to change them from a color to a texture mode. It is a very easy thing to do, and experienced ArahWeave users will know what to do: Click on the fabric texture icon on the right with the left mouse button, then point to the desired region and copy it there with the right mouse button. You can also copy region properties from one region to another – use the left mouse button to select a region, and right to copy. Region type, texture and zoom level will be copied, while angle of rotation will remain intact.
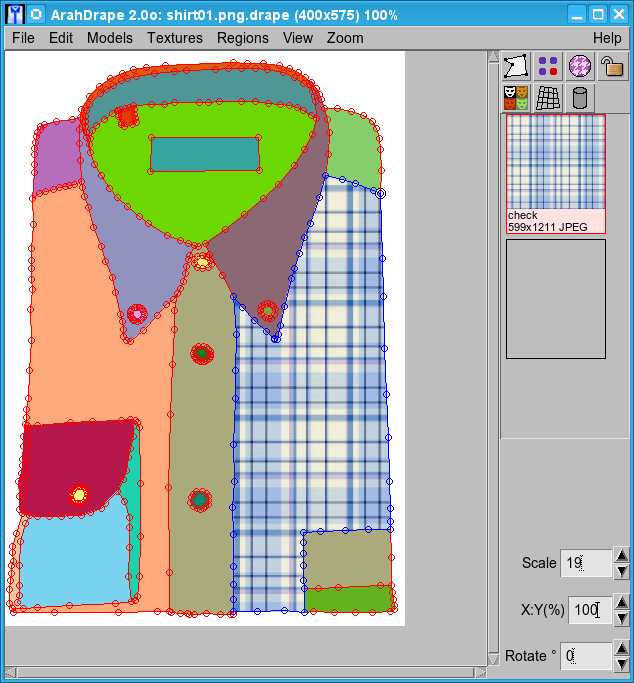
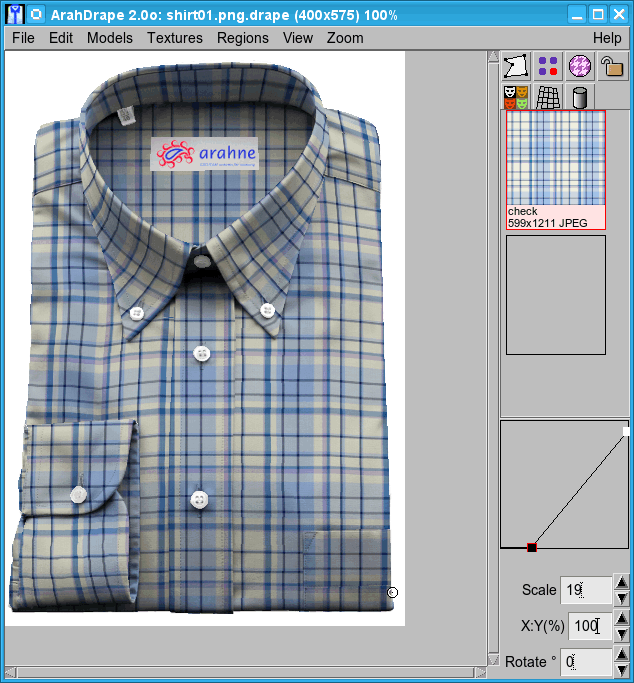
Once you copy the texture to the region with the right mouse button, you need to set its zoom level. You can do it in a purely visual way by using up and down arrow keys on your keyboard. Alternatively, you can use the numeric Scale entry field on the bottom right of the main ArahDrape window.
There are three different types of the region shading mode: Flat, Shaded and Shiny. First select a region, which you want to change, and then click the Shade mode icon ![]() in the toolbox to switch between them.
in the toolbox to switch between them.
● Flat ![]() : program just puts the texture over the region without taking any of its original shade.
: program just puts the texture over the region without taking any of its original shade.
● Shaded ![]() : program takes shades from the original image. The region color will be a sum of background image shades and the specified color or fabric texture. In the white area (brightness level 255), texture remains the same, in other areas it becomes darker, depending on the brightness of the original image. You can adapt the level of brightness in the model with the brightness tool.
: program takes shades from the original image. The region color will be a sum of background image shades and the specified color or fabric texture. In the white area (brightness level 255), texture remains the same, in other areas it becomes darker, depending on the brightness of the original image. You can adapt the level of brightness in the model with the brightness tool.
● Shiny ![]() : program takes shades from the original image. At middle level 128, texture remains the same, to the level close to 255 it becomes lighter, to the levels close to 0 it becomes darker. You can change the brightness’ middle level by changing the Mid-tone parameter. You can choose the Mid-tone parameter from the image with mouse: left click + Shift in the pixel of the region sets the Mid-tone parameter to match the brightness of the clicked pixel. You can also change it manually by setting the parameter. The Strength parameter regulates the strength of the lightness (darkness) of the original model. If you find that the contrast is too strong, reduce the default value of 50. If you set the Strength parameter to 0, you will get the same result as with the Shaded mode.
: program takes shades from the original image. At middle level 128, texture remains the same, to the level close to 255 it becomes lighter, to the levels close to 0 it becomes darker. You can change the brightness’ middle level by changing the Mid-tone parameter. You can choose the Mid-tone parameter from the image with mouse: left click + Shift in the pixel of the region sets the Mid-tone parameter to match the brightness of the clicked pixel. You can also change it manually by setting the parameter. The Strength parameter regulates the strength of the lightness (darkness) of the original model. If you find that the contrast is too strong, reduce the default value of 50. If you set the Strength parameter to 0, you will get the same result as with the Shaded mode.
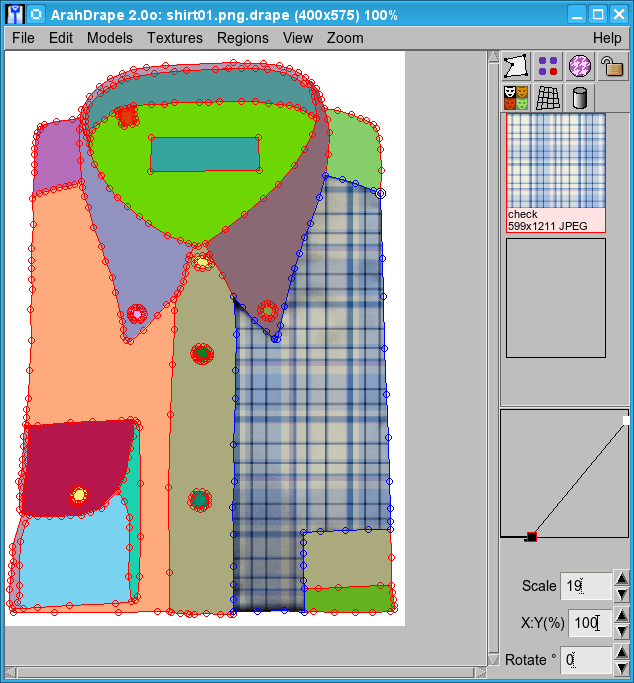
The region shading works for textures and colors. If you are draping based on a photo, you will prefer to have it shaded, while flat might be more appropriate for quick fashion sketches.The region in shaded mode has an extra gray square on the bottom right angle of the main window. You can see it in the picture below. Use two control points to adjust the lightness and darkness of the shades. The upper right point controls the light shades, while the bottom left controls dark shades. Try moving the control points with the mouse – effects will be immediate.
As you copy the texture from one region to another with a right mouse button click, you also copy the zoom level and a lightness of that region. You should also set the region type to hole for buttons and labels.
If you want to get a more realistic view of the final image without the region borders, select View > Drape.
We have all the nice shades, but the image still looks somewhat flat. Why? It looks unnatural, because the newly applied textures do not follow the shape of the original model.
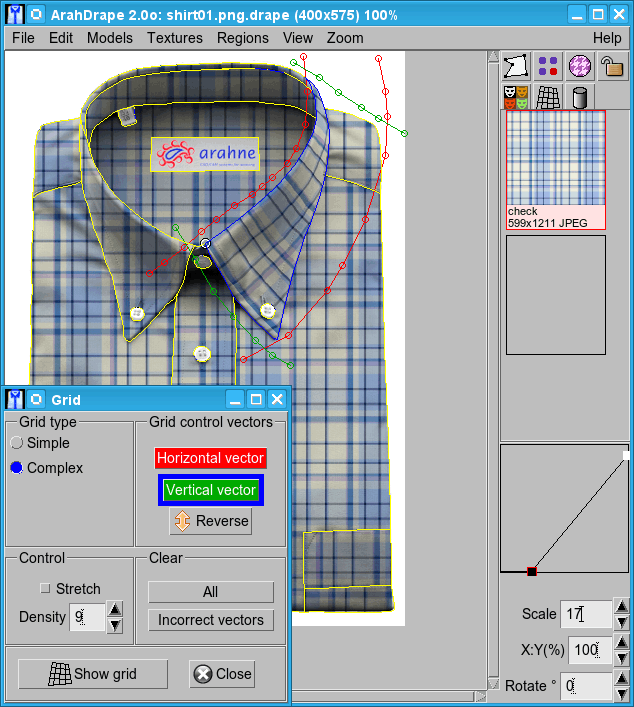
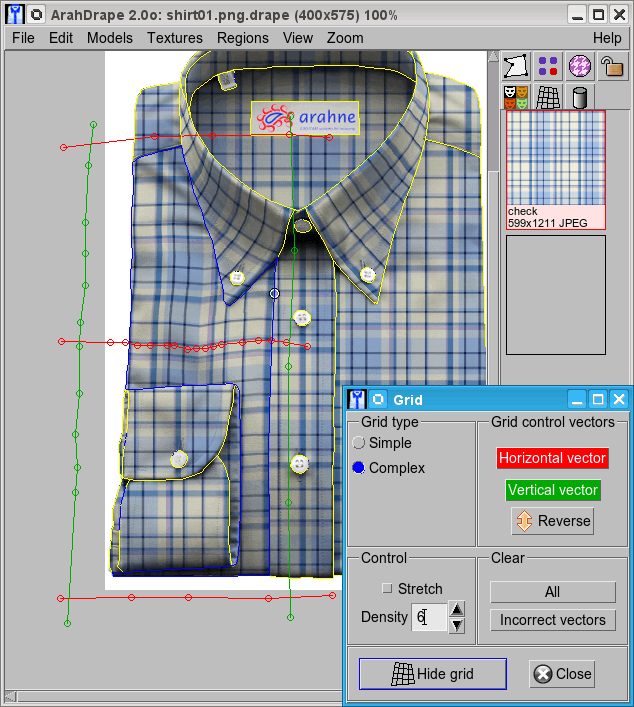
We must specify the geometric distortions in the fabric caused by perspective view, creases or simply the 3D volume of the product. To accomplish this ambitious goal, we will use the grid tool. To open the Grid window, click on its icon or select menu Regions > Grid…. Do not forget to click on the desired region first – you can set the grid for only one region at the time. There are two different grid types:
Use Simple when you have an easy perspective mapping, like a carpet on the floor. You will have a rectangle, which you should distort into a trapezoid which matches the desired geometry of the mapping.
And use Complex for anything more complicated.
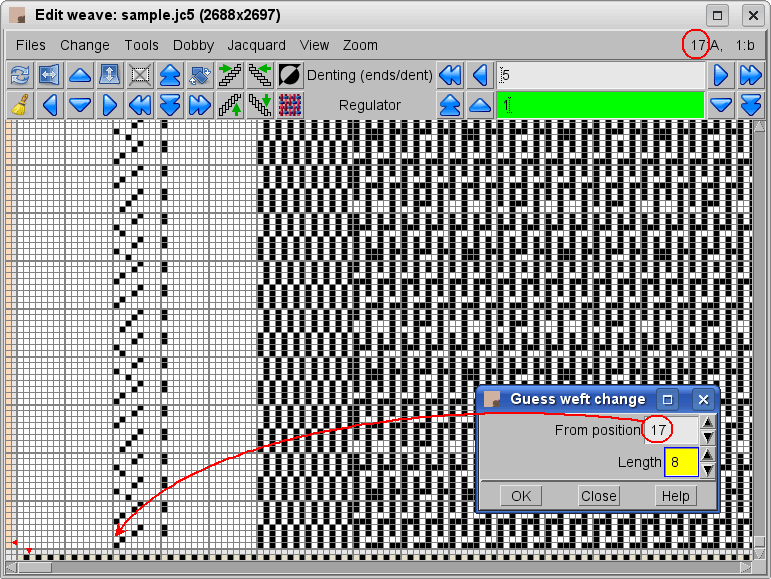
Our case requires use of a complex grid, so you should select it. Then click on Vertical vector and draw it in the main window besides the selected region. Draw it in the same way as you did the region except that it does not end with a starting point. Finish drawing the vector by clicking on the right mouse button. Vectors will be the guiding lines for the mapping of your fabric texture to the area. The vertical and horizontal vectors should intersect, and their borders should be outside the regions. As a minimum, you will need two vertical and two horizontal vectors. Vertical vectors should be drawn from top, and horizontal from left to right. If the fabric has many complicated distortions, you can draw intermediate vectors. Do not mix up vertical and horizontal vectors, and do not forget to intersect them. If you make a mistake, the program will not generate any mapping, until you correct the vectors and make them valid. In the picture, you can see two vertical vectors in green, and two horizontal vectors in red.
Once you finish setting the grid for one region, close the Grid window, and click the next region by left mouse button to select it, and open the Grid window again. You can also click the Show grid button in the Grid window, to see what a vector-generated grid looks like.
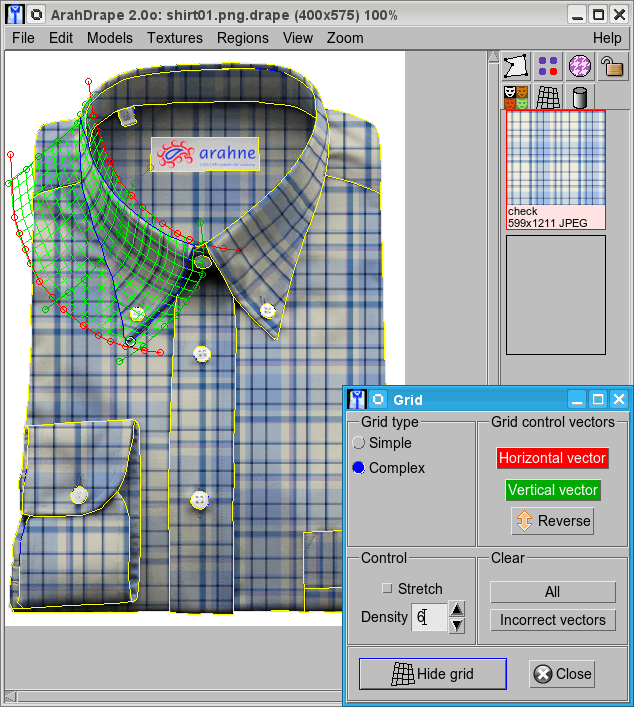
You also can increase the grid’s Density; this will make smaller rectangles in the mapping. In most cases, default grid density will do just fine. Adding, deleting, and moving grid vector points works the same as on region vectors: to add a point into an existing vector, just press the middle mouse button on the vector; to delete a point press the middle mouse button at the point. If you want to delete the whole vector, point the mouse cursor at one of the points of that vector, press a right button, and choose Delete vector. If you need to move the whole vector, you can do it by CTRL+ mouse button drag. In some cases you would need two identical vectors, but it is difficult to draw two exactly the same. So to do this point the mouse cursor at one of the points of that vector, press a right button, and choose Duplicate vector. The program will draw another identical vector, which you can move it by CTRL + left mouse button drag to desired place.
Sometimes you will have a region very close to the border, therefore you will not be able to draw grid vectors freely over the edge. In these cases use View > Image offset. You will get an extra border, which should give you enough working space around the image. If there is still not enough space, go to Files > Preferences… and set the desired size in pixels.
The start of fabric texture within a region is not independent from the other regions. On a normal shirt, the fabric on the pocket needs to be aligned with the body. To match the starting offset of two neighboring regions, click anywhere on the region with the left mouse button and drag the texture to the desired position. Program will interactively move the texture offset as you will move the mouse.
You should not forget to save your work at the end, use Files > Save project…; type the filename in the and in the file selection box. The extension .drape will be added automatically.
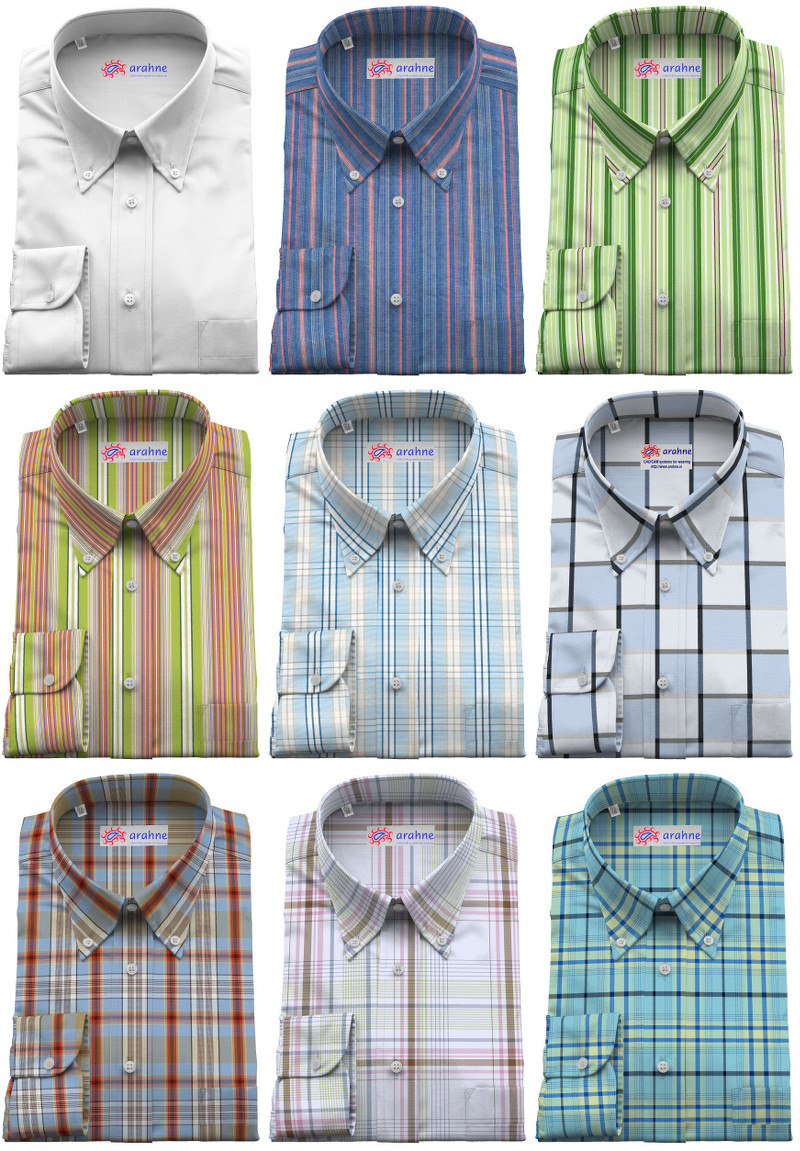
As you have seen, making a good drape model requires some work, but when finished, we can use it infinitely with different textures. You can load other fabric textures by clicking on Textures > Browse..
If your drape model contains many regions, like on the shirt from our example, you will quickly become tired from clicking on regions with the right mouse button to apply a different texture. One would like to copy the new fabric texture to all regions, which currently have the same texture. To achieve this, click the group icon ![]() in the toolbar. It will change itself to
in the toolbar. It will change itself to ![]() , so that you know that ArahDrape is in the “group” mode. From now on, you can use a single click (right mouse button) to copy texture to all regions with the same texture. You can then disable the group to change the region type individually, if you wish. For example, you can make the shirt collar and wristband white, if you change their region type from texture
, so that you know that ArahDrape is in the “group” mode. From now on, you can use a single click (right mouse button) to copy texture to all regions with the same texture. You can then disable the group to change the region type individually, if you wish. For example, you can make the shirt collar and wristband white, if you change their region type from texture ![]() to hole
to hole ![]() .
.
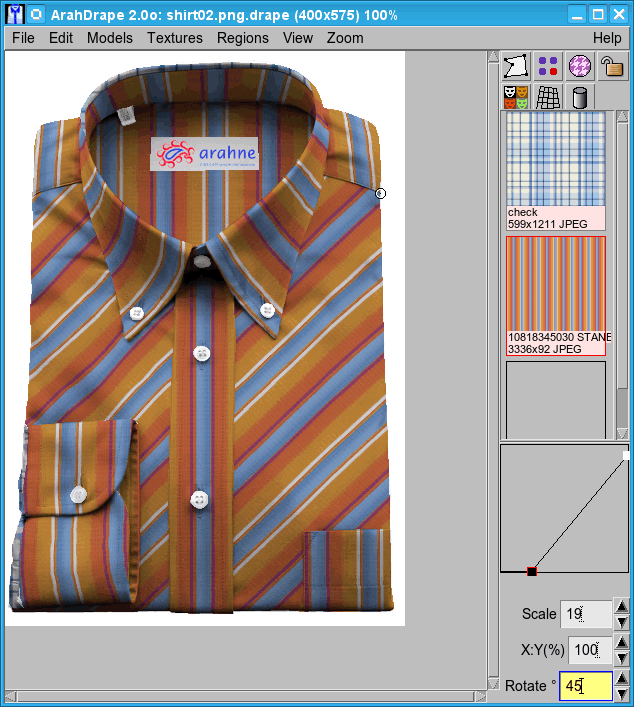
Textures can also be rotated. The default center of rotation is at the first border point of the region, but can be moved to the desired place by double clicking the left mouse button. The current position of the center of rotation is marked by a small circle. The shirt on the lower picture has it in the middle of the right pocket. You can set the angle of rotation by pressing the left and right arrow keys on the keyboard, or by entering a value in the Rotate field in the right bottom corner of the main ArahDrape window.
As always, we are doing this to impress our potential customers, or to help them choose between the different variations of our products. So we need to find a good way of showing our draped images to them. One way is to invite them in front of the computer, and insert the textures from your collection as you talk to them. This will probably be the most effective way, since it will also involve the customer. If such a presentation is not possible, you can also print the drape simulation from Files > Print picture... If you want to send the picture by email to the customer, or prepare pictures for publishing on the web like in our drape gallery, you can save just the drape image using Files > Save image as...
In this tutorial, we have used fabrics from Tekstina.
List of accelerator keys in ArahDrape:
(Note that the main window has to be active for the accelerators to work)ZOOM
1 : zoom level 100%
2 : zoom level 200%
…
9 : zoom level 900%
0 : zoom level 1000%
f : fit to window
+ : zoom in
– : zoom out
ALT+mouse wheel : zoom in, zoom outVIEW MODE
i : image
l : regions
e : regions and drape
d : drape
o : toggle image border offsetSET REGION TYPE
c : color
t : texture
h : hole
s : toggle shadingb : browse textures
CTRL+b : browse images (models)
CTRL+s : save project
CTRL+q : quit program
DEL (in main window) delete selected region
DEL (in textures window) delete selected texture
CTRL+z : Undo
CTRL+r : Redo
Arrow keys UP and DOWN will zoom texture in a selected region.
Arrow keys LEFT and RIGHT will rotate the texture in the selected region.Shift+left click into the region sets the Midtone value for that region.