

![]()

TUTORIALS
Tessuti con extra trame con ArahWeave
In this tutorial, we will explain how to make a complex extra weft (lance) pattern. Let us start with some historical remarks.
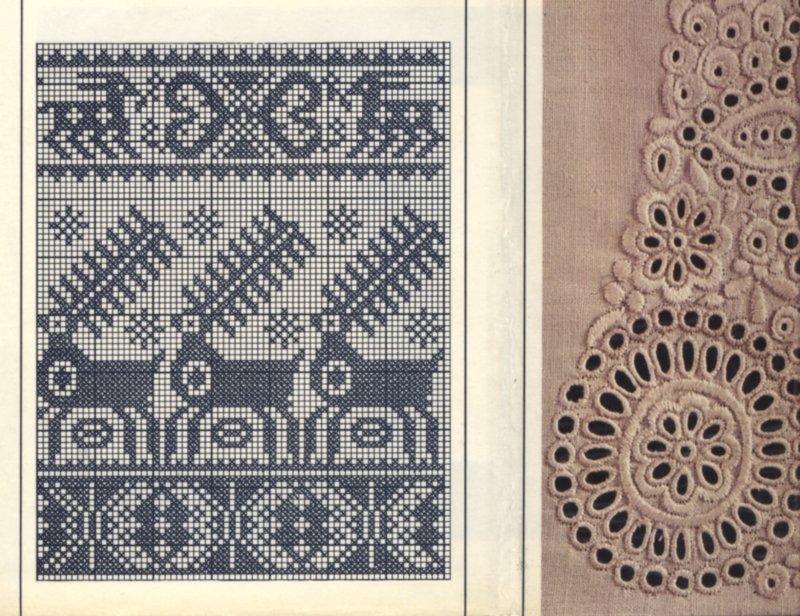
We are using an image from a pattern source-book classic: Friderich Fischbach “Ornamente der Gewebe”, first published around 1883, color plate number 10.
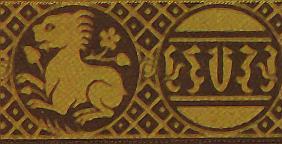
Fiscbach says that it is a Sicilian-Arabic pattern from 12th century. Curiously, the same pattern appears in M. Dupont-Auberville “L’Ornament des Tissus”, first published in Paris in 1877.
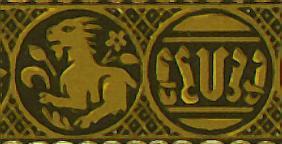
Dupont-Auberville claims that the pattern is from the 13th century, Sicilian made after genuine Persian models. It is featured on the top of color plate IX.
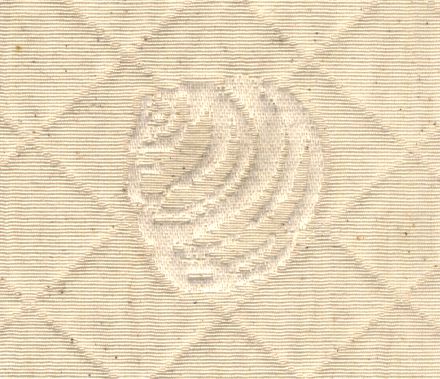
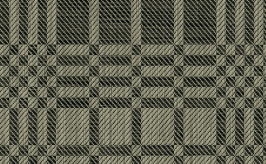
We have reproduced two details for your enjoyment. It seems that the top (Fiscbach) version is closer to “original”, since on the bottom (Auberville) picture, the lion seems to have mutated into a goat, and we have lost the fancy junction between the circles. We use this sample to remind ourselves of a couple of things: in textile design, the notion of originality is quite shady – copying, borrowing, stealing – is the norm, not the exception. But you can not copy the quality, at least not without a considerable expense. Let us hope to see the return of the days, when customers were able to recognize the quality, and were not just blindly following brand names, thus demonstrating their ignorance. Secondly, we see that patterns are able to spread across cultures like a virus. The stylized Arabic script was fashionable even at the height of the crusades. In those times, Europeans were the poor peasants, trying to copy the “superior cultures” of the East. And we have never paid any royalties 😉
End of historical remarks.
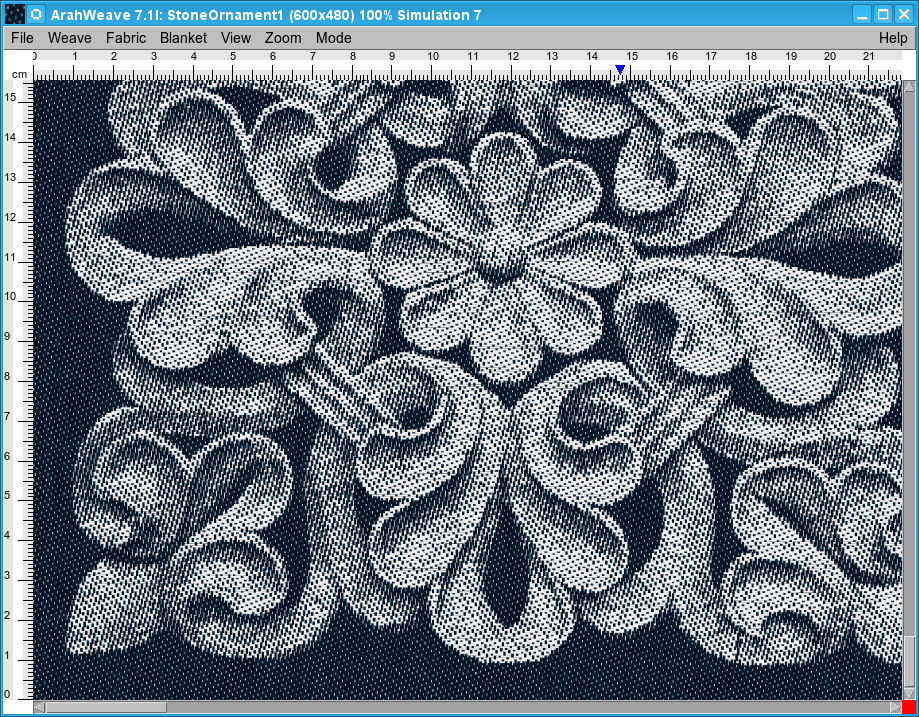
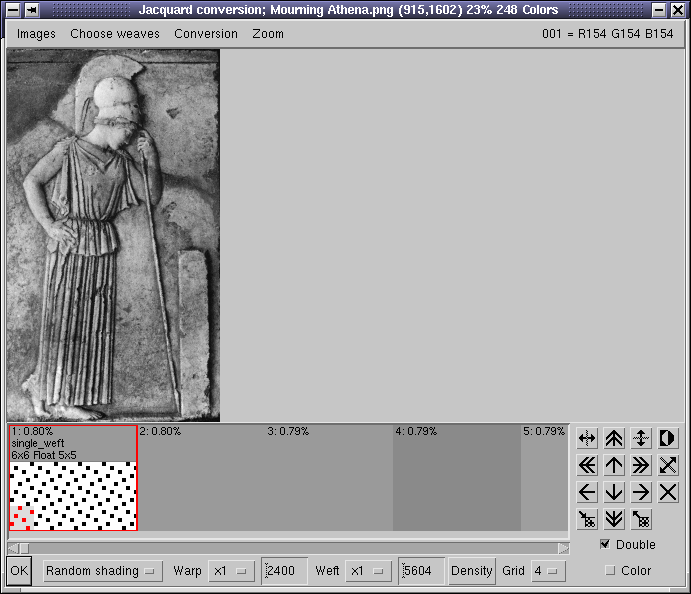
We will develop this pattern first as a simple damask, then we will embellish it with colorful extra wefts. We start with a scanned image, and we reduce the number of colors to just two. The size of the image should be calculated with respect of warp and weft density and desired size of the design. We will use a warp density of 64 ends/cm and 34 picks/cm for weft.
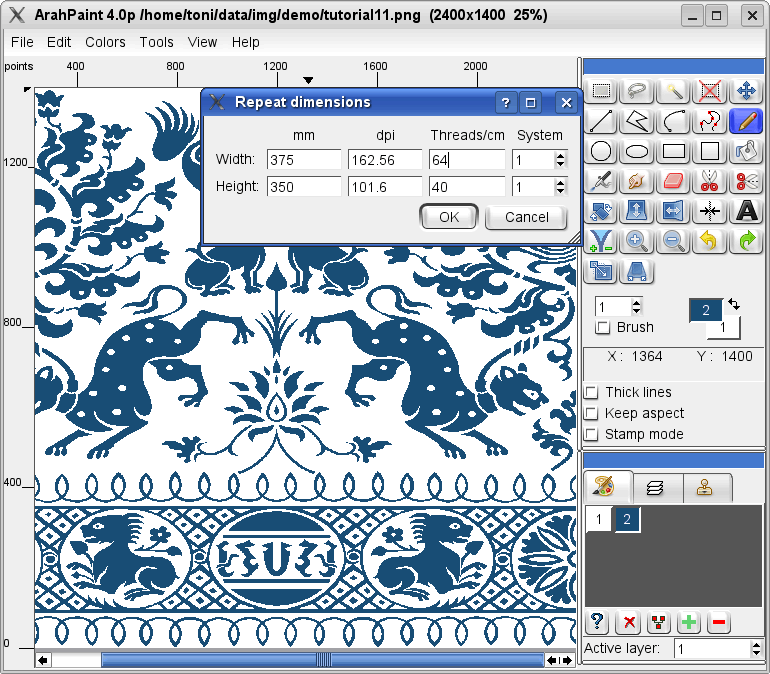
We use just two colors for damask: one for warp and the other for weft effect. Besides, it is also easier and faster to draw a jacquard image with only two colors. If you need more, you can use the Fill with color tool in ArahPaint, and you have a new arrangement in a few seconds. We will not cover the drawing and cleaning up of the scanned image, you should be able to do this by now. Open ArahWeave program. Choose Armatura > Conversione Jacquard. Load the image into the Jacquard conversion window in Images > Load image. Select a suitable weave for each color and press OK.
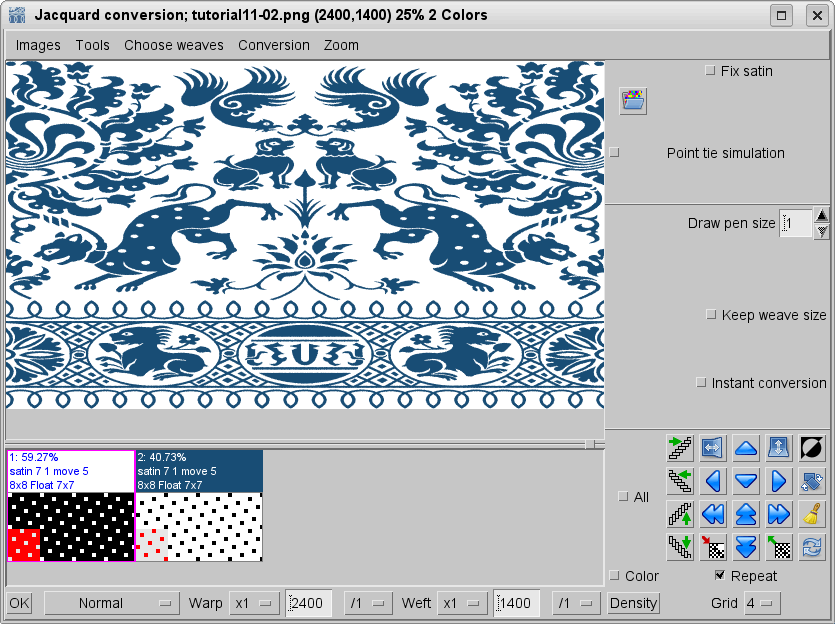
The program will replace colors with selected weaves: it will generate a jacquard weave. You get a simple fabric with two weaves: warp and weft satin effect.

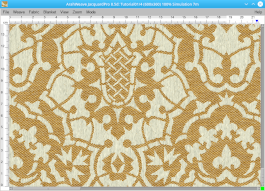
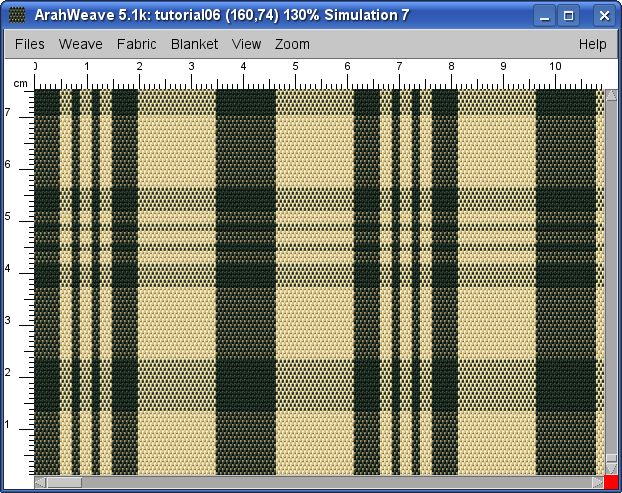
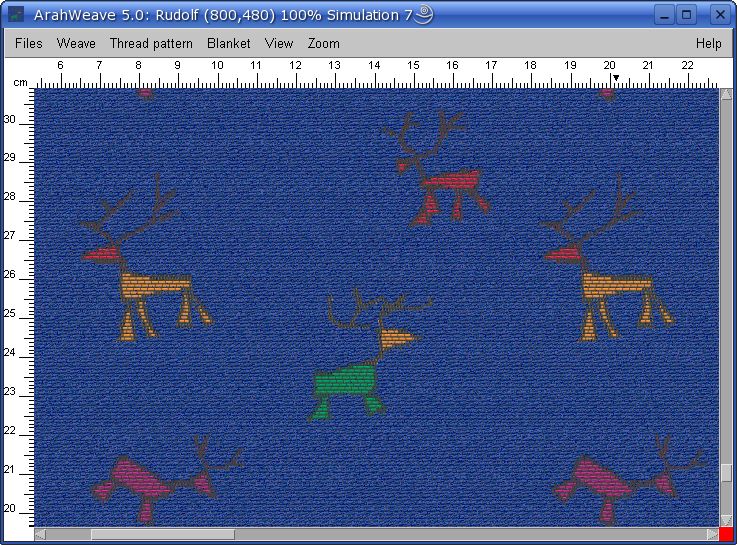
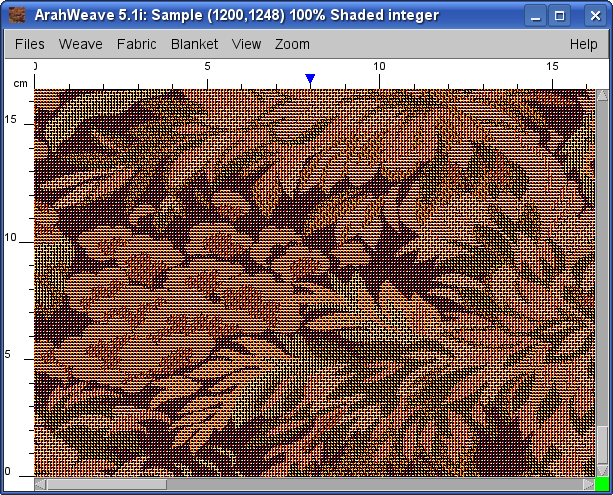
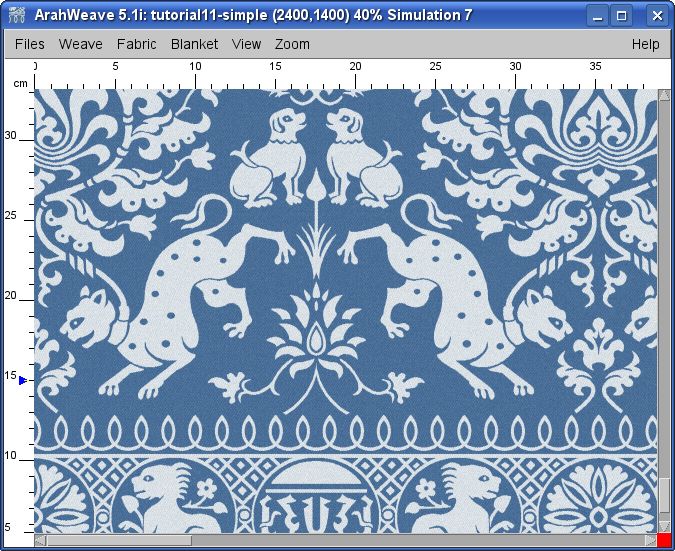
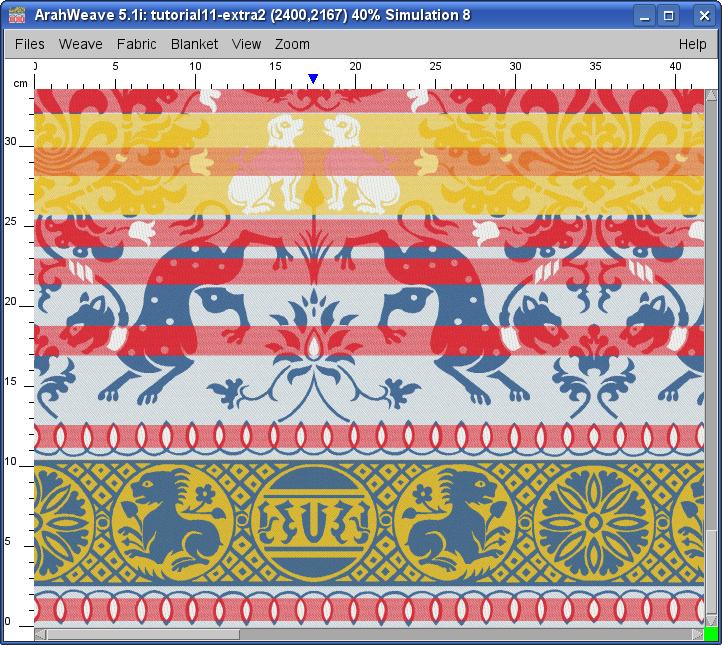
And here is the simulation…
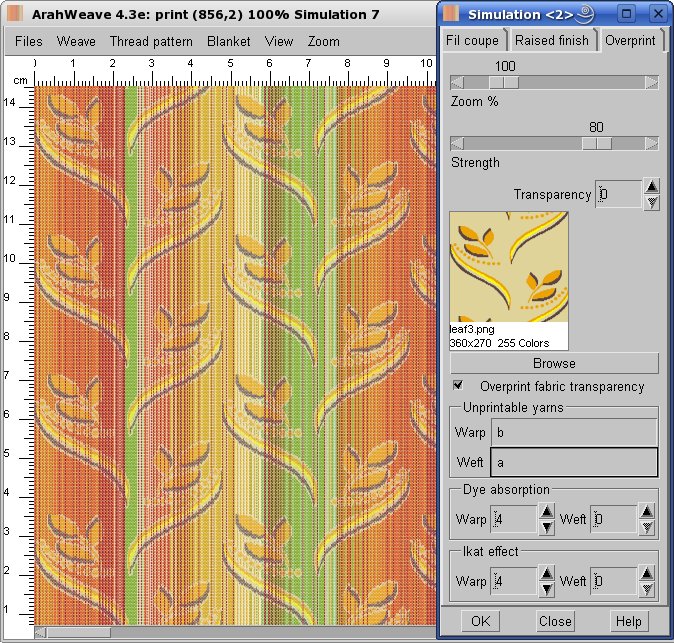
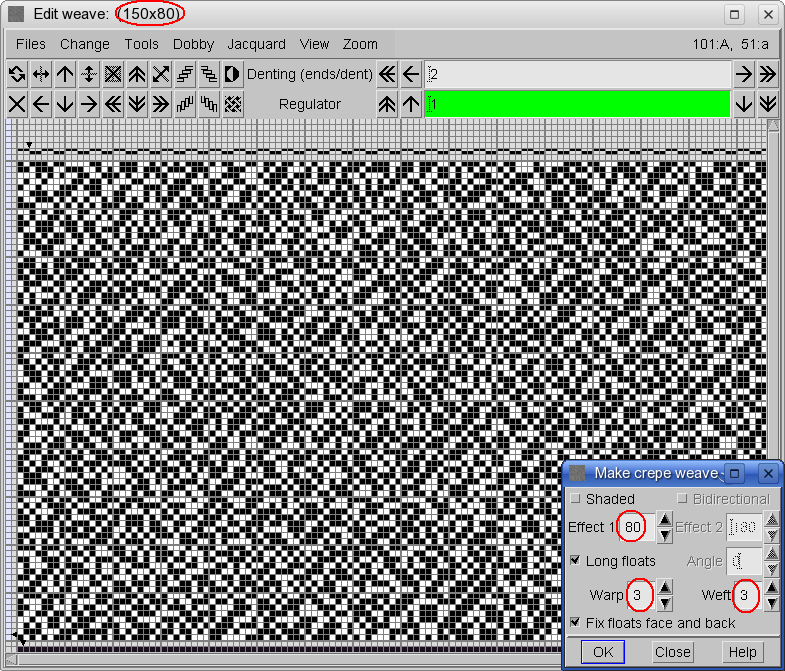
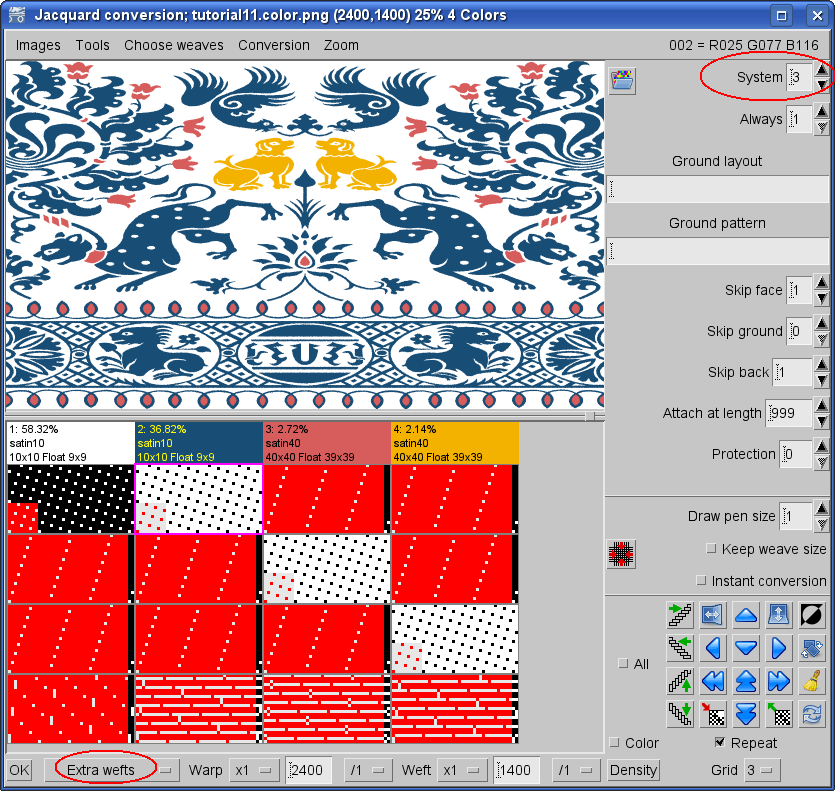
If you decide that this fabric is too dull, you can make it more interesting by using extra wefts. This means that we use several wefts, but only in places where we need them for the color effect. This technique requires the use of a regulator (stop motion) or variable weft density. When the regulator is active, the warp beam does not advance, and we effectively double the weft density on that point of the fabric. Of course, the weaves must also be appropriate – we must “force” the picks to go on top of each other by using appropriate weaves. For example, weft satin for the pick that needs to be on the top, and warp satin for the pick that needs to be on the back. If you use plain weave for both picks, the threads will compete for space on the top, and you will not be able to weave with the desired density.
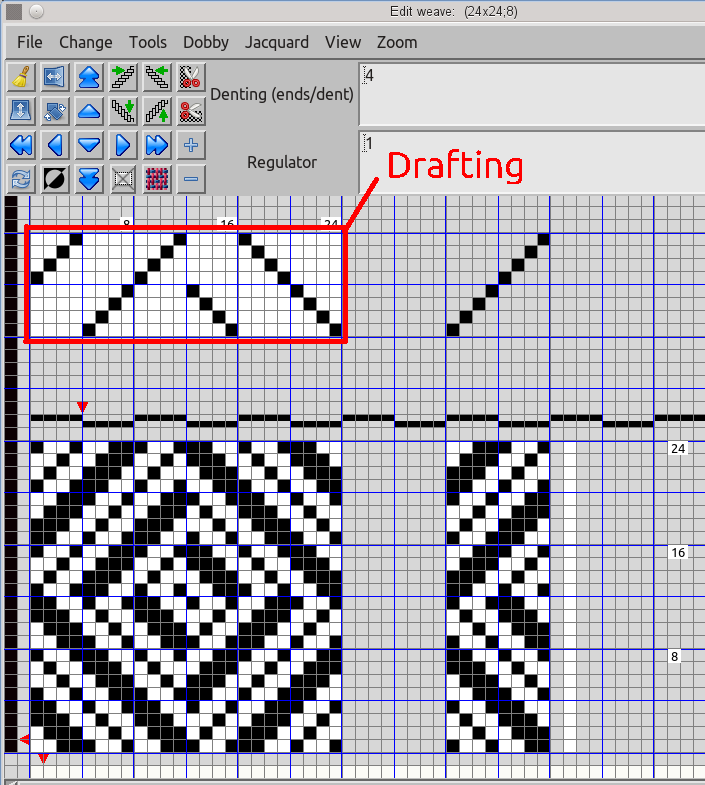
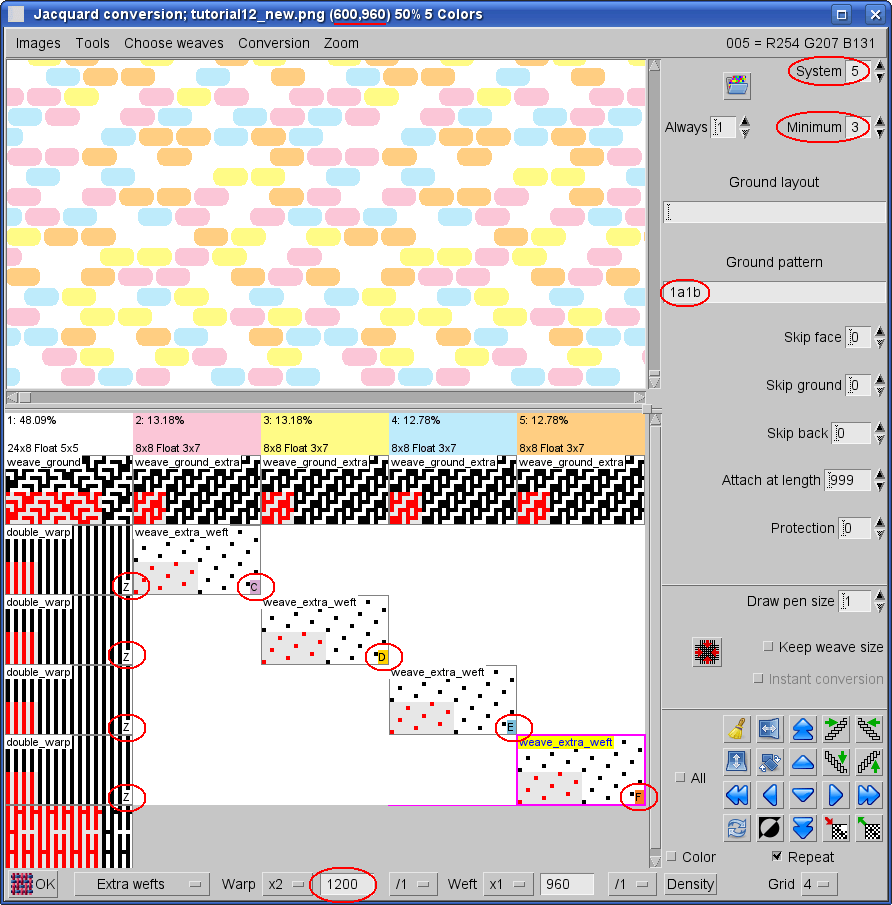
Aprite ArahPaint, load the image, select the “fill with color” tool, and change color in picture details, which should have a different color than the ground. Then load the image into the Jacquard conversion window. Select Extra wefts as the type of conversion; it is an option button on the left bottom of the window. Set System to 3 since we will use three different wefts in this fabric: one for ground, and two for the red and yellow extra wefts. You have to load three weaves for every color in image – one for every weft. We will use the same weaves as in previous fabric. For attachment wefts on the back side of the fabric, you should choose a weave with longer floats than basic weft weave. Satin 40 will work well, since we have a high density in warp. We also need to explain the meaning of the three weaves for each color: In the first row we have the weaves for the ground weft, the next row shows first extra weft weaves, and the last one shows second extra weft weaves.
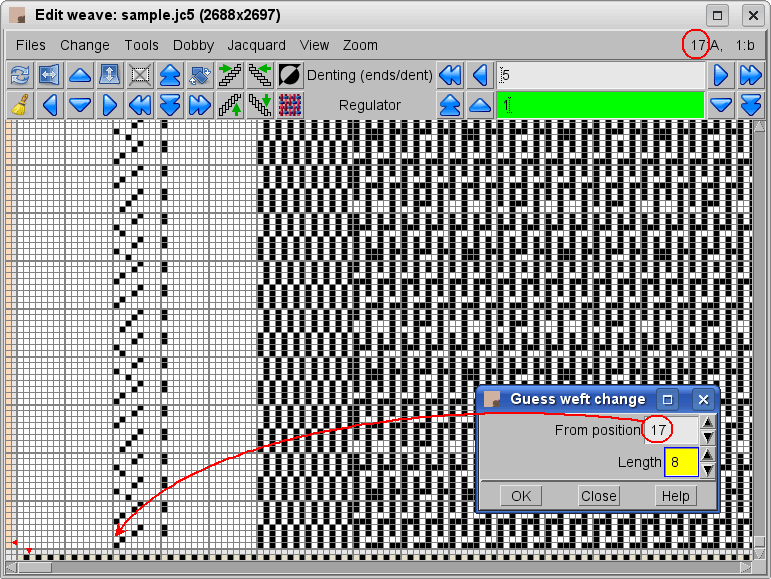
After you have loaded all weaves and set all the parameters, click OK and you will get the full jacquard weave. Program will multiply the weft size by 3, but will be smart enough not to insert weaves where they are not necessary. For this reason, we need to remove the unneeded wefts, which are floating across the full width of the fabric. The function is in Weave > Edit > Jacquard > Remove extra warps/wefts (or click ![]() icon in the Conversione Jacquard window. At this point you will arrive at the final size of the weave. The program automatically writes the correct weft pattern and puts the regulator on the appropriate positions.
icon in the Conversione Jacquard window. At this point you will arrive at the final size of the weave. The program automatically writes the correct weft pattern and puts the regulator on the appropriate positions.
Usually, if your weave selection is good, you will not have to spend a lot of time correcting the long floats. Remember that warp long floats across wefts with a regulator will not have the same length as the ones across the ground fabric without any extra wefts.
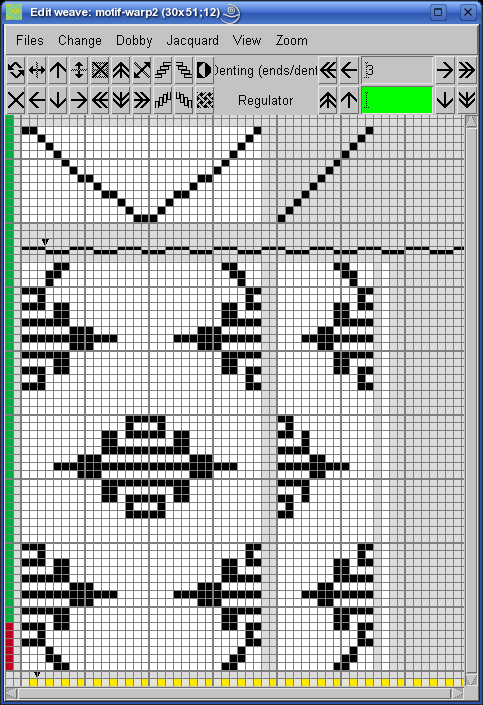
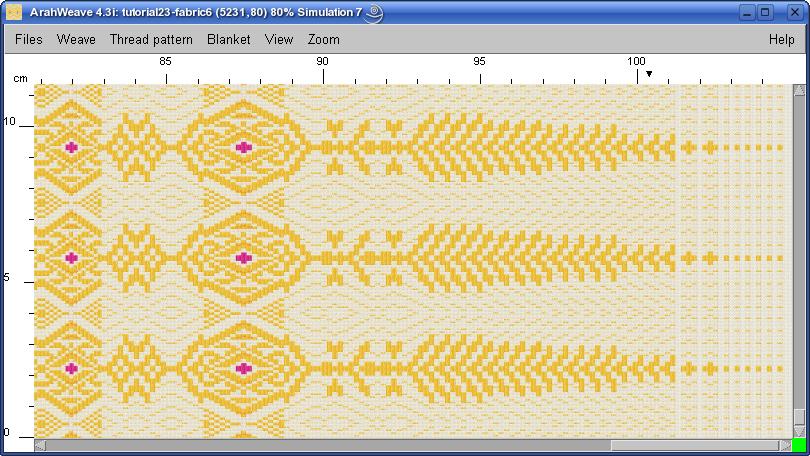
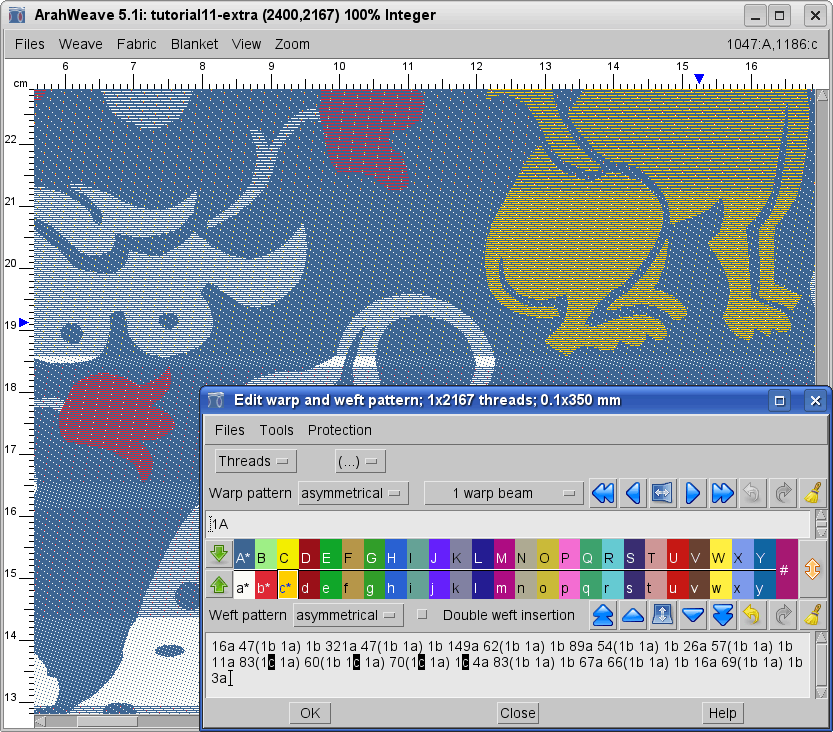
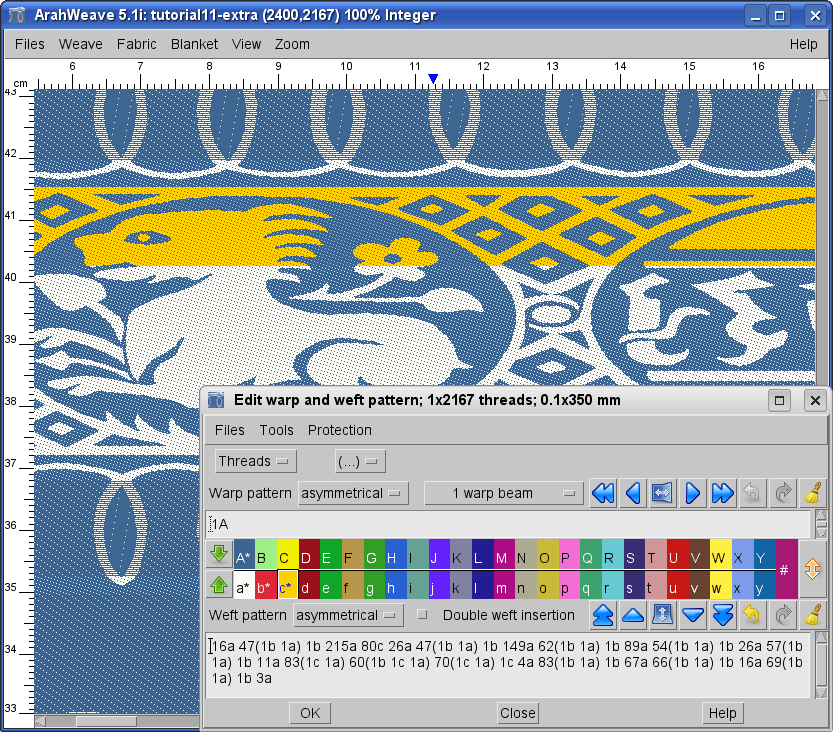
Now you have fabric with two extra wefts, yellow and red. To make even fancier fabric, you can replace the solid ground weft with a more complex weft pattern. You can change the weft pattern by writing a new pattern in Edit warp and weft pattern window. The other way is to select a weft from Edit warp and weft pattern and draw it in fabric with the left mouse button. As you click it, you will see that the mouse pointer color and shape will change to a small shuttle. Then just click on the fabric and draw by pressing the left mouse button. If you keep it pressed, it will continue to draw. The fabric will change in real time and the “complicated” warp or weft pattern will be written automatically. You can use the same procedure for changing the warp the only difference is, that the mouse pointer will change to the shape of a yarn cone.
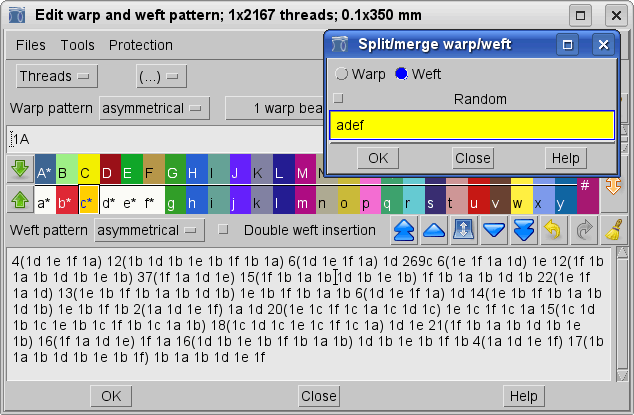
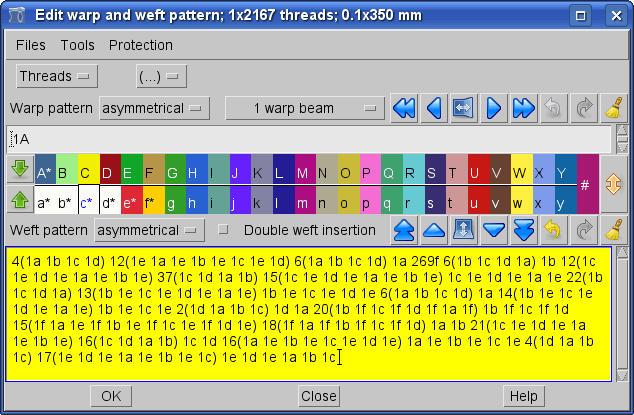
To avoid streaking because of uneven yarn, you can divide ground weft (a) across several cones. After choosing Tools > Split/merge weft, the window with this title will pop up. If you enter yarns adef, and only yarn a is used in the fabric, then the weft pattern will be rewritten, so that yarn a will be split evenly among yarns a, d, e, f. You can use this function for other wefts too.
If you want to have yarns sorted in order, so that the first yarn in the fabric is marked with a, second with b etc., choose Tools > Sort from the Edit warp and weft pattern window. The yarns will change the positions and the warp/weft pattern will be automatically re-written.
To get the simulation, you have to enable Set weaving density > Density from technical data and you have to set the correct parameters in Thread pattern > Consumption.
To check the fabric on the back side use the Fabric > Reverse function.
Now you have to prepare your sample for weaving. In Weave > Save cards for production you have to insert the layout according to your jacquard and loom. Be sure to set the correct number of hooks and Weft bytes with the regulator on the correct bit, according to the specifications of your loom.
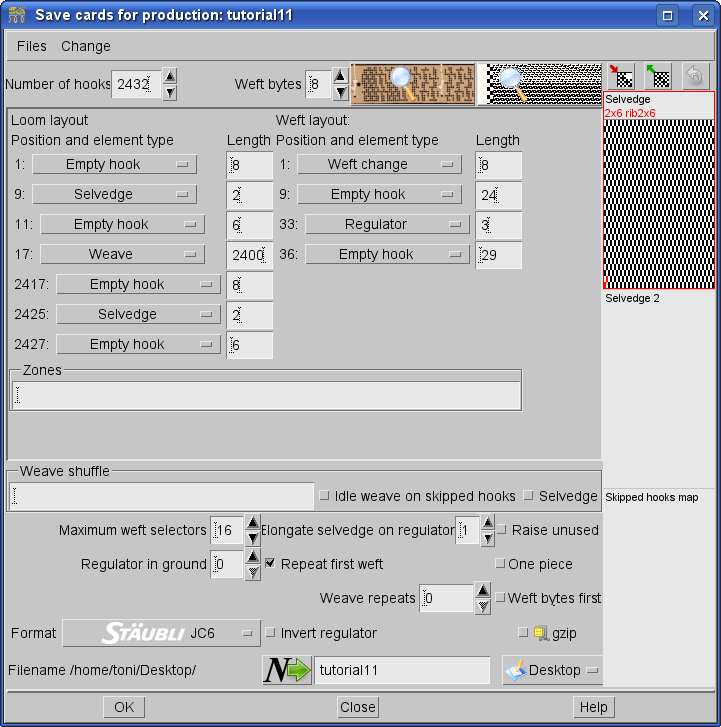
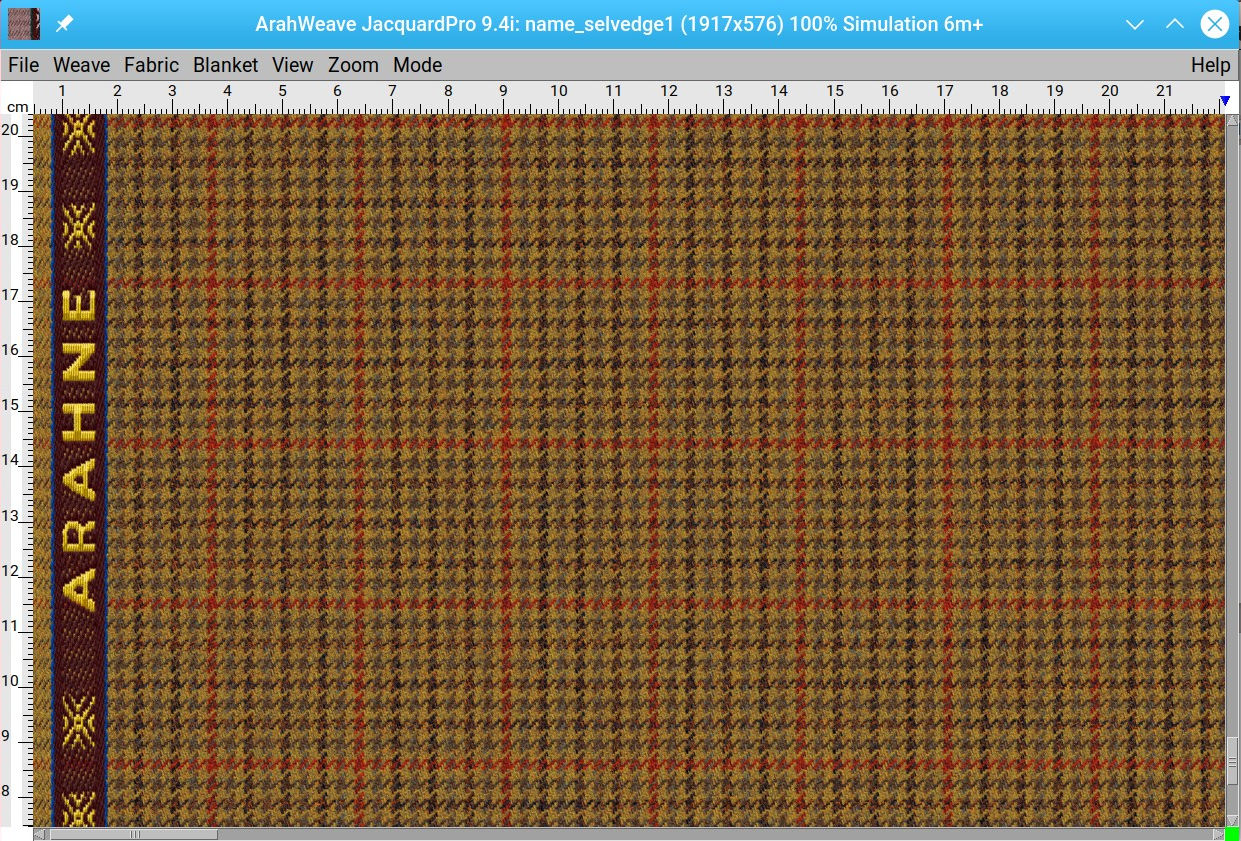
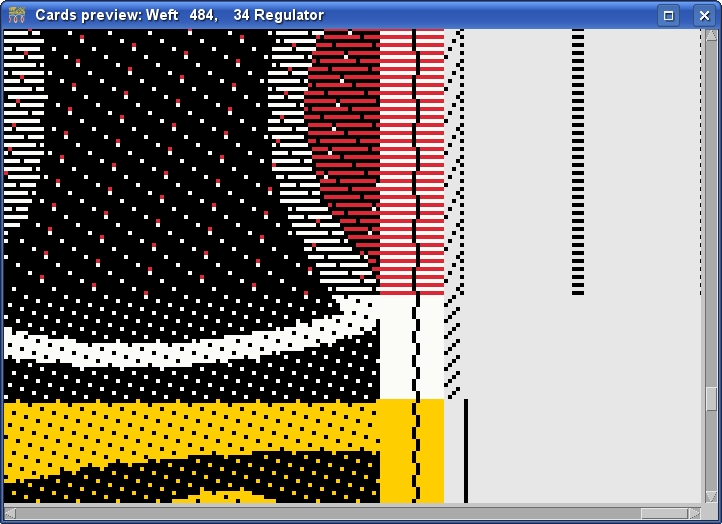
Before saving you can check cards preview, if everything is in the correct places. We use color preview in this case, so that we can understand it more easily. At the end of the file on a gray background you can see the weft change and regulator on the positions as we have defined them in Save cards for production window. Note that we have split the ivory ground weft into a,b,c,d, the yellow into f,and g, while the red is using only one weft selector on e. The regulator is on three consecutive points, as requested by Grosse specifications. Your loom may require a different layout. Careful observers will note another little trick – the selvedge is elongated where the regulator is active: in this way we are sure that the extra wefts will enter in selvedge.
That’s all folks!