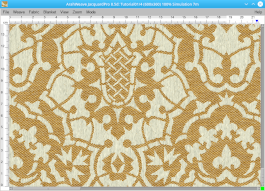
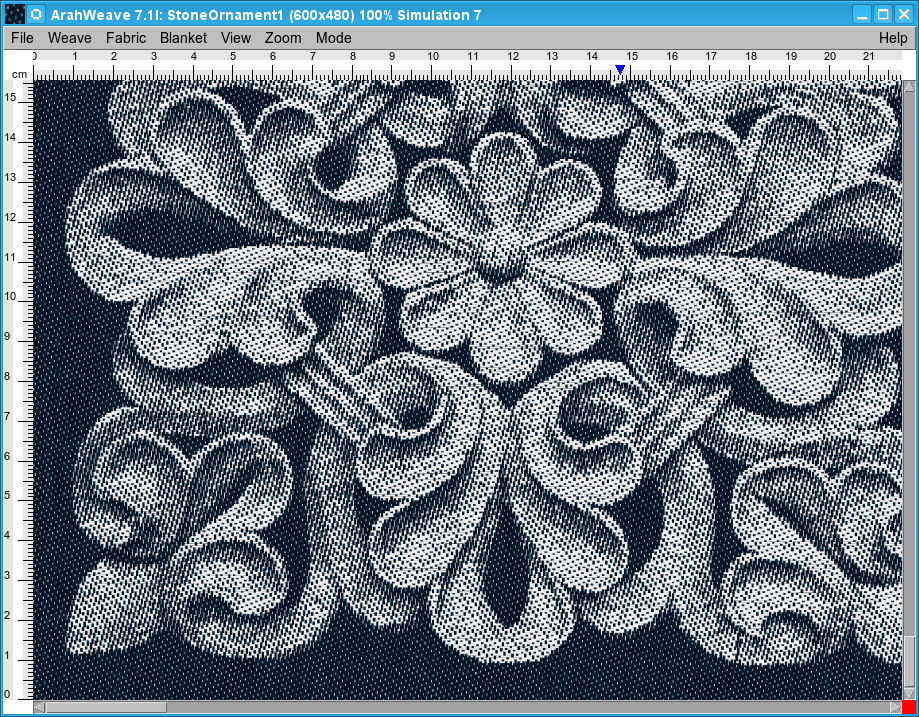
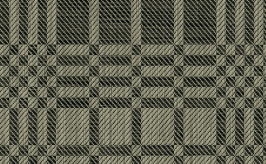
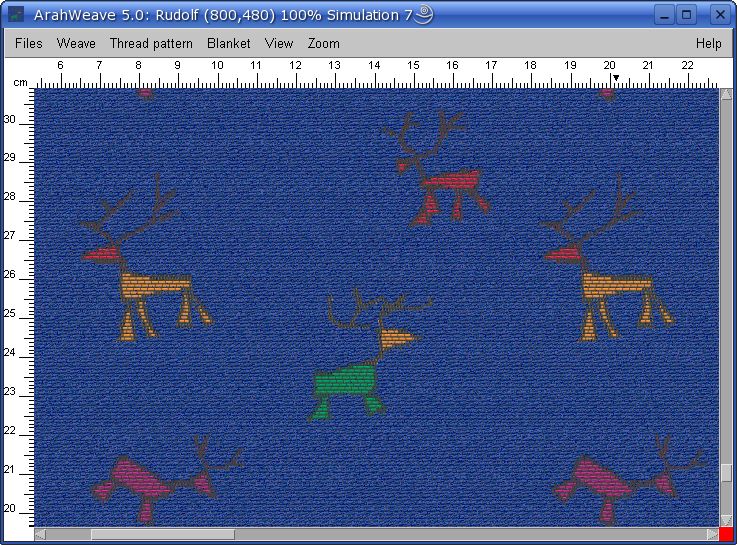
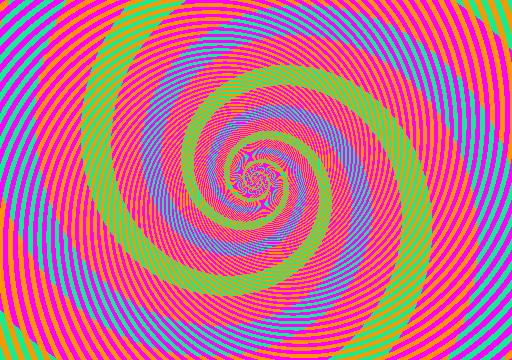
We made this tutorial in a rush for one of our customers; maybe someone will find it useful. He wanted to create a design similar to this:
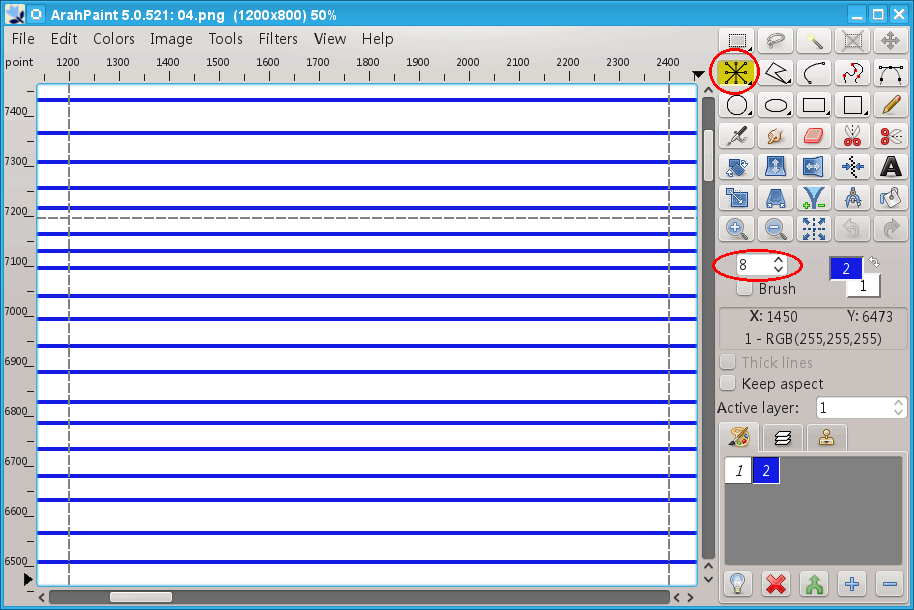
In this tutorial, we are using a 1200×800 pixel image.
First draw horizontal lines. You can do it in many ways; I did it using the Straight line tool with line width of 8 pixels, in the repeat mode. You can do it on a smaller image and then multiply it.
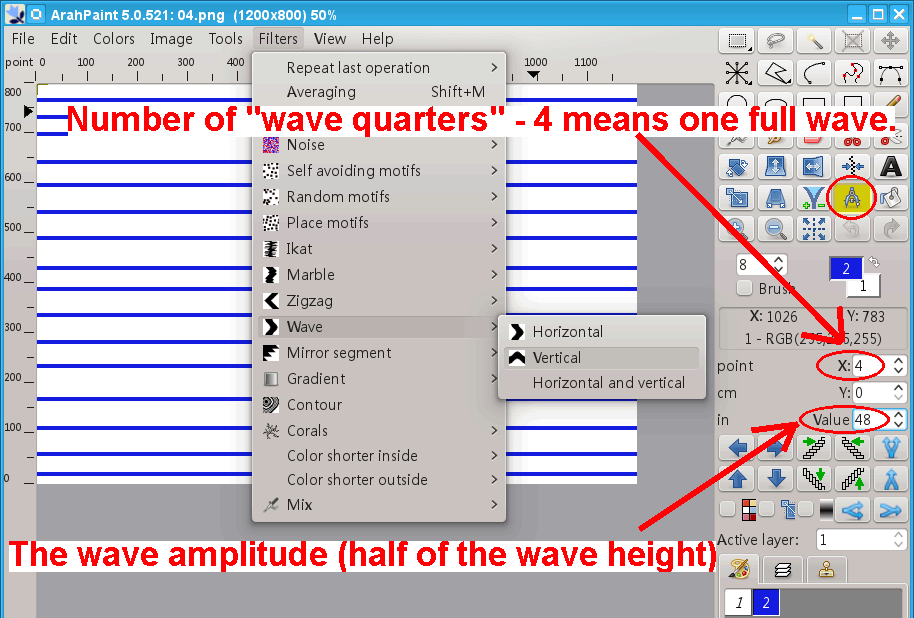
Quindi fate clic su Measure tool icon. Set the X value, which determines the number of waves – actually the number of wave quarters – 4 means one complete wave cycle. The number in the Value field determines the amplitude of the wave in pixels. After you set both numbers, choose Filters > Wave > Vertical (it means wave will go up and down).
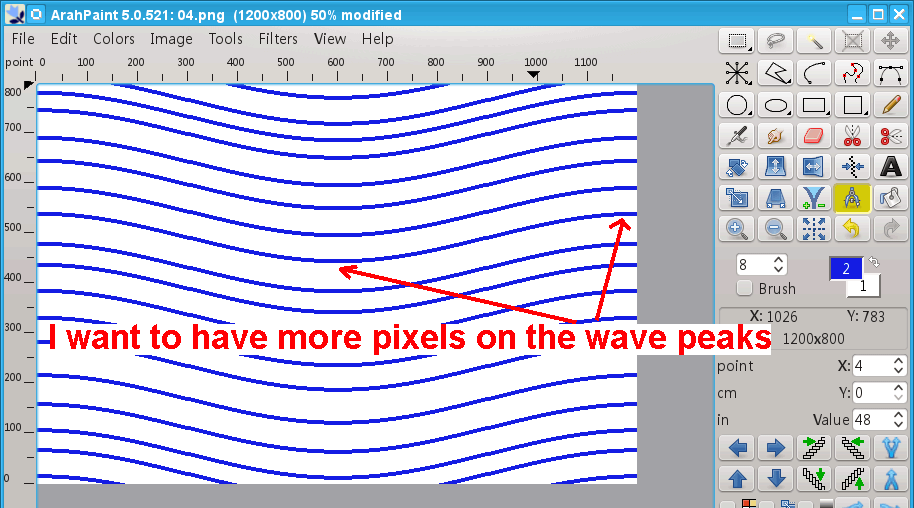
And now just a little trick to get a more interesting result. We want to have more pixels on the wave peaks than on the other part of the wave line.
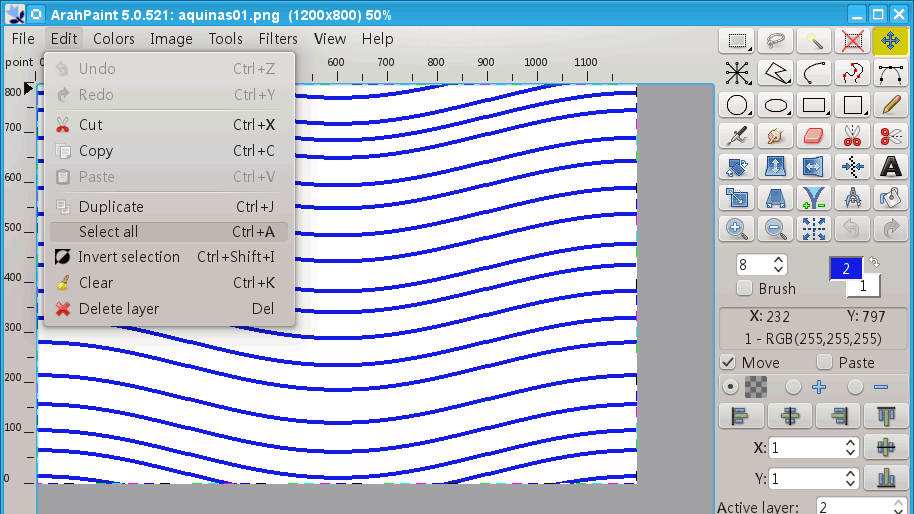
So we will use the same image as a layer, extend the wave to have a higher peak (amplitude) and paste it back to the original wave image. Choose Edit > Select all. Then Edit > Copy. Then Edit > Paste. You will get a layer over the original image. At the moment, both are the same.
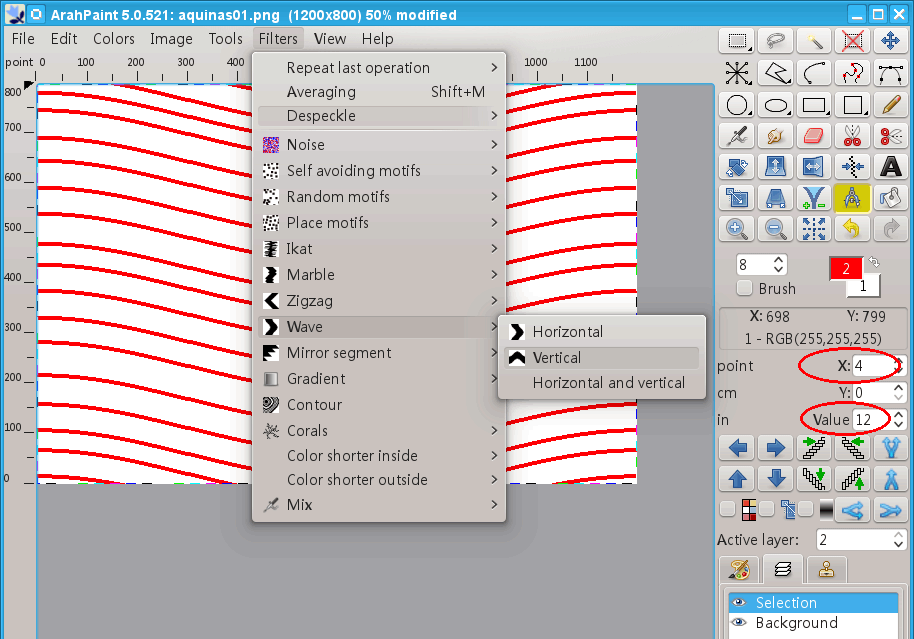
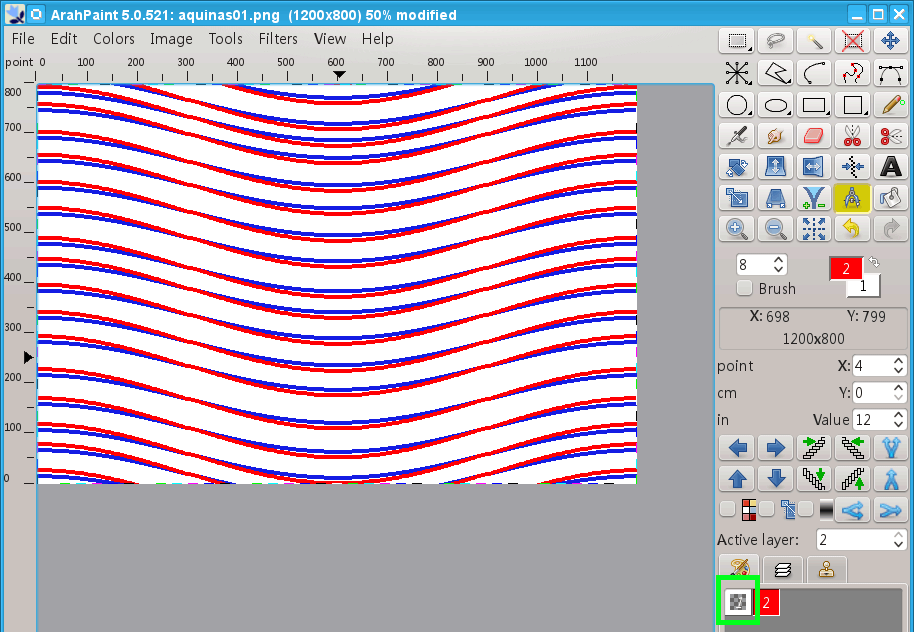
We have changed the color of the line in layer so you will easily see the change we have made. We will use the wave filter again, and modify the wave in the layer a little – we set the value of amplitude to 12 – it means that the wave will be higher for 12 pixels compared to the original image.
Then change the background color in the layer to transparent, and merge the layer and the image.
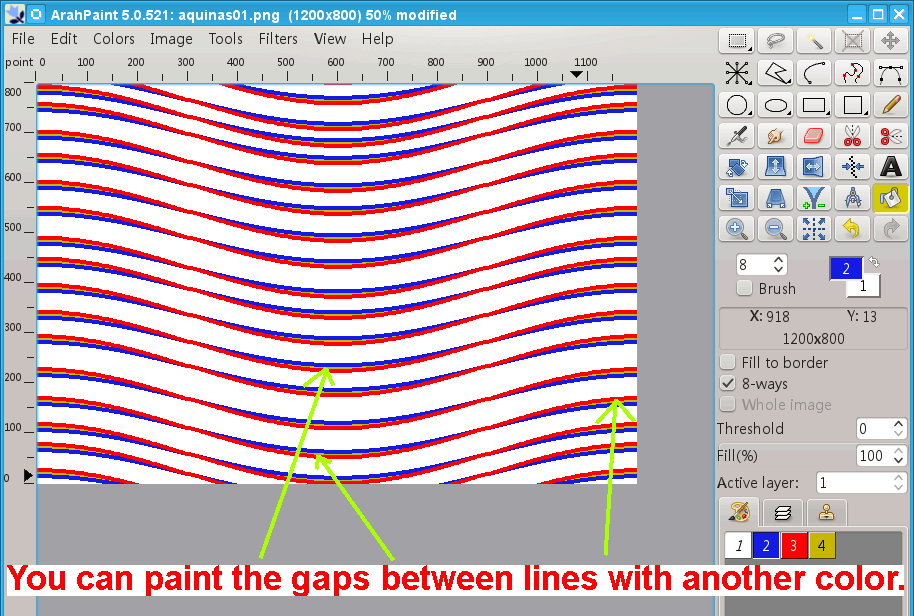
You can paint the gaps between lines with another color.
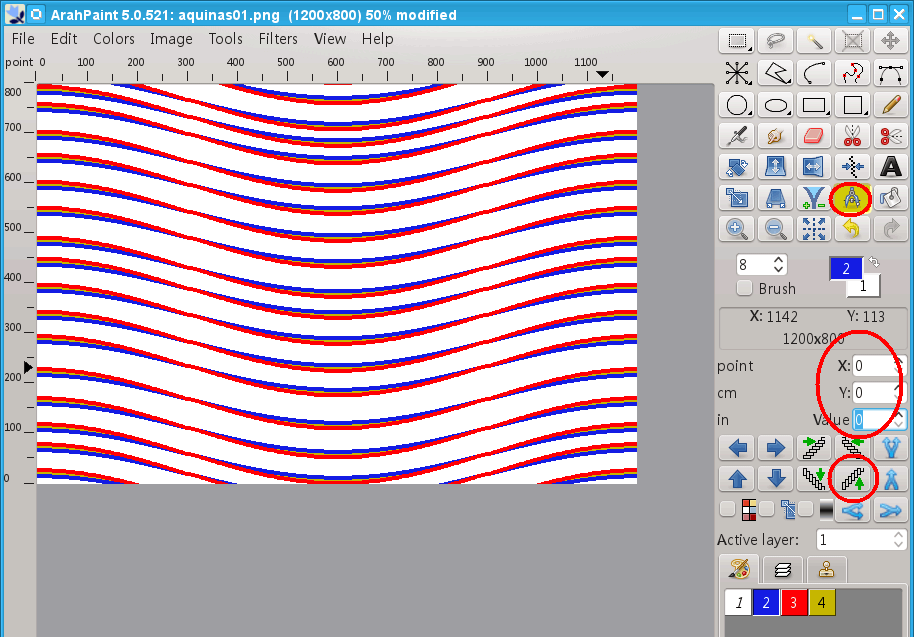
Now let’s make lines diagonal. Select the Measurement tool, set all numbers in the option field to zero, and click the Diagonal tool icon.
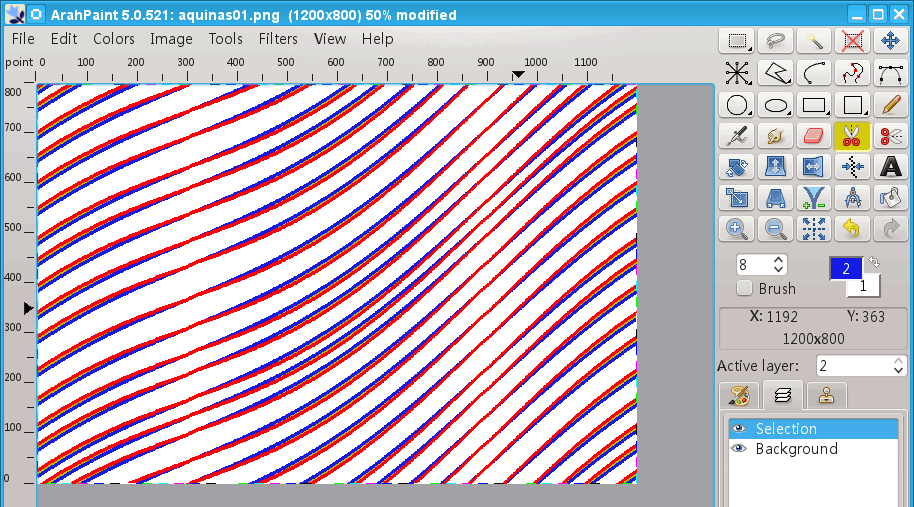
After “diagonalization”, the design is still in perfect repeat.

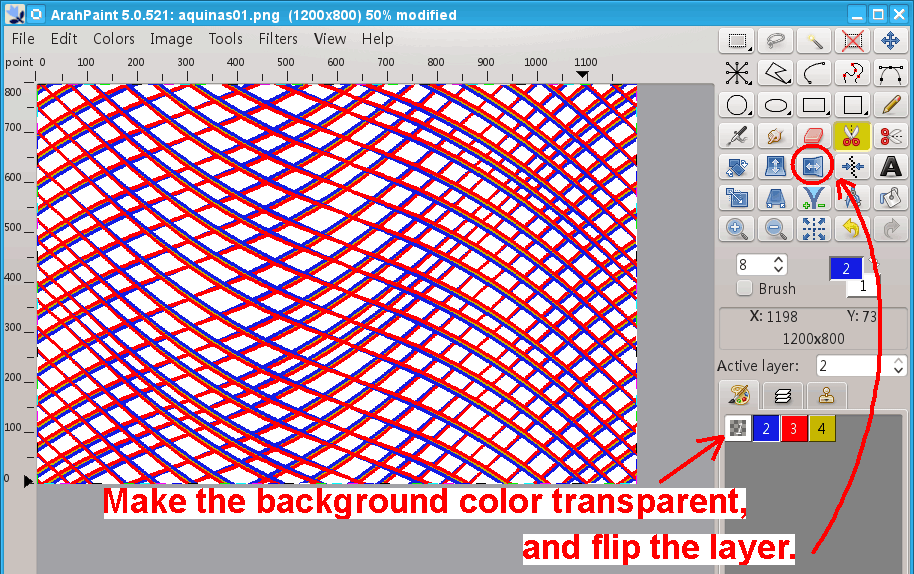
We will use the same image to create the diamond shapes. Use Edit > Select all. Then Edit > Copy. Then Edit > Paste. You will get a layer over the original image. At the moment, both are the same.
Make the background color transparent (double click on the color tab), and flip the layer using the mirror icon.
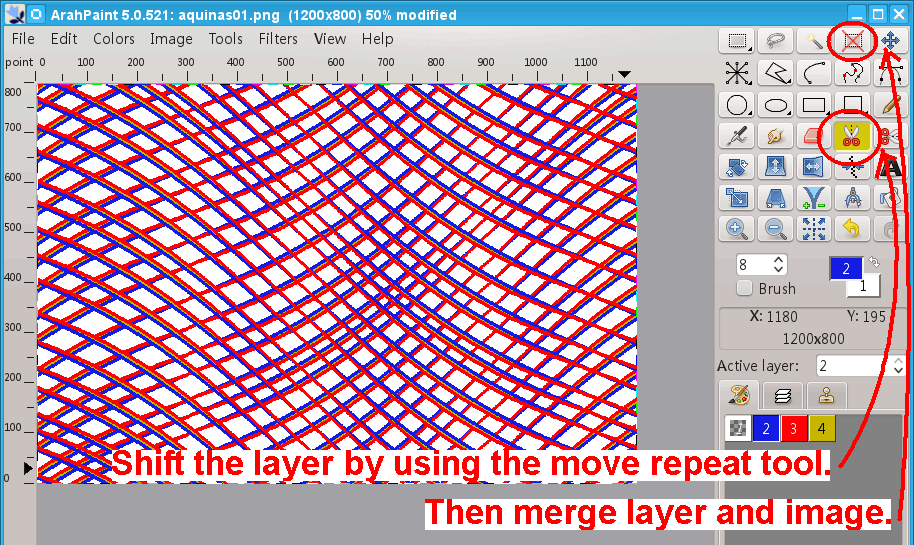
I found that I get better results if the start of the repeat of the layer begins at a different point than the original image to avoid interference of waves. So I use the vertical move repeat tool to shift the layer. Just click in the layer, and it will shift that clicked pixel becomes the starting point. You can click until you get the desired result. Then merge the layer and image.
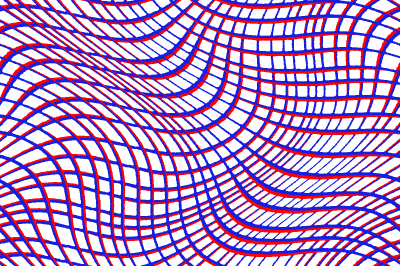
And now to the last stage – we will use the Wave filter again, but this time we will create weaves in both directions in same time. Set the X to 8 – it means 2 full waves in the vertical direction; set Y to 4 – it means 1 full wave in the horizontal direction. Set the amplitude in the Value field.
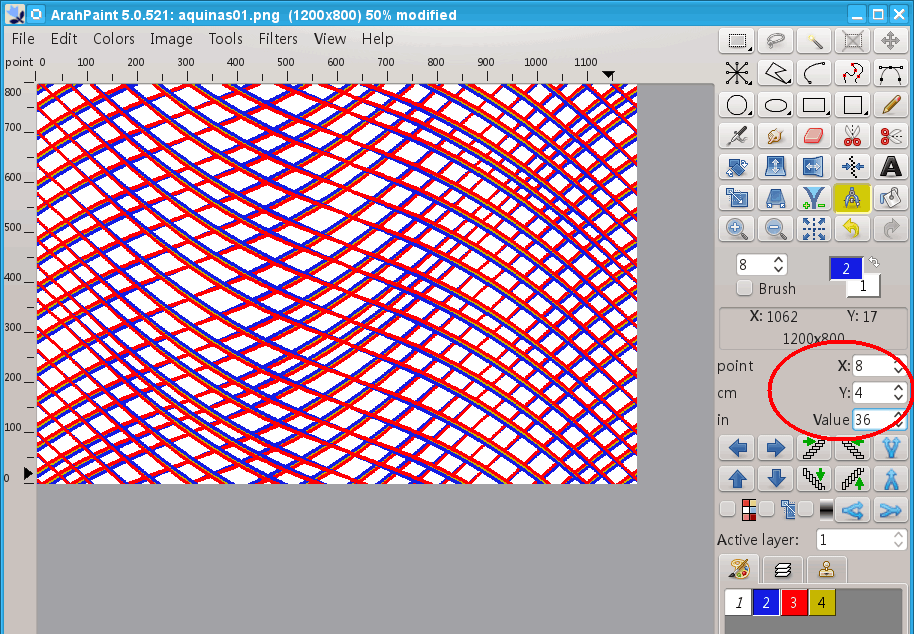
Choose Filter > Wave > Horizontal and vertical. You will get something like this:
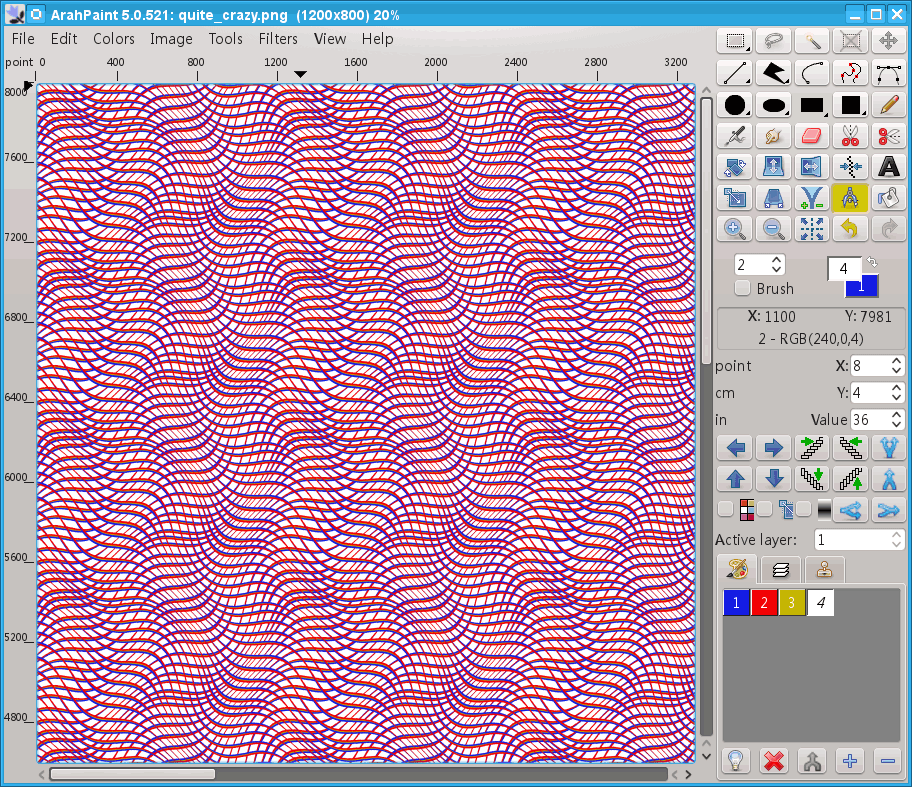
You can repeat the procedure, or first use horizontal-vertical and then horizontal again with different wave number or amplitude or whatever you like. There are endless possibilities.