

![]()

TUTORIALS
Sfumatura a scala di grigi per coperte
We have already explained greyscale shading in this tutorial, so why are we doing it again? Because it can only be used, when you want to create color effects with both warp and weft threads. The normal shading works nicely for damask type of fabrics, for example tablecloths. But if you closely examine a blanket, you will see that all the effects are formed only by the weft; you can’t even see the warp because of the raised finishing. Warp is completely hidden in the middle, and is usually quite thin with respect to the weft; it does not contribute to the color effect at all.
We need a shading with weft effects only, if we want to make blankets, and ArahWeave enables you to do it in an easy way. You will need version ArahWeave 3.4b or later to use this function.
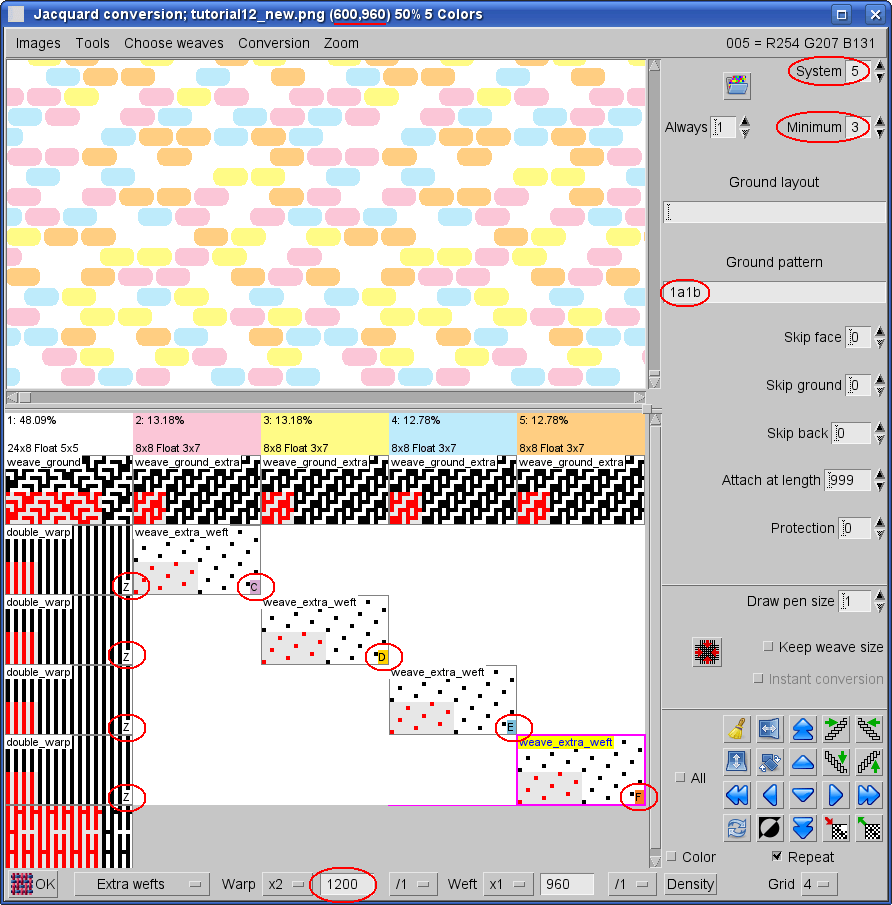
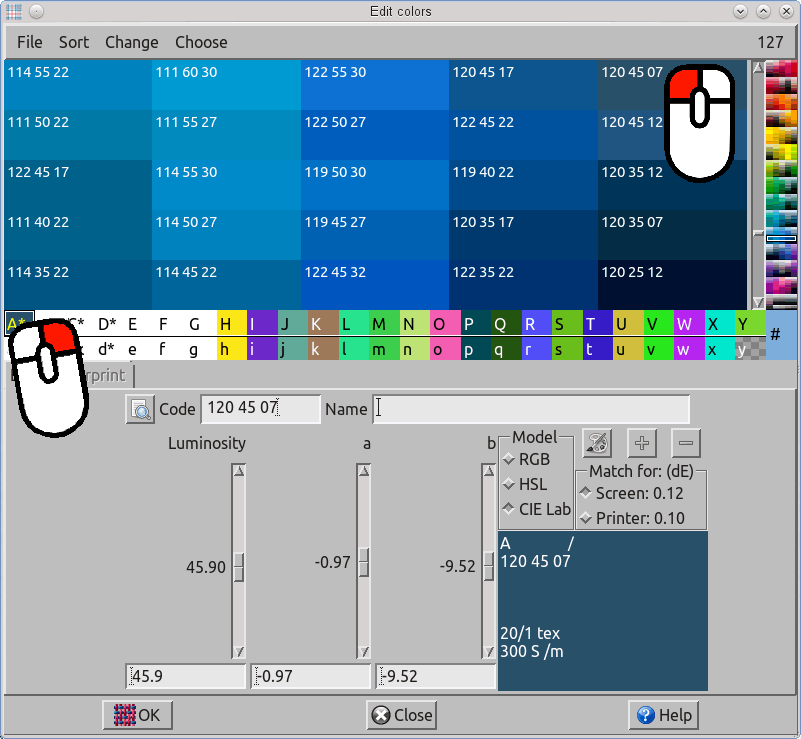
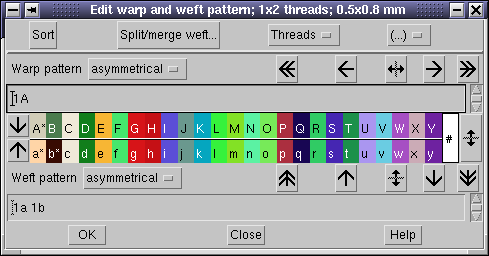
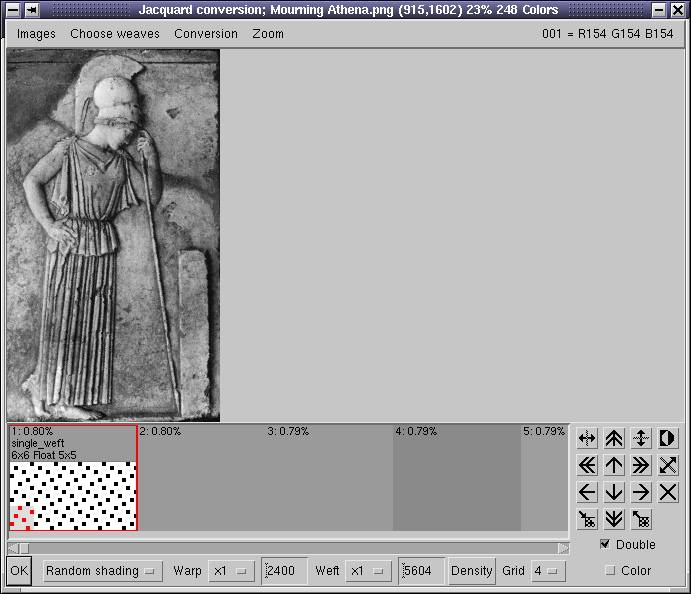
The first step is to set a warp and weft pattern, with one color in warp, and two colors in weft, using alternating weft change “1a 1b”. The two weft colors should be contrasting, usually light and dark, while the warp color is unimportant, since it will be invisible in the finished fabric.
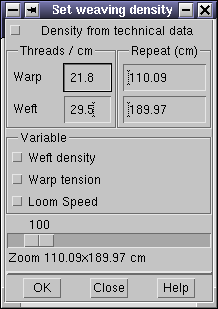
Then we need to set the weaving density. Notice the undesirable fact, that we have higher density in the weft than in the warp. Unfortunately (for the weaver) it is correct in this case, since our weave construction will use one warp and two wefts. We will make a double fabric, and the weft density on the surface will be just half of what we have entered in the program. The other half of the wefts will be on the back.
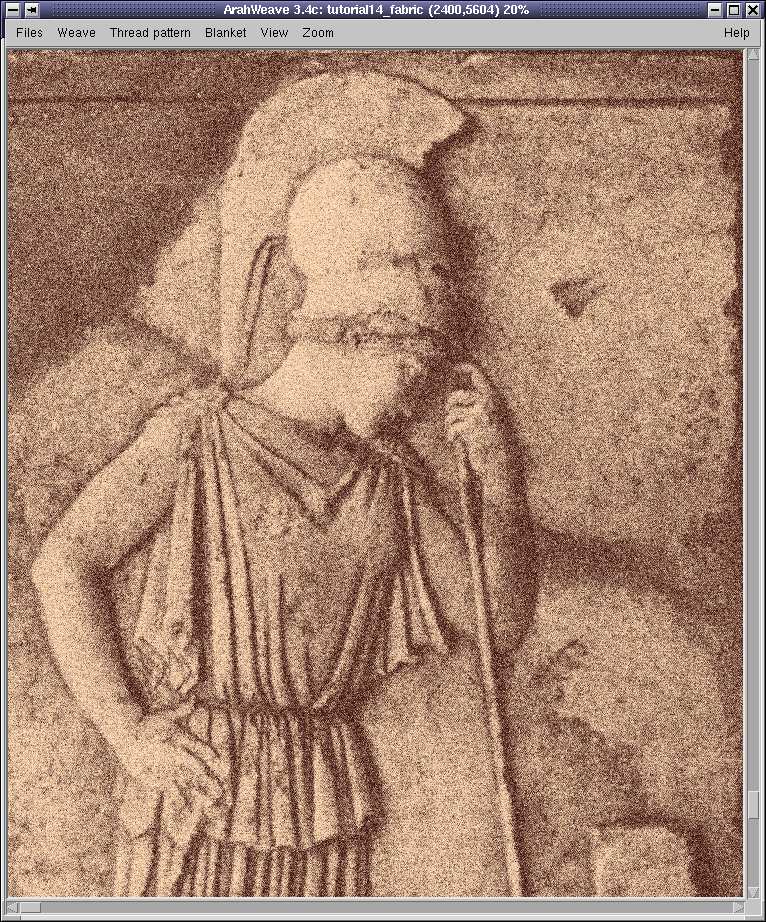
We need a grayscale image for this operation. We will follow the British example and steal it from the Greeks 😉 The actual piece of stone is still safely in the Acropolis museum, so we hope nobody will get angry over this. You may know that Athena is a very important goddess for Arahne, and there are plenty of reasons for mourning in this world.
You should scan the image in grayscale mode, adjust the contrasts so that you have the full grayscale from completely black to completely white. If you manage to clip your picture and the scanning program, you do not need to go into ArahPaint at all. From scanning to weaving in one easy step.
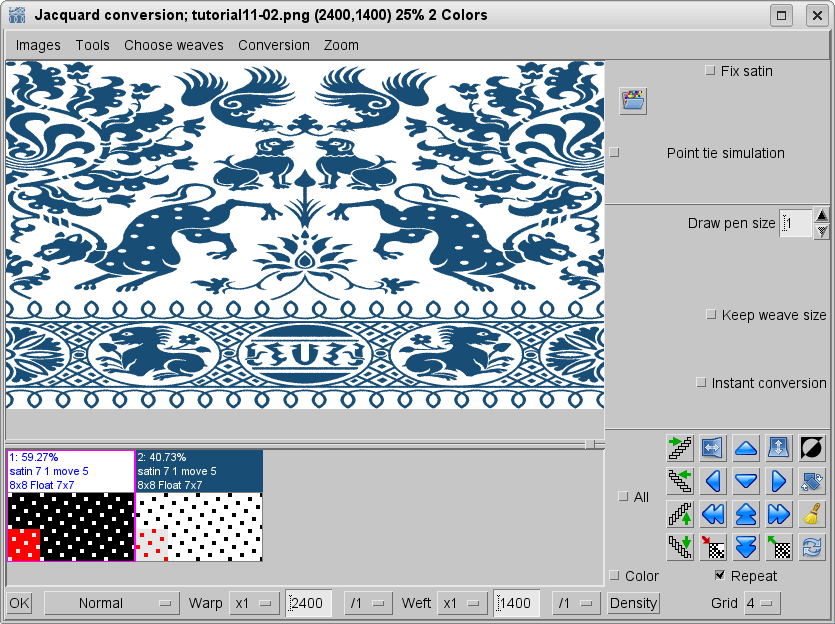
Open ArahWeave, choose Weave > Jacquard conversion. Load the image in Jacquard conversion window by selecting Images > Load image. If it is not in grayscale, convert it in into grayscale mode by Images > Conversion > grayscale.
Normally we need to adjust the image size in warp or weft direction to compensate for the different weaving densities in warp and in weft. This calculation creates problems to inexperienced weavers, so they get elongated designs if they make mistakes in their math. ArahWeavesimplifies this to the maximum, so all you need is to enter the number of pattern hooks (weave size in warp), that is 2400 in our example. The program already knows at which density we want to weave, so just press the button Density. The computer will automatically calculate the weft size, which will keep the proportion of the image according to the finished density of the fabric. Program will insert 5604 in the weft field.
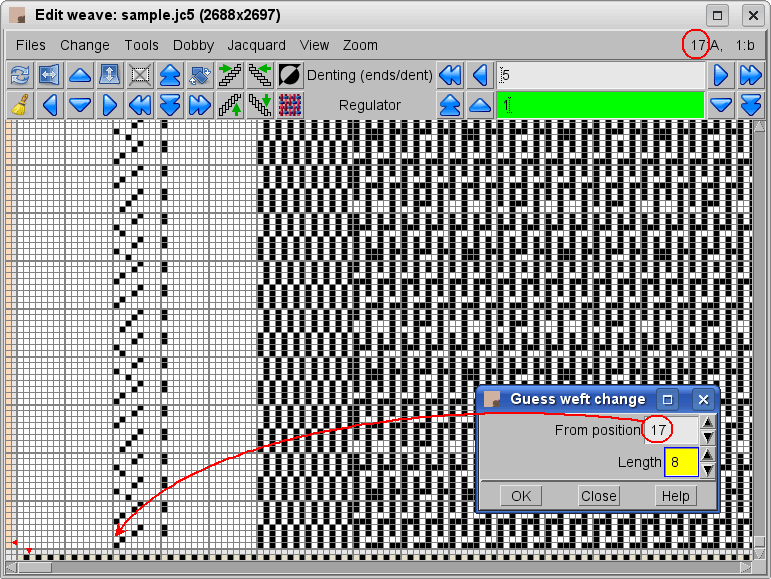
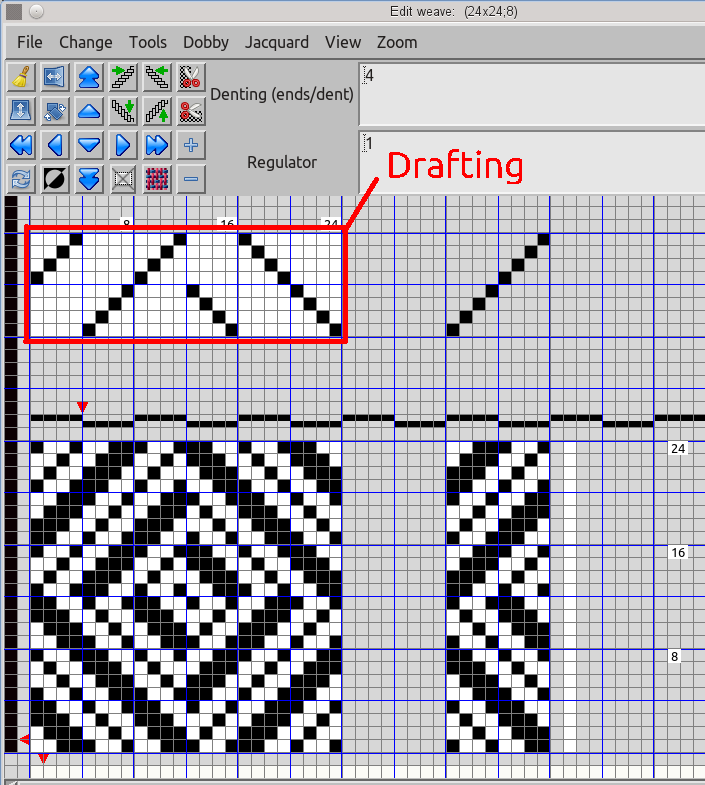
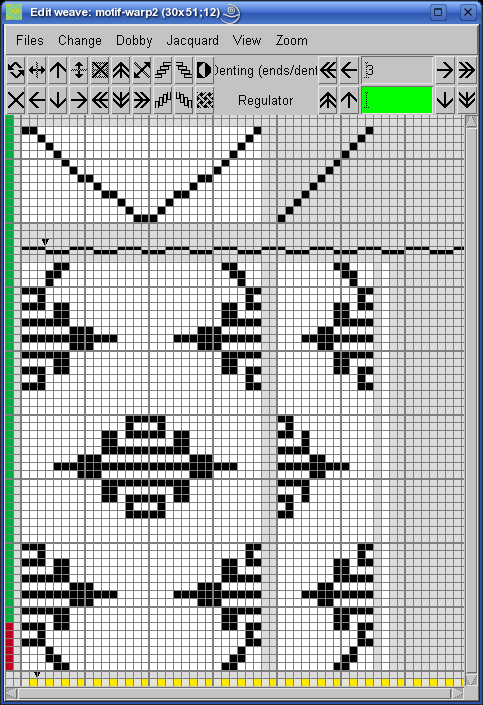
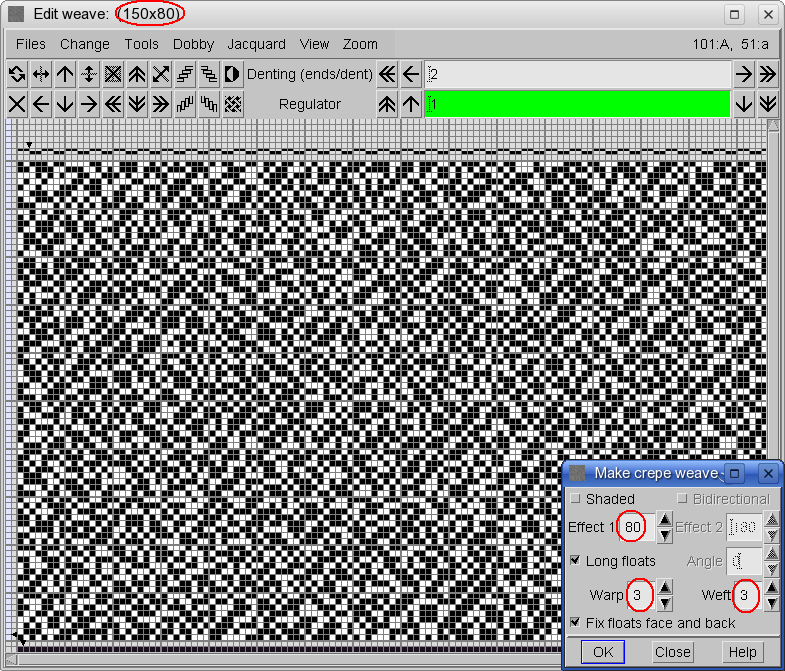
The regular double blanket weave consist of two single weaves: face and back. Load the single weave for the face, which must have exactly one black point on each weft and at least one black point on each warp. As you can see, we have used irregular satin 6×6. The weaves suitable for shading are located in the “shading” directory. You can load them by using the function Choose weaves > Load weave… Then select Random shading as the type of conversion, enable toggle button Double, and press OK.
Jacquard blanket weave is then constructed based on this one single weave. It is ready for weaving, no float errors. A weaver’s dream. If you look at the resulting weave, you may be puzzled. How is this going to work?
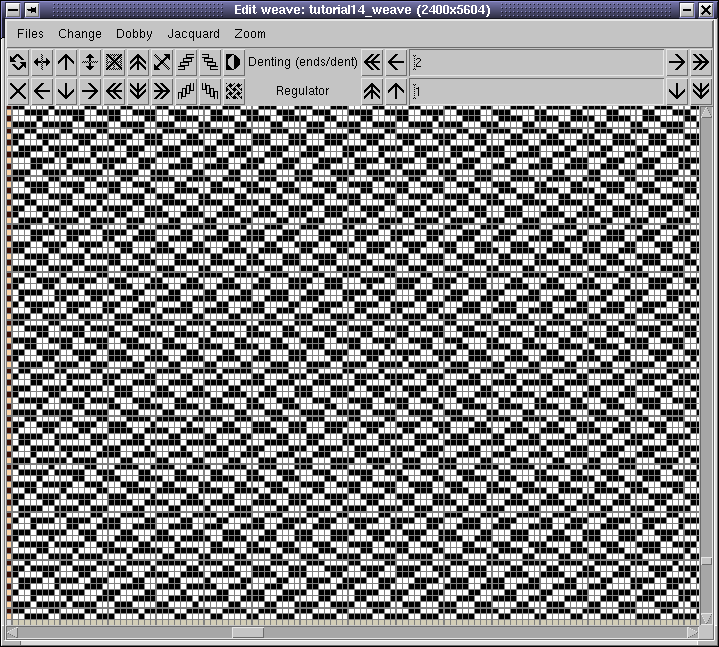
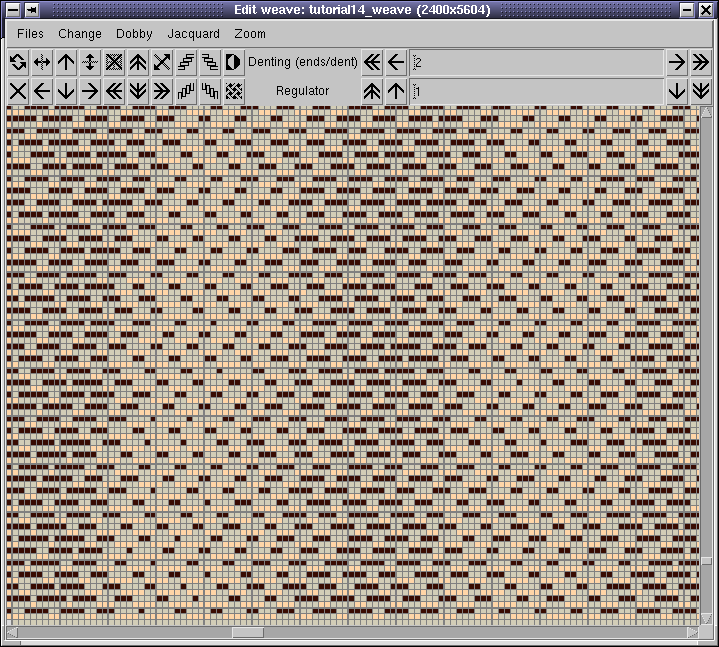
Try selecting Change > Color or press “c” on the keyboard, the weave will start to make sense.
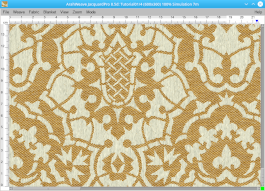
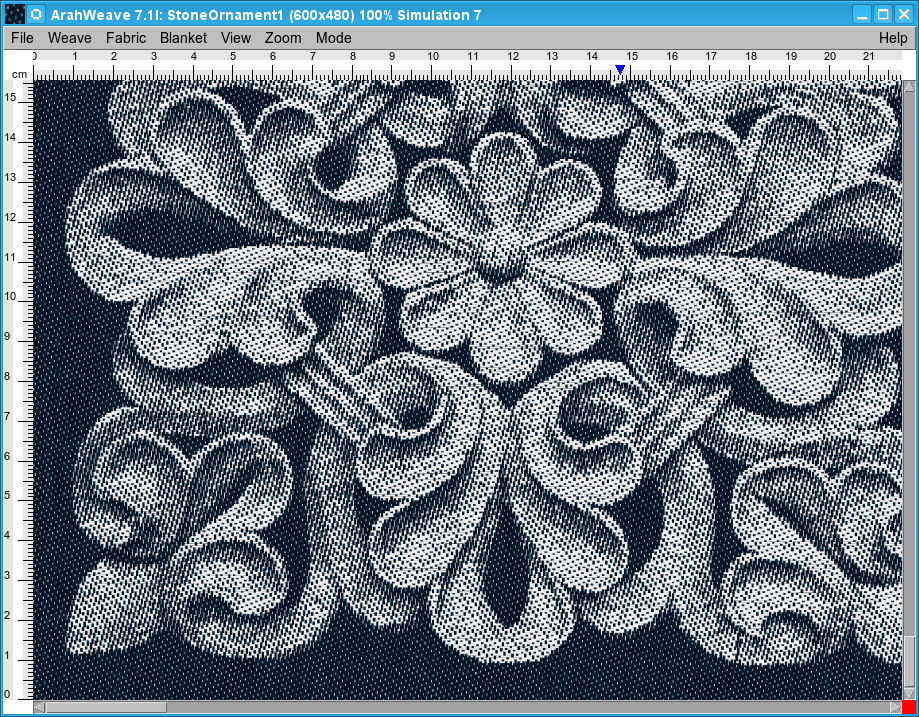
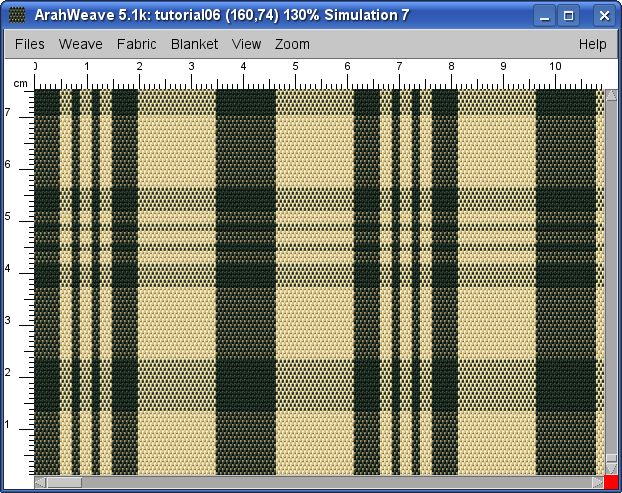
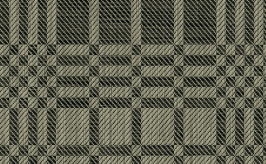
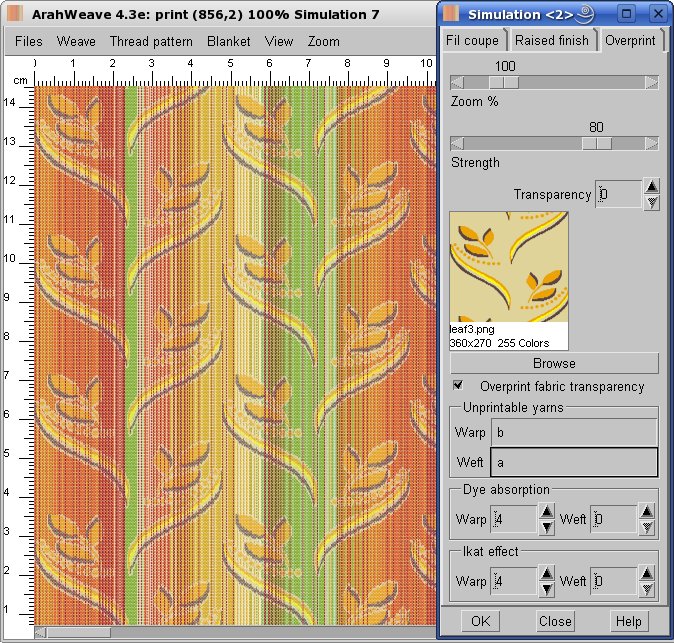
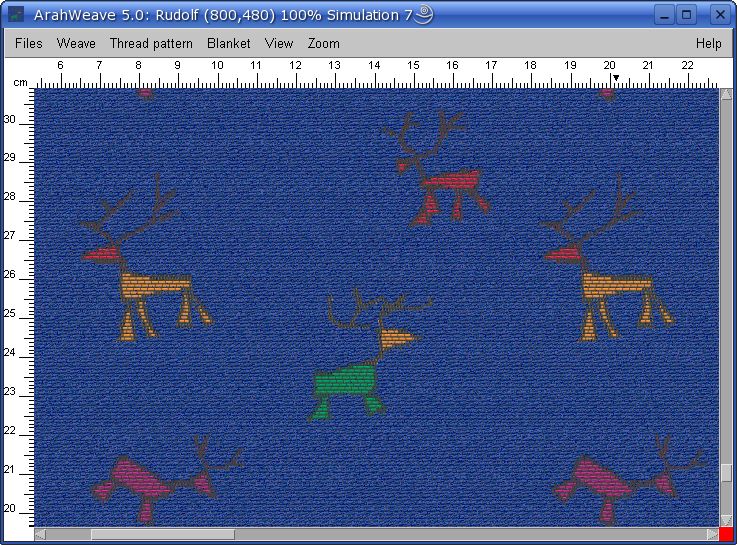
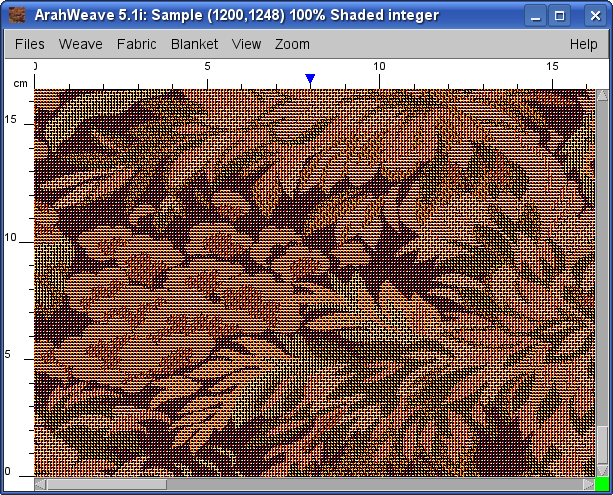
To get a fabric simulation, set the yarn counts, yarn colors and enable View > Best in the main window. The next picture shows fabric simulation at zoom level 50% in order to view bigger part of blanket, while still showing fabric structure.
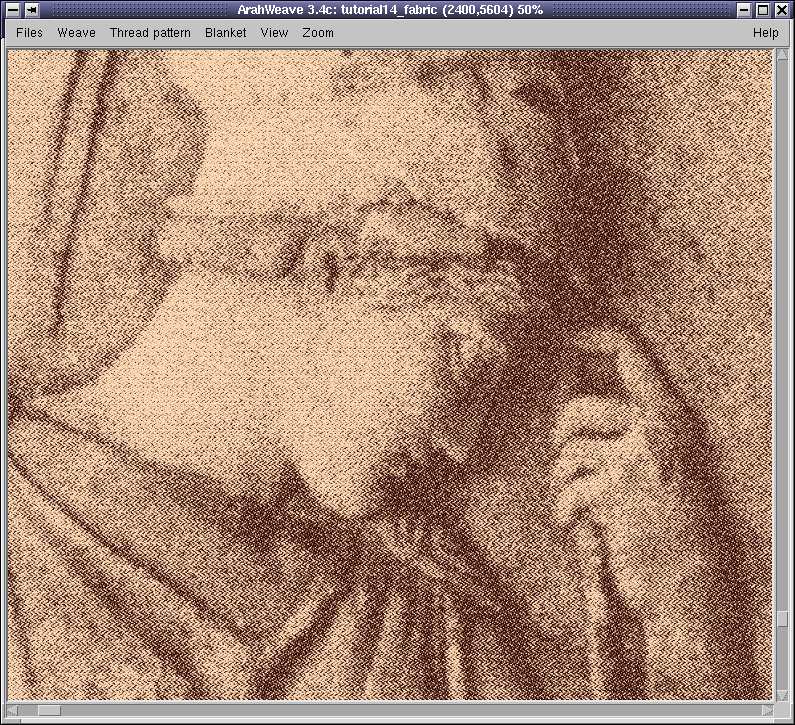
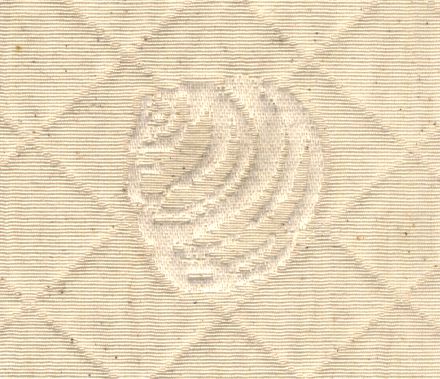
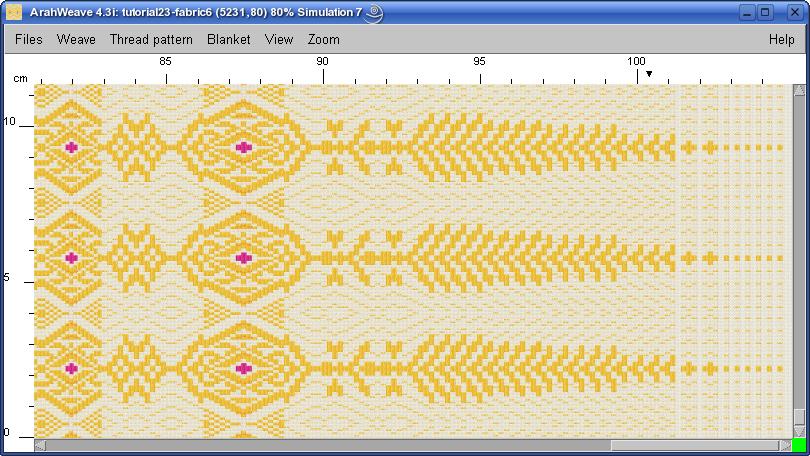
Another view at the fabric using one quarter of the real size. We did not lose any important details, did we?
All that remains to be done is to save the design to the floppy for your electronic jacquard, and you already know how to do this.